![]()
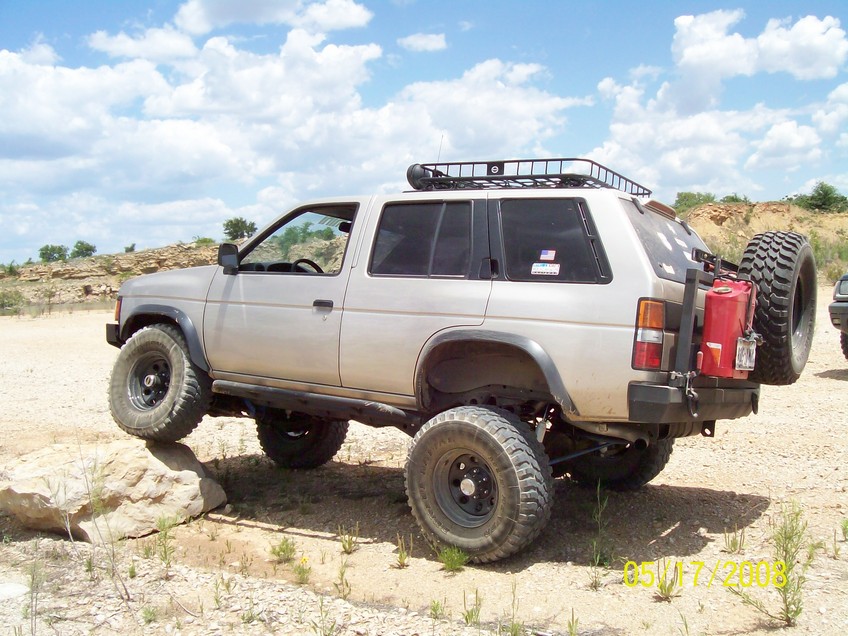
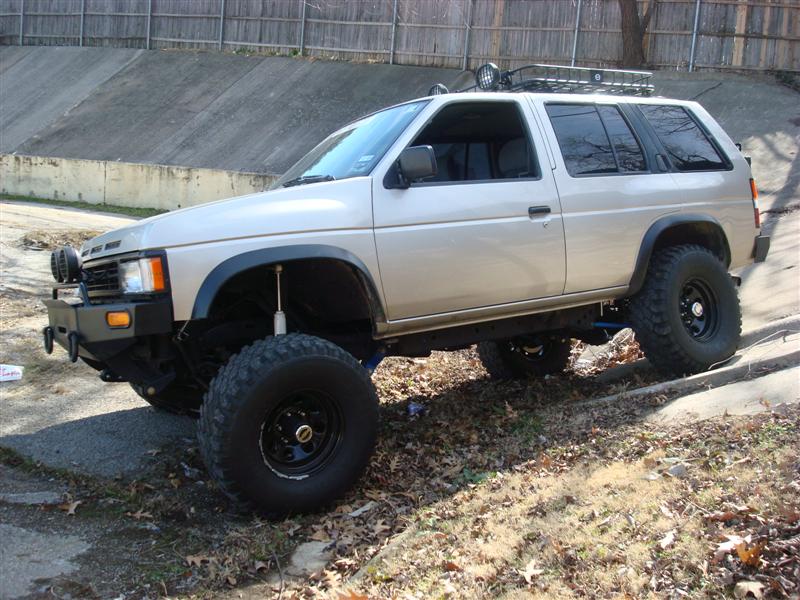
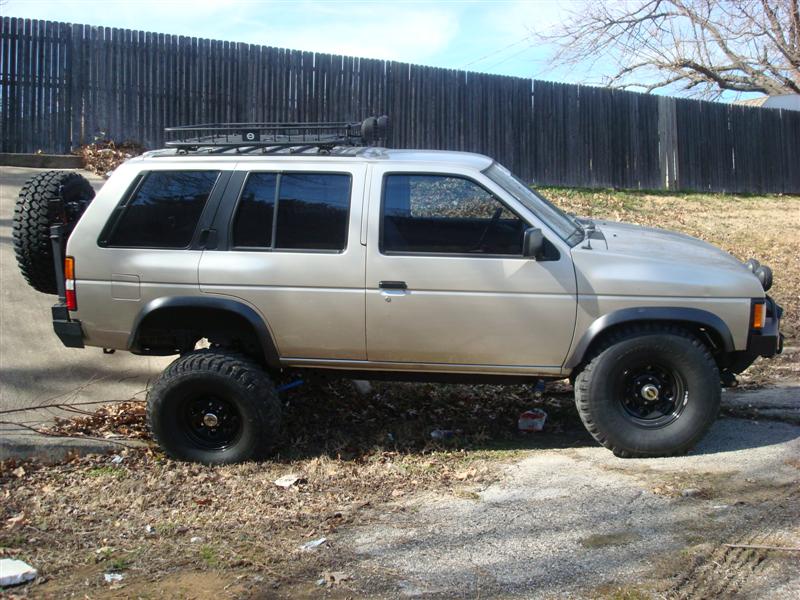
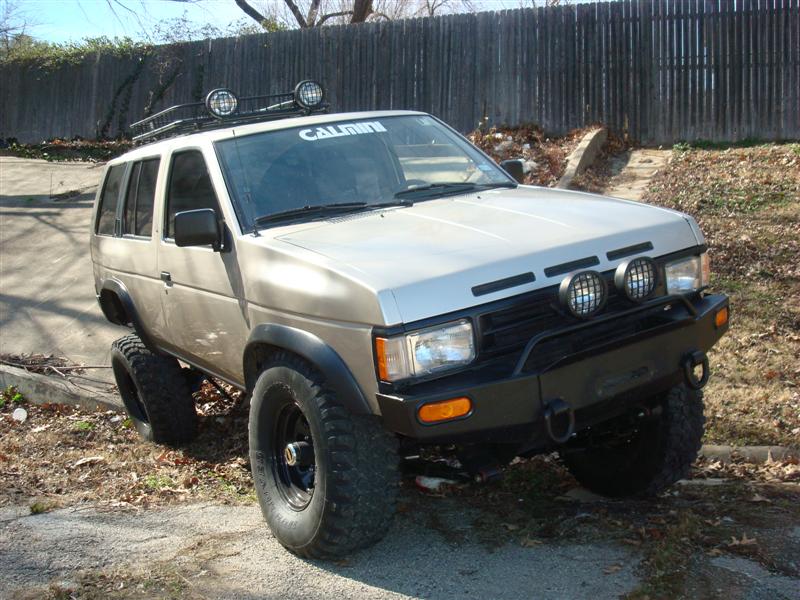
SAS SUA on a 1994 Nissan WD21 Pathfinder
Updated 1/14/2010
The plan: SUA Leafs with a 1984 Dana 44 jeep wagoneer axle.80-92 will work. All are disc brake drivers drop.
Specs
-
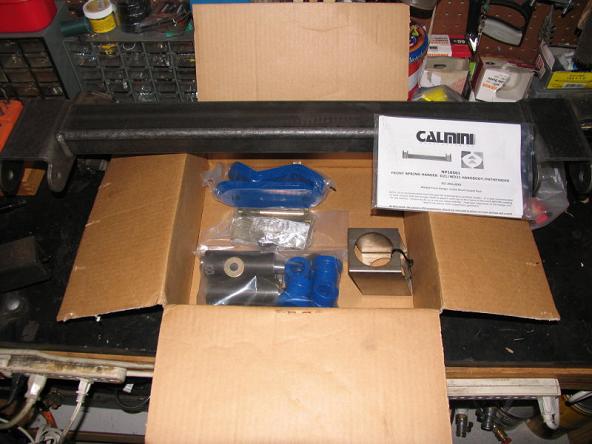
CALMINI hangers front and rear
-
Rancho 44044 leafs
-
lockright rear locker
-
4.56 gears,to match Nissan 4.6 in the H233b - stock was 4.3, now installing 4.9s.
-
14" travel shocks.
-
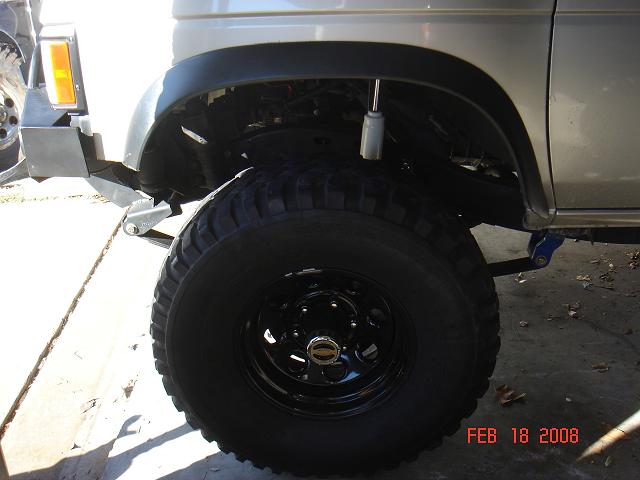
33" tires
-
15x8 rims
-
1.5" DOM steering with tres
-
NissanNut shock towers.
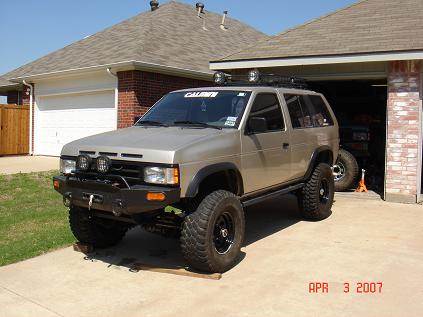
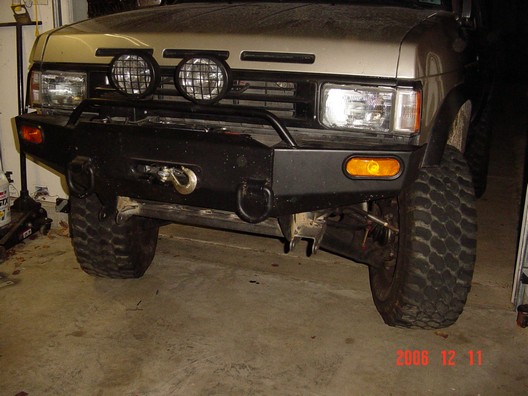
The Pathfinder already has a 3" BL and UCA lift and lower 4.6 gears and rear lockright..
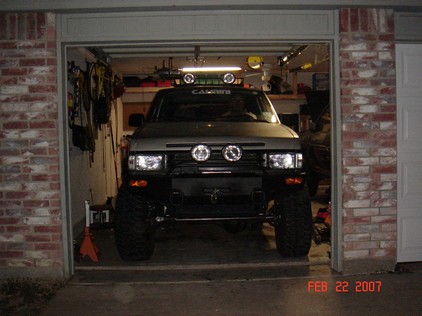
stock
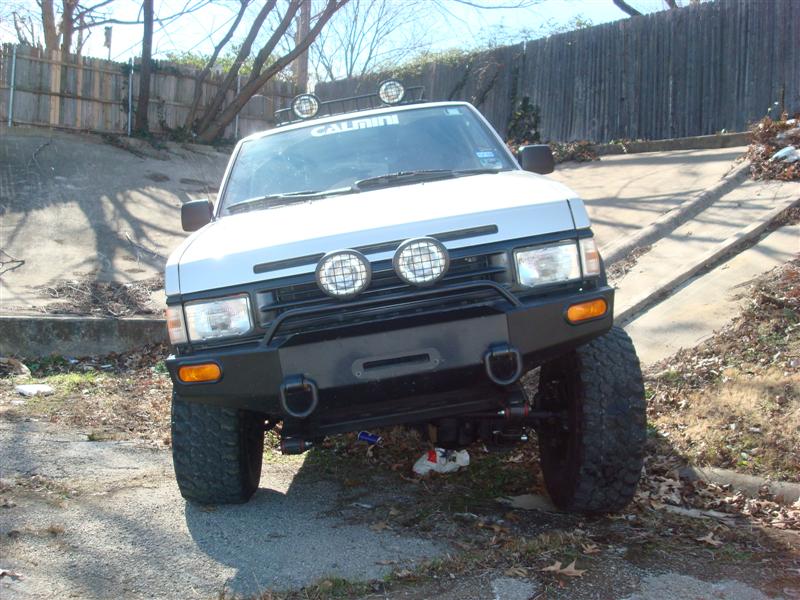
 after
after
 4wd
4wd
Plan 33" tires, 4.6 gears, spring under axle with a shackle reversal.
Action plan:
order all parts
rebuild axle as needed.
install locker and 4.56 gears
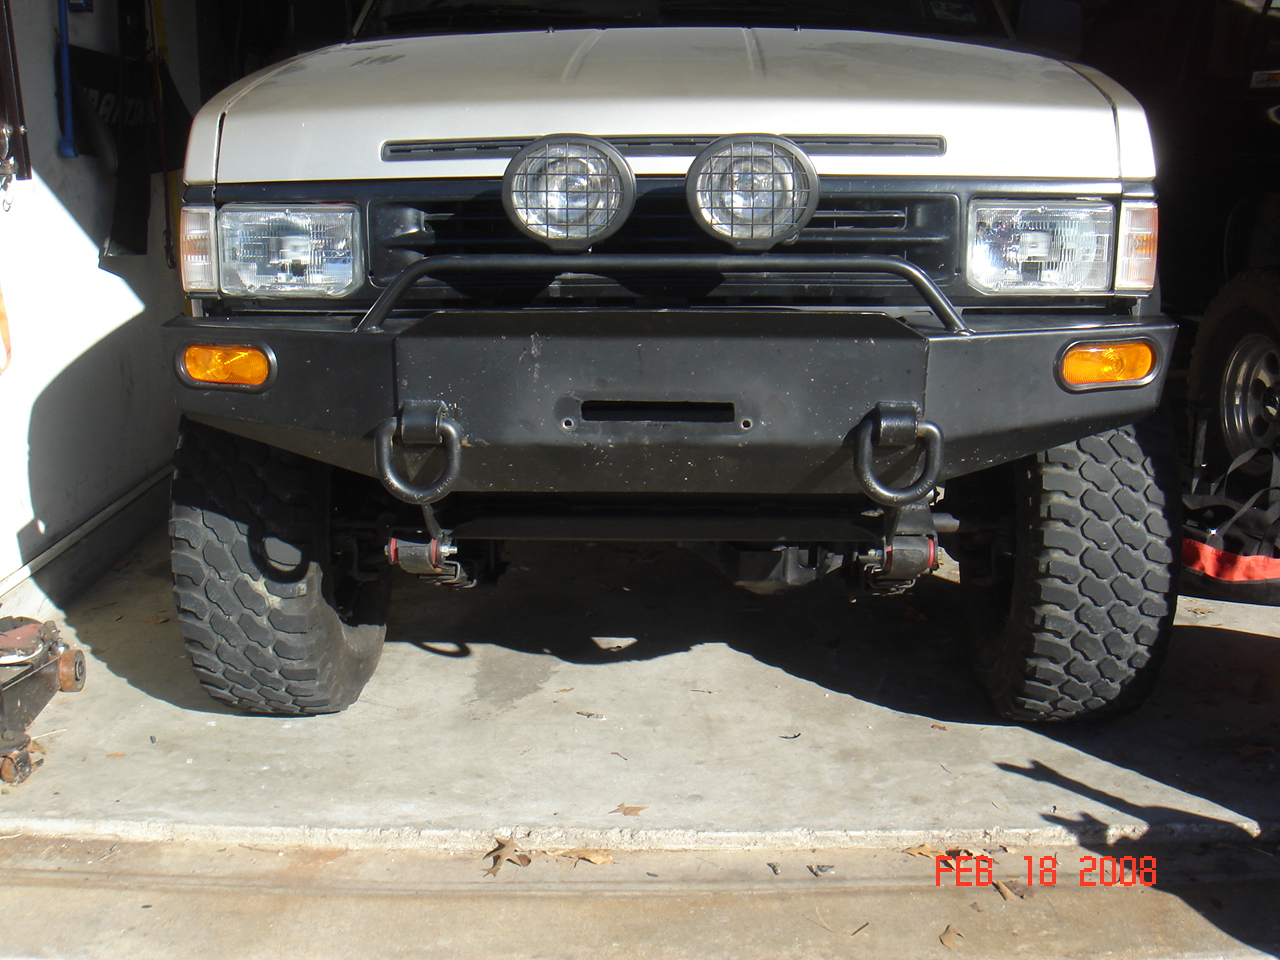
install frt hanger / relocate front bumper
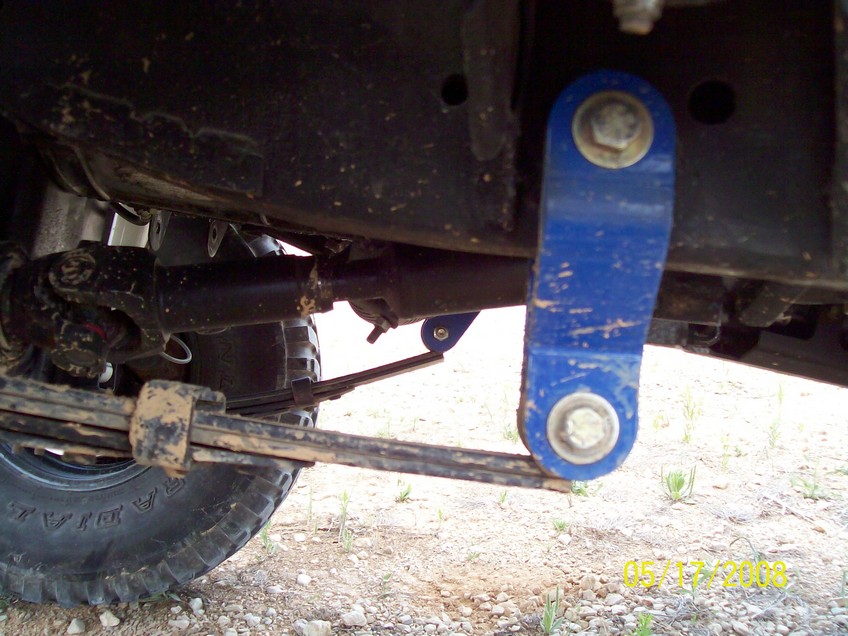
install rear bell shackle kit
build shock towers
build / order tie rod and drag link
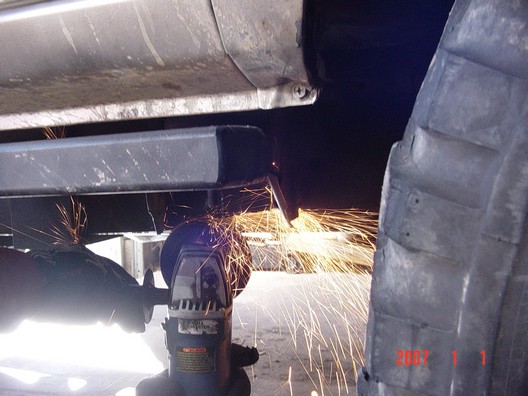
cut off ifs / hang axle connect brakes steering and shocks
modify crossmember
modify exhaust
install / make frt driveshaft
sway bar install - done
- Axle Prep
- Ball joint install
- wheel lug and rotor install
- lock right install
- dana 44 gear install
- assemble axle
- Front spring hangers/shackles
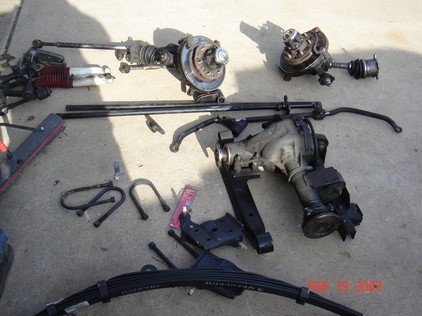
- Deconstruction
- Shock towers
- Steering and steering stabilizer
- Front brakes
- Front Driveshaft
- Sway bar
- Transmission cross member mod
- Y pipe mod
- Material list
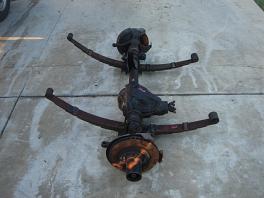
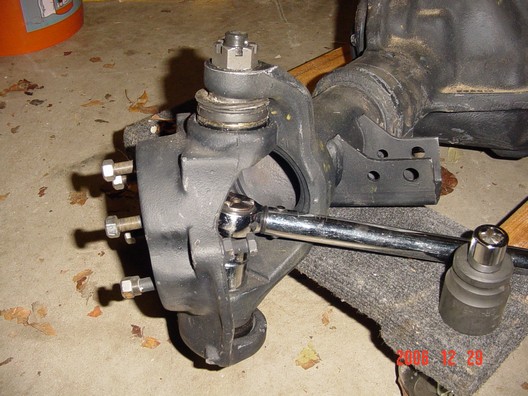
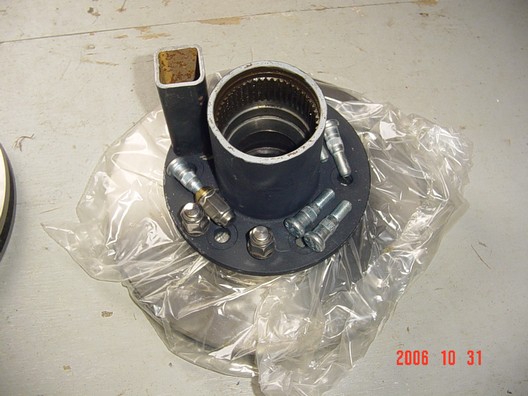
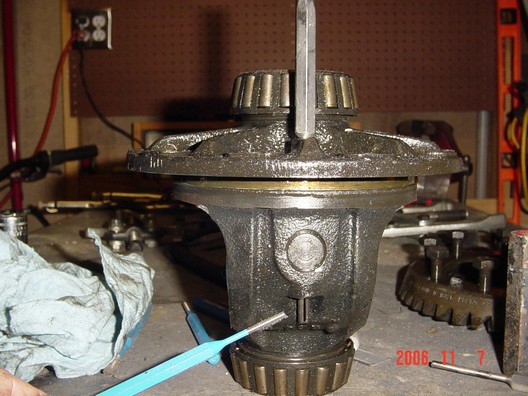
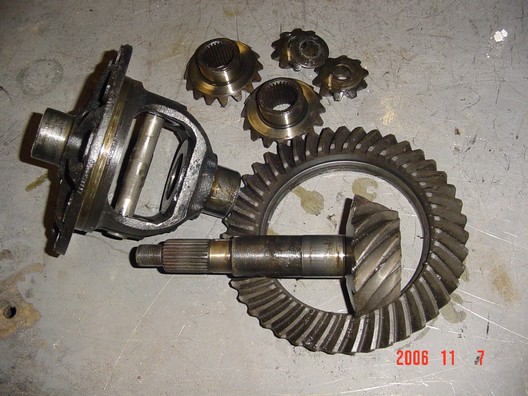
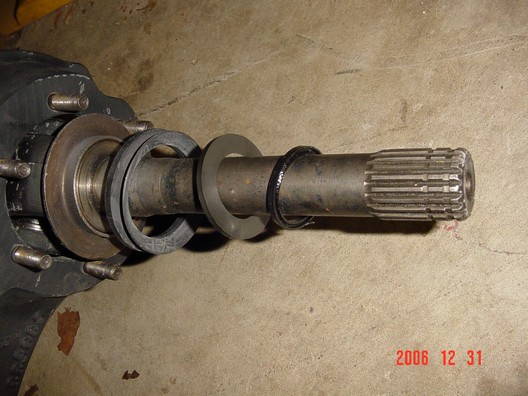
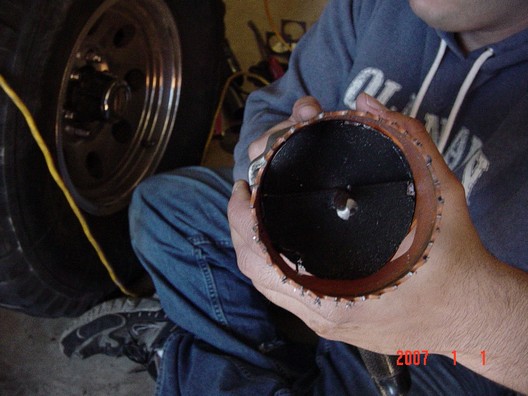
Axle prep
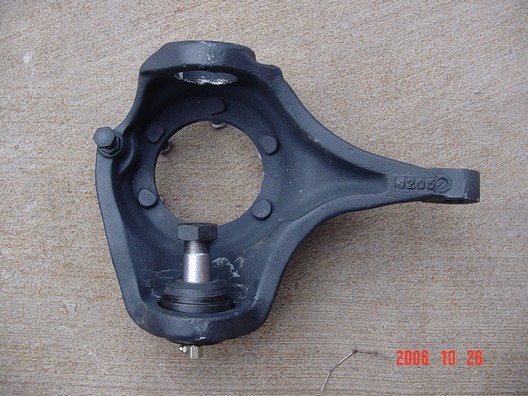
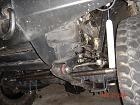
This is the donor axle straight from the junk yard. All parts were taken apart and cleaned and painted.


Ball joint install
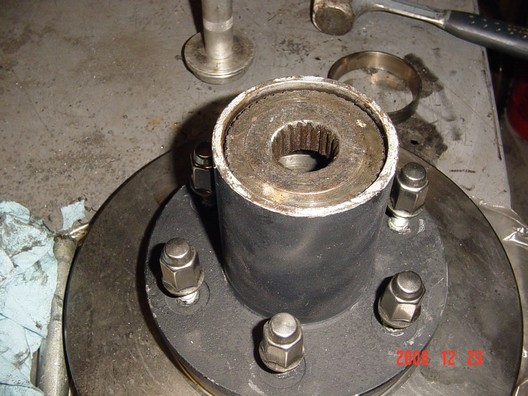
Starting with clean empty knuckles. Press in the lower balljoint first. Then the top.
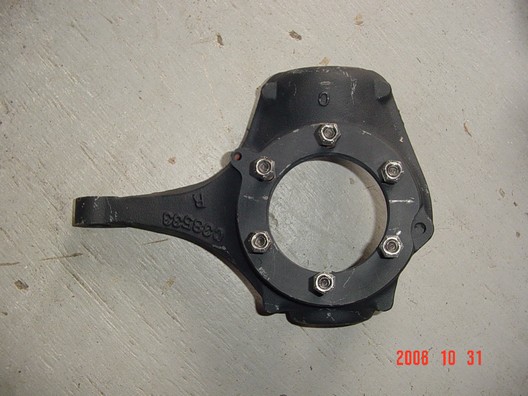
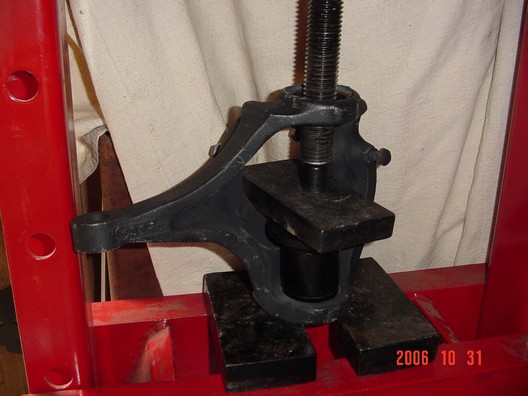
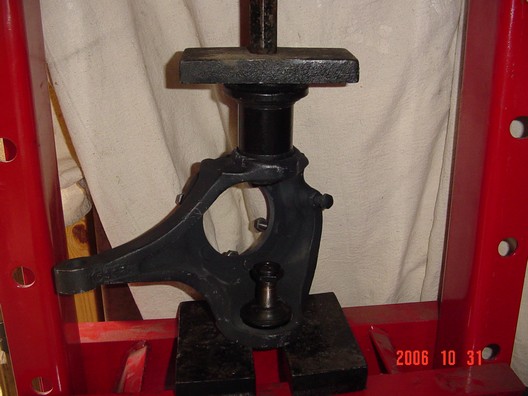
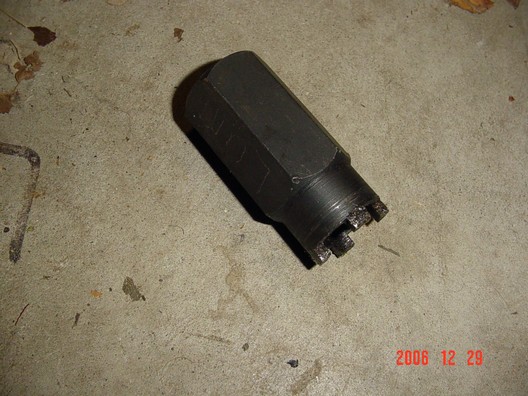
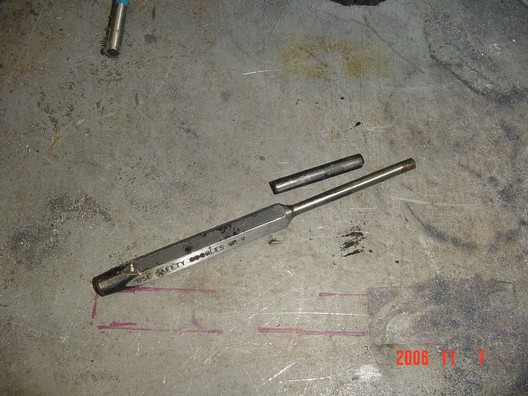
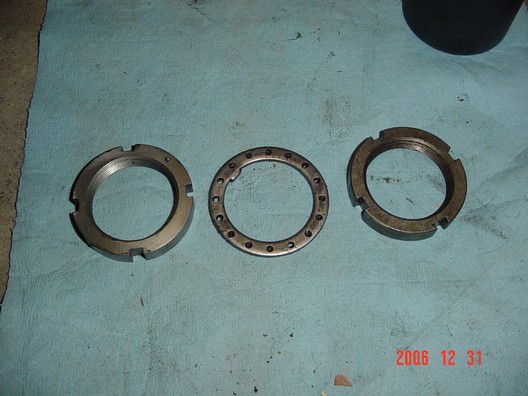
Already to install on housing and torque to spec with the special tool.
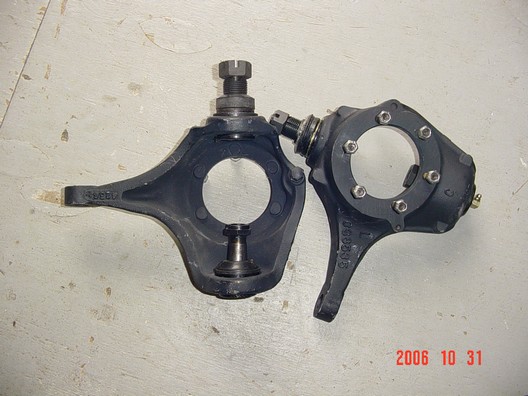
First install the lower nut. The sleeve. Then upper nut. Torque the lower then the sleeve, then the upper nut.


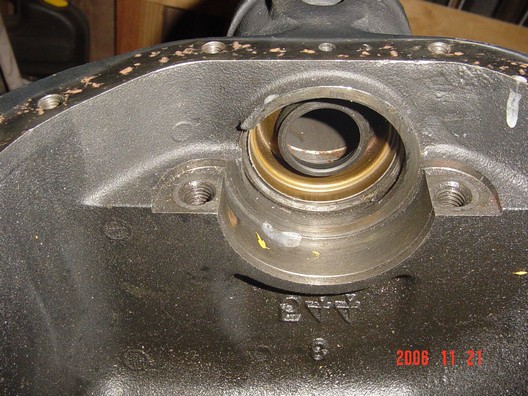
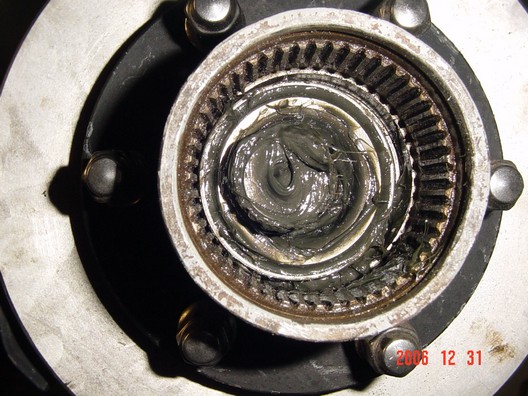
Now install the new spindle bearing.
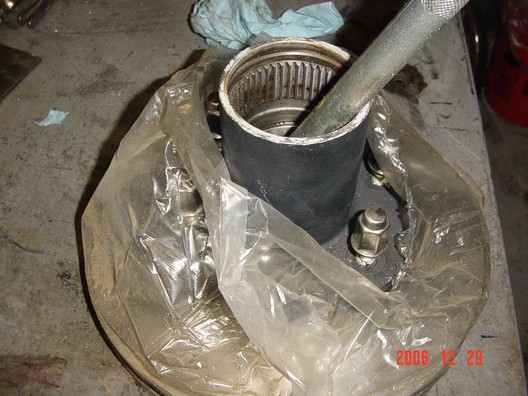
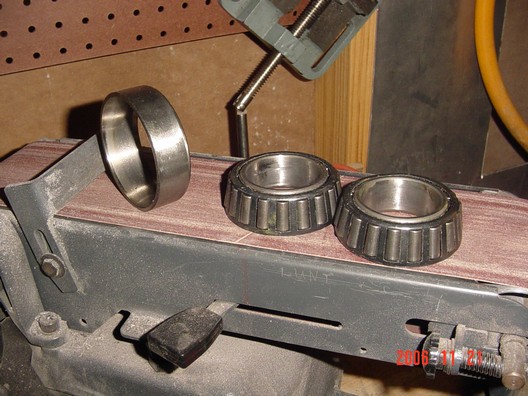
Now install rear new wheel bearing race and seal. I used old races as spacers to pound in new. I grinded down like a setup bearing.
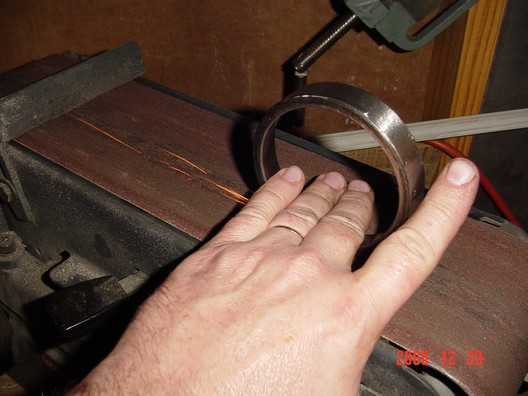
Pound out the old and pop in the new.

Install the small front race. I used slug as a spacer.
![]()
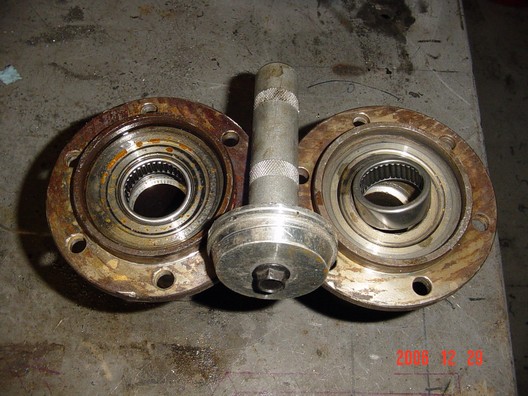
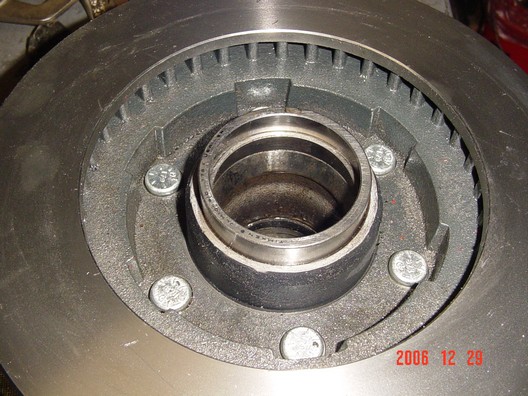
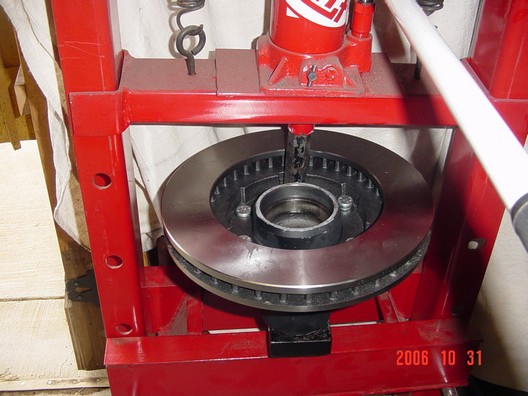
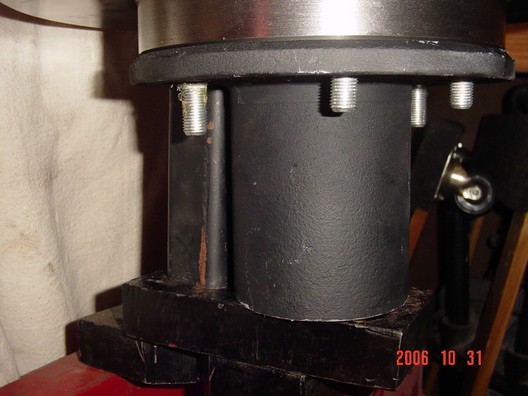
Wheel lug and rotor install
Starting with new lugs and rotor and old hub. Press the lugs through the rotor into the hub. I made a spacer to help the install.
![]()
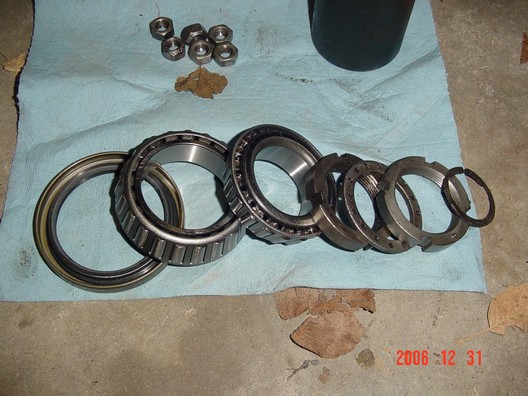
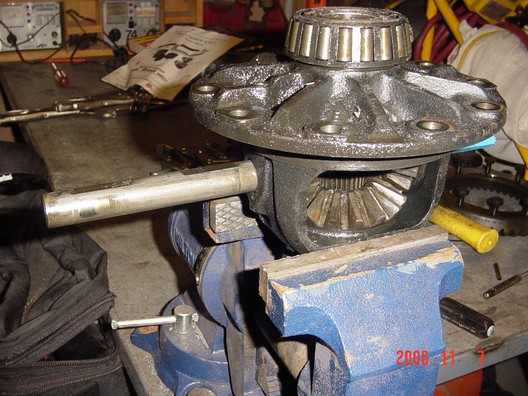
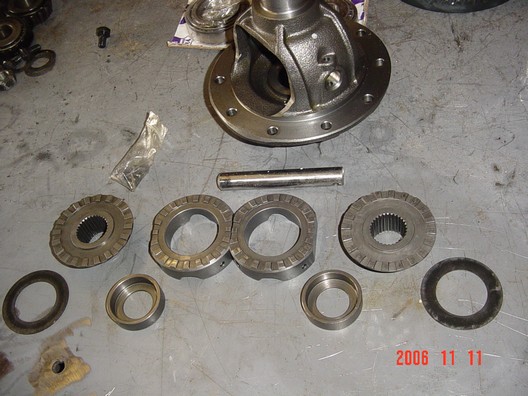
lock right install

Now pound out the spider gear pin with a big punch. All the spiders and side gears just fall out now. Save only the two shims behind the side gears for the lock right install.Now press off the bearing with a bearing splitter ($9 Harbor freight) and a 2 jaw gear puller. I put a Nissan torsion bar washer in the hole. I want the old carrier bearing shims to set carrier preload and I will make setup bearings with the old ones. Keep track which shims come from which side of carrier.


![]()
Now press the old pinion bearing off so You can make another setup bearing. I used the same splitter and a press this time. Now you can junk or sell the 2.72 carrier, carrier pin, gears and spiders. LAst pic is the good stuff to keep for mockup and spares.


OK now ready to start the lock right install in the new carrier.
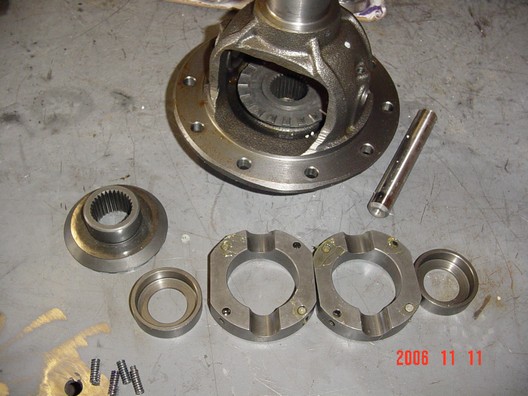
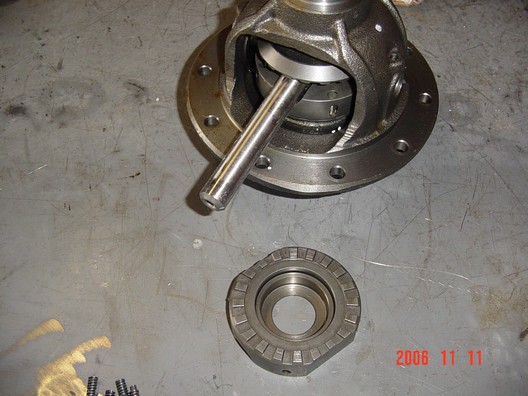

Now ready for ring and pinion.
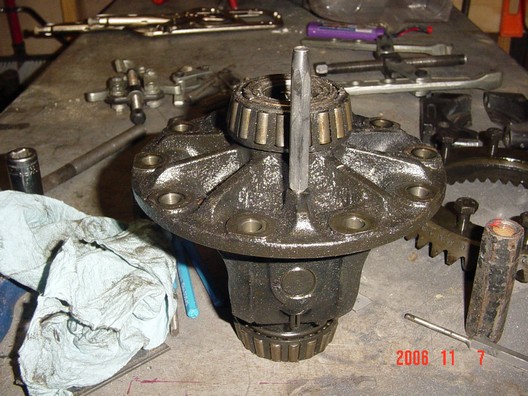
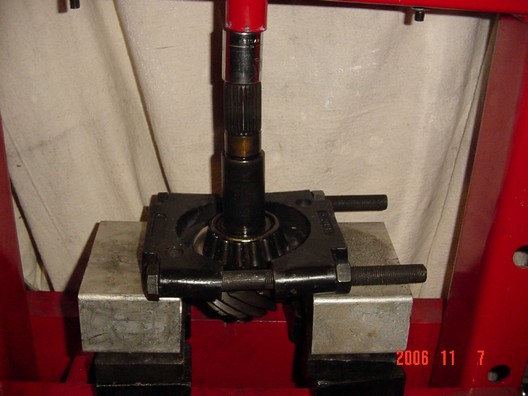
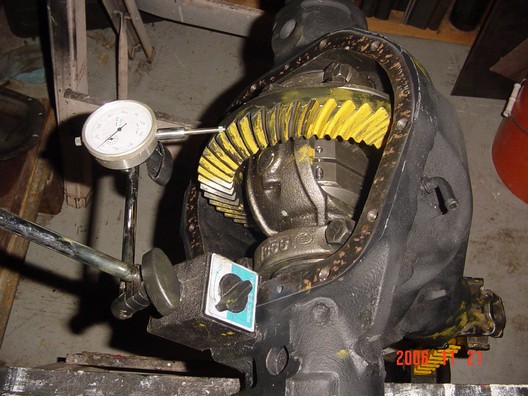
dana 44 gear install

I then installed the axle tube seals. Then installed the pinion with the setup bearing race. There is allot of trial and error setting up gears.

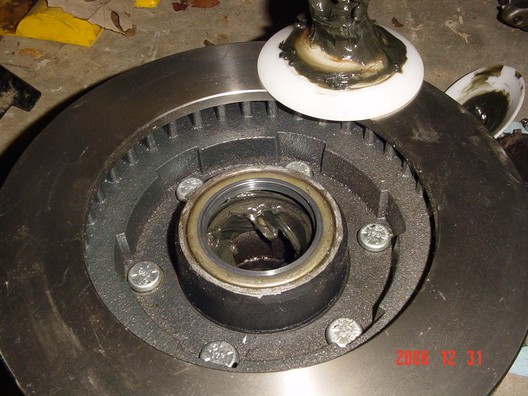
Assembly of axle.
Install axle shafts. then install seals. Then install spindle and caliper bracket.

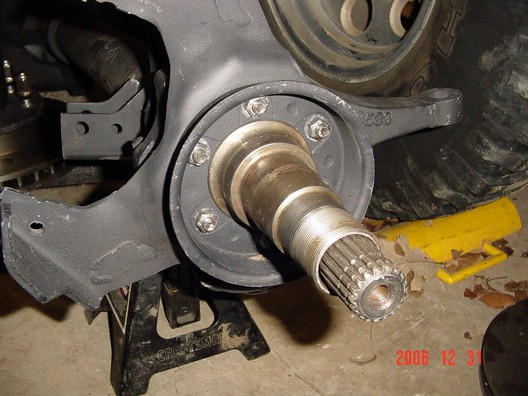
Slide on completed hub assembly. Install small bearing, locknut, washer and locknut. Torque to 50lbs with another special tool.
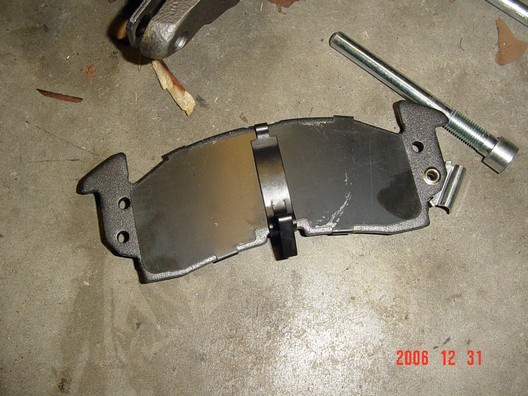
Install brake caliper and pads. Dont forget the little clips.
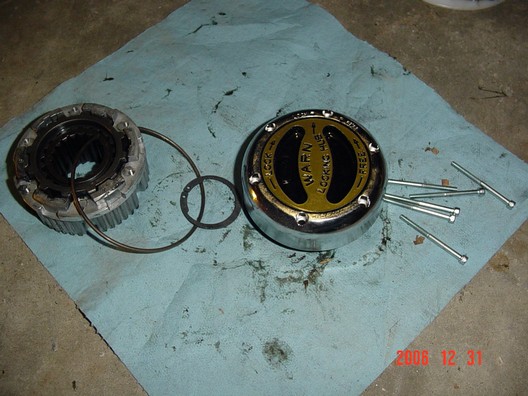
Install manual hub.
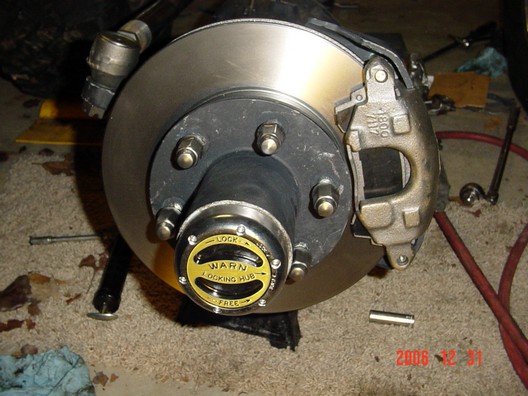
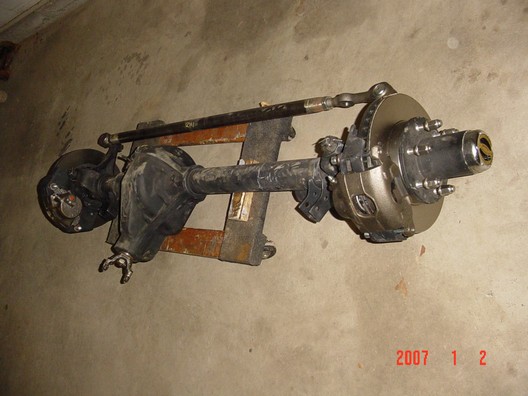
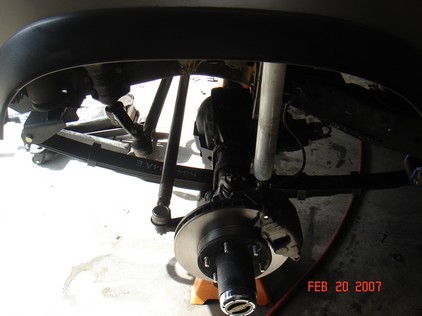
Axle is ready to be installed
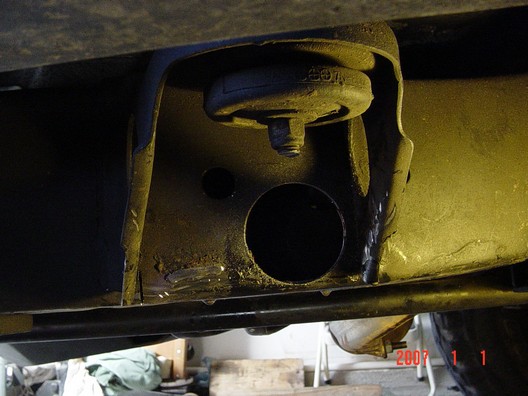
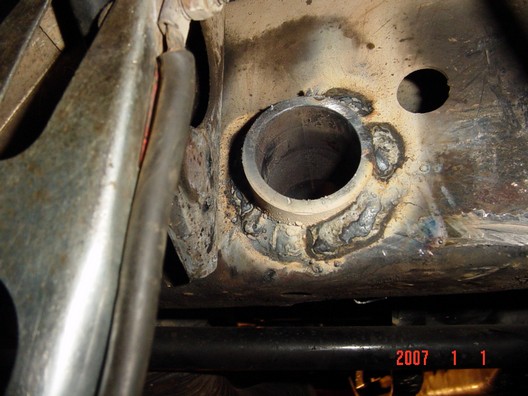
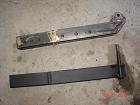
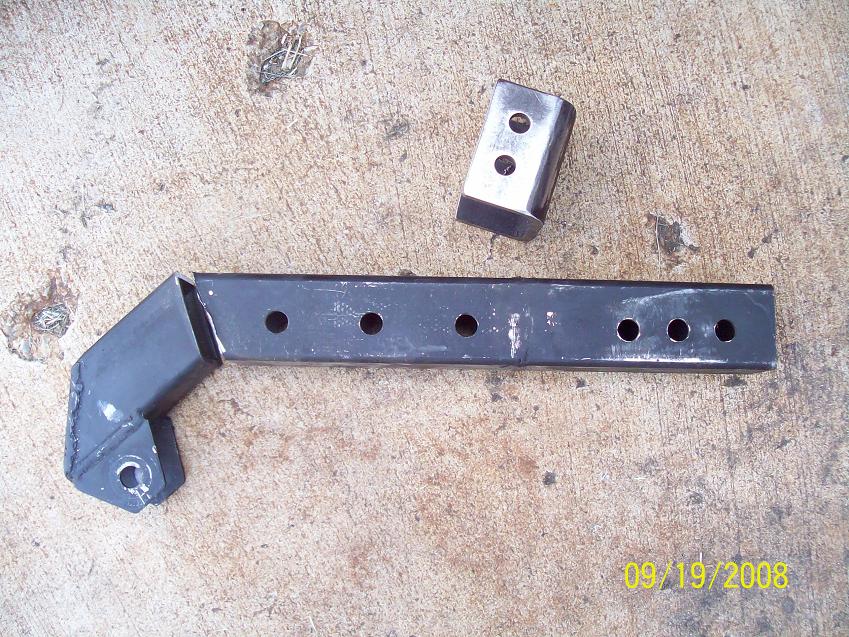
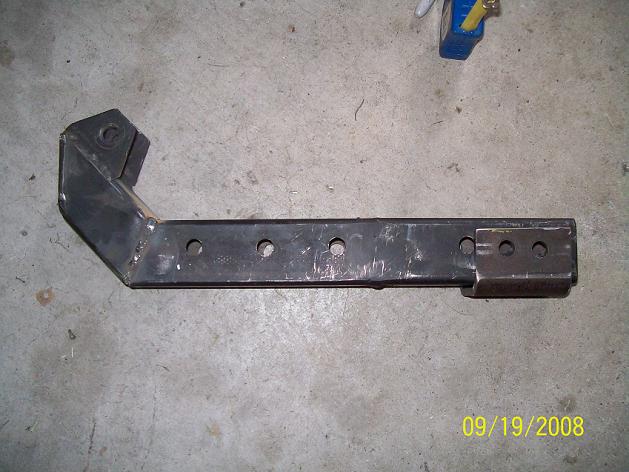
Front hanger

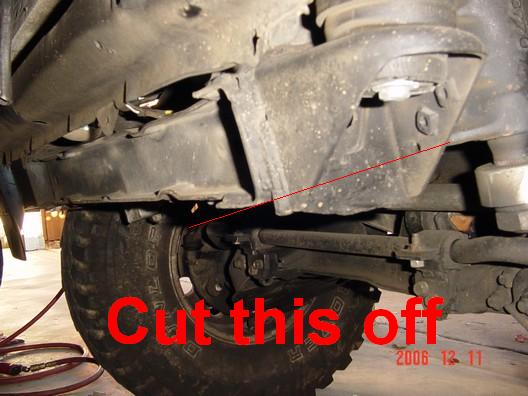

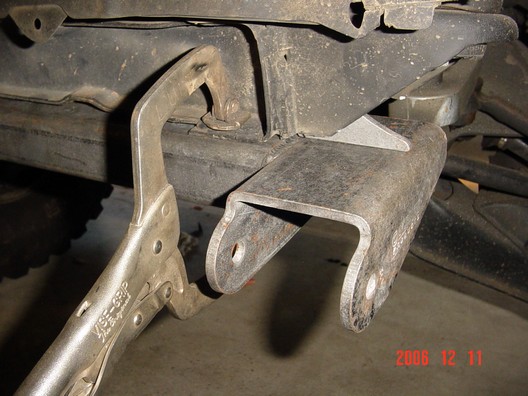
Then add some tacks. And reinstall the bumper.
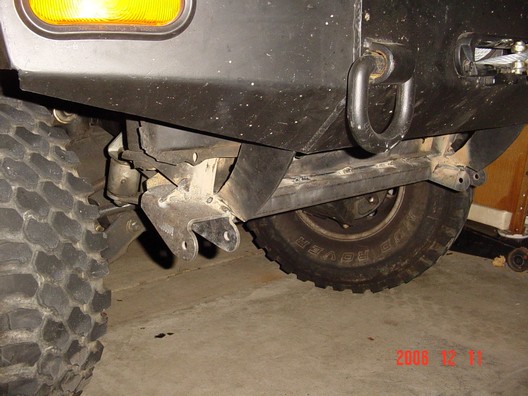

This is the after re adding the original KMA bumper bracket as a gusset. We added the piece removed from first picture above.

Rear shackle mount


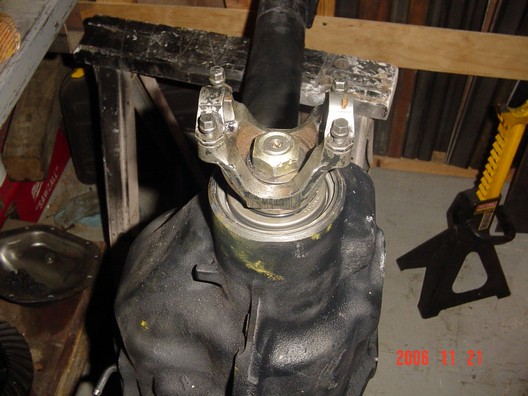
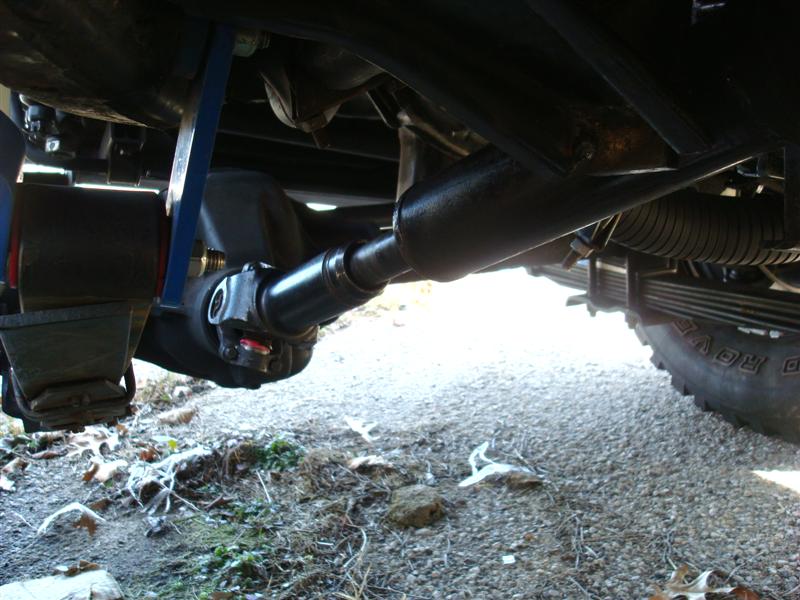
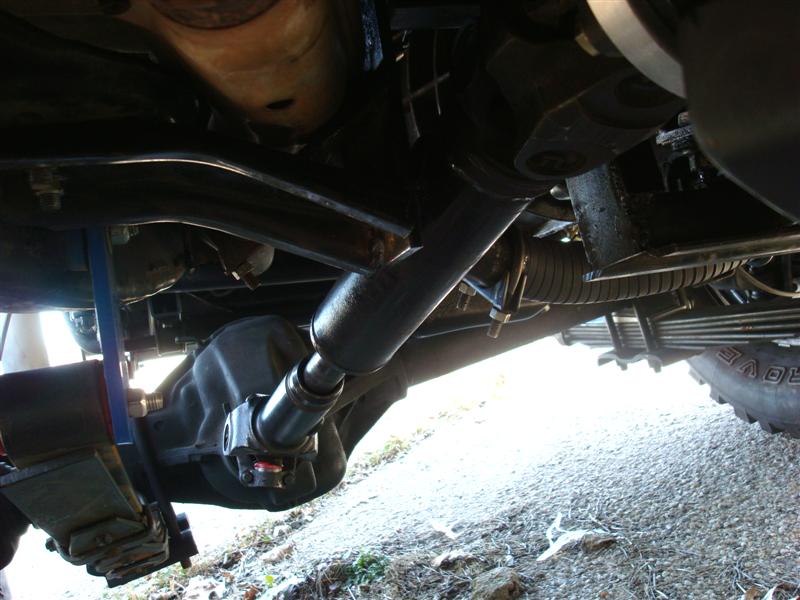
Front driveshaft
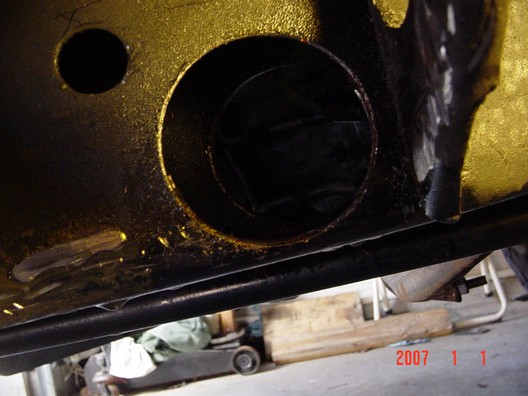
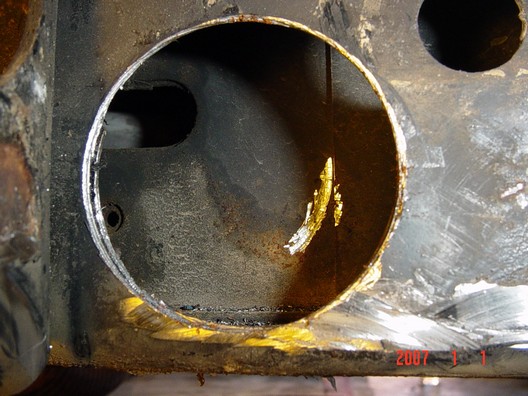
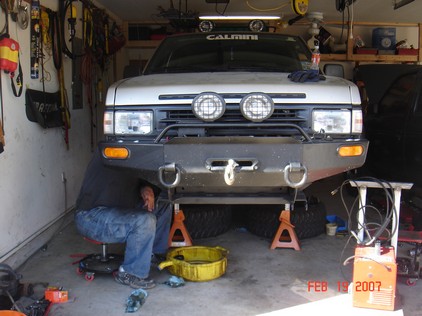
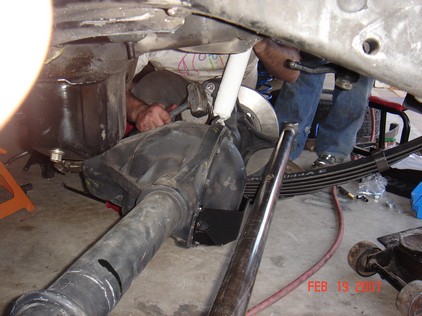
Deconstruction
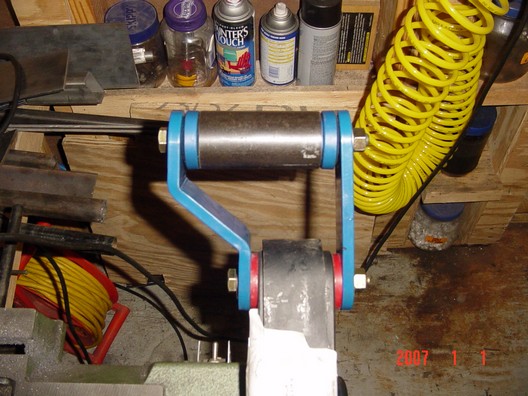
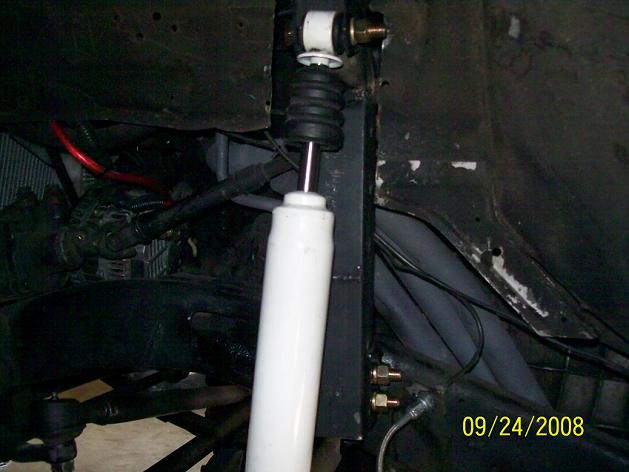
Shock towers
Made some tower from 2x2 .120 wall. Added some tabs. Shockes 11-12" work best. These were 14" travel so it was harder to get them to fit.
Updated; I arched the tower out and made the removable mount better with 2 bolts.
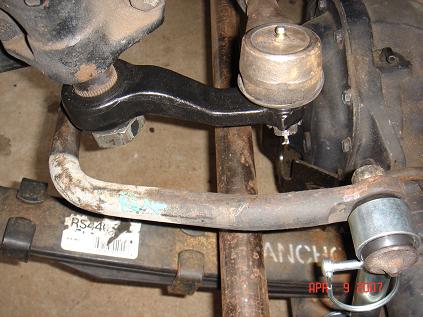
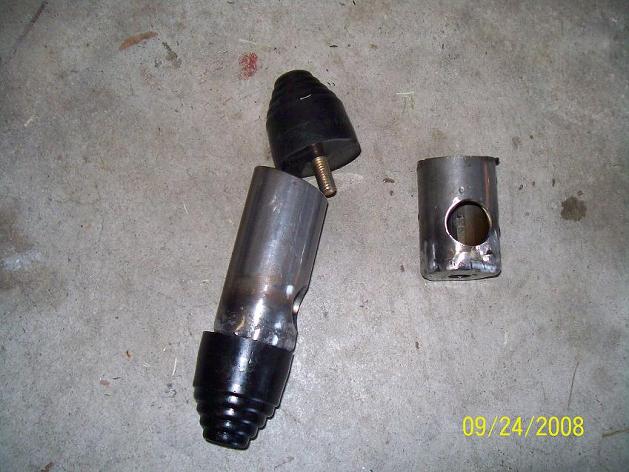
Steering
Steering is typical DOM with 7/8 TREs. Used weld in bungs instead of tapping threads. The Pitman arm is reamed to accept larger TRE.
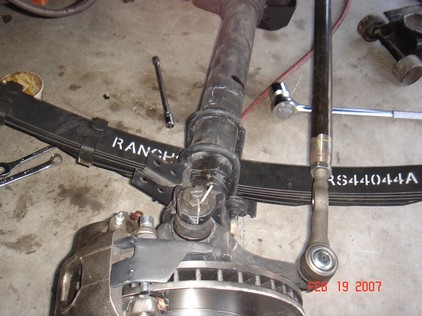
Update: We moved the TRE above the pitman. This is for more sway bar clearance and up travel.

front brakes
For front brake lines I
bought these from Summitracing.com
24" long 10mm to 10mm. Nissan and Dana 44 axles (gm/jeep calipers) use
10mm.1980+ are all 10mm. Just like Nissan. If You already have longer
aftermarket brake lines they will work.
Part # Item Price Qty Price
EAR-63010124ERL -3 ST./ST. 24" HOSE $12.88 2ea $25.76
EAR-989545ERL BRAKE ADAPTER -3 TO 10MM F I.F $4.99 2ea $9.98
EAR-997631ERL BANJO -3 TO 10MM $7.39 2ea $14.78
Parts Total: $50.52
You can save a few bucks by using shorter lines. These are quite long.
2wd test drive
Sway bar
Trans cross member mod
Bump stops

Done!!!

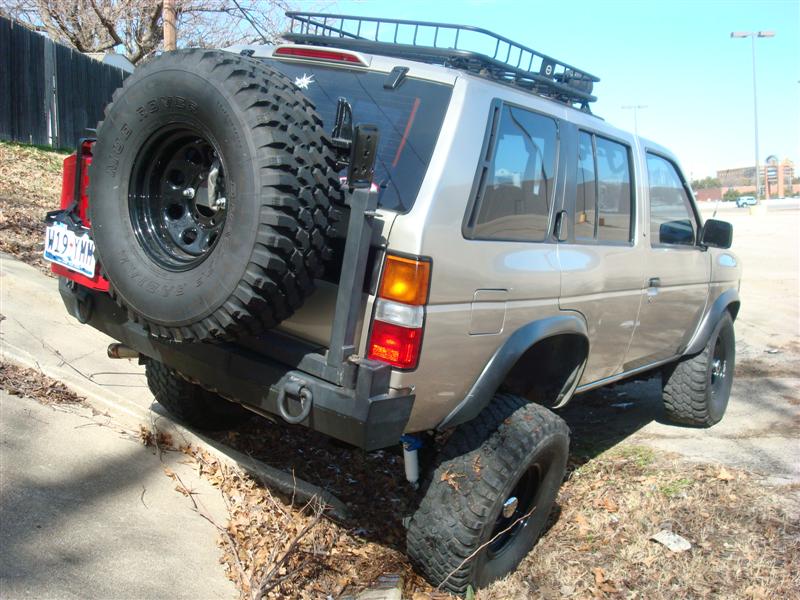
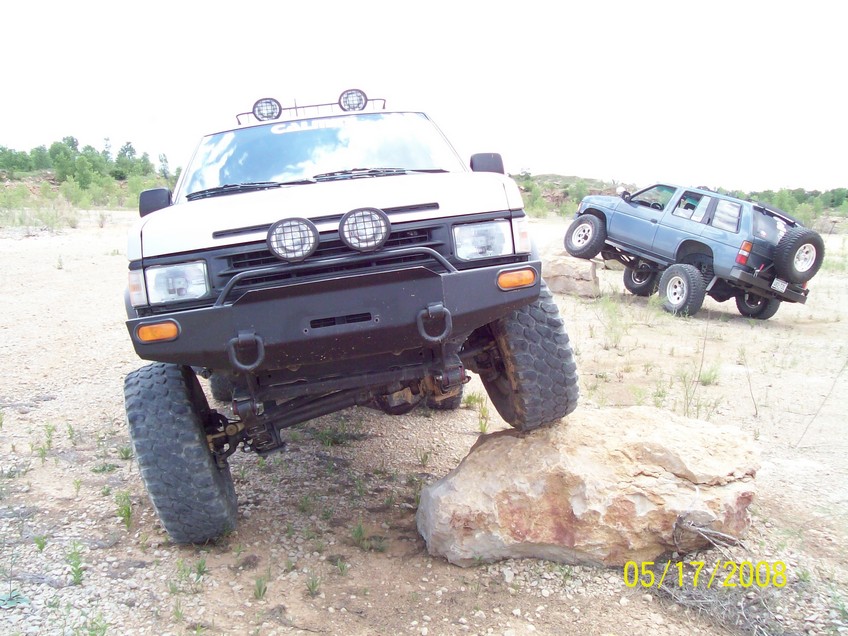
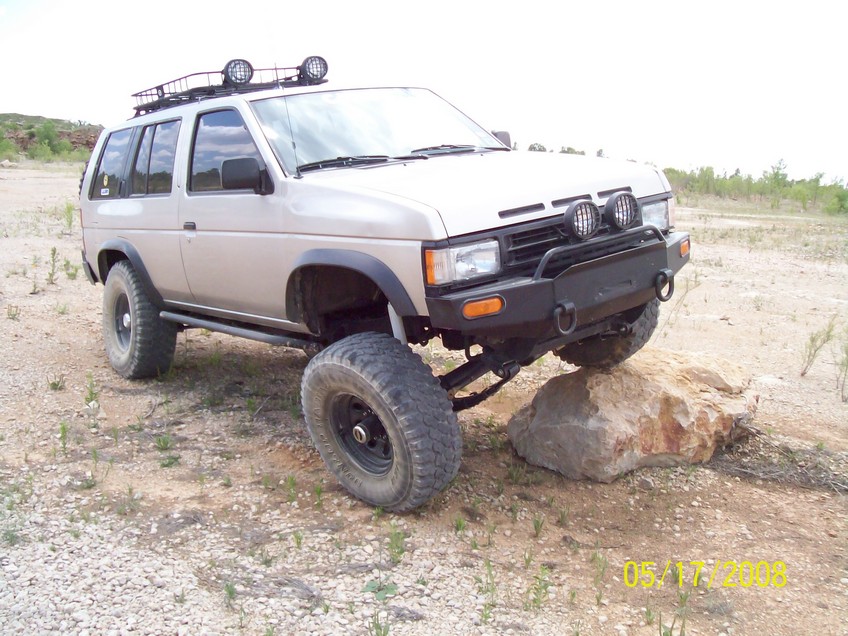
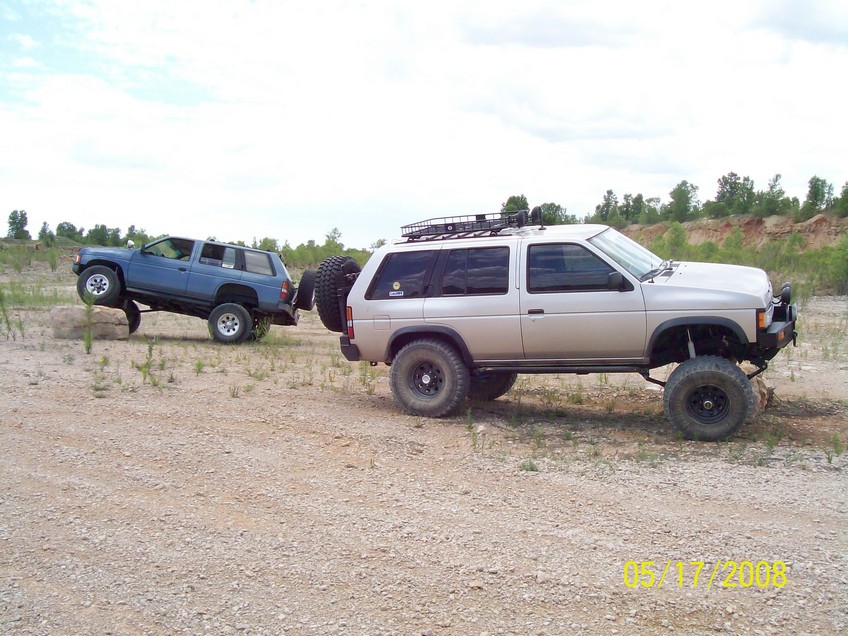
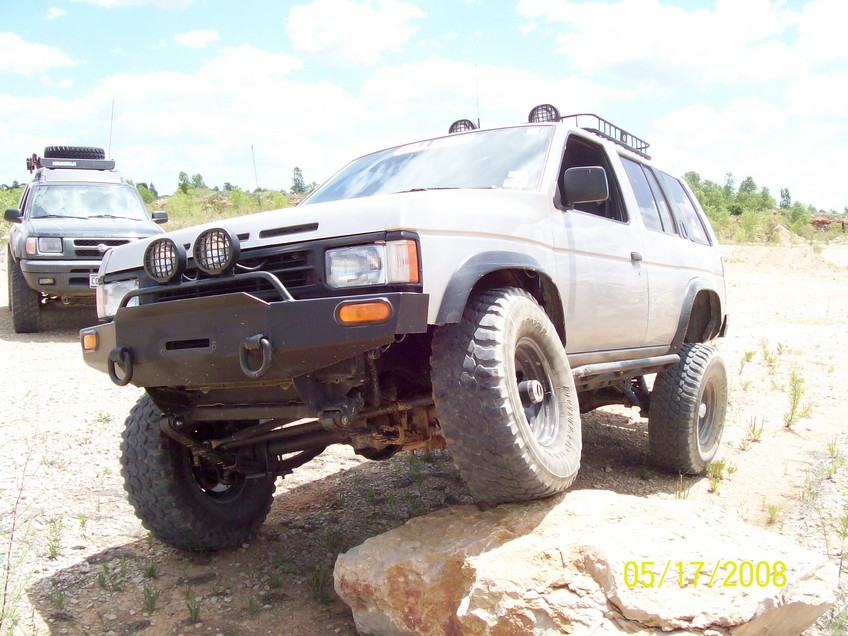
More flex pics.