![]()
Nissan Solid Axle Swap (SAS) Sway bar installs.
Updated 8/26/2009
The goal is to add the OEM sway bar to the frame. Originally the IFS sway bar is mounted to the cross member that gets removed with a SAS. The sway bar is remounted just above the tie rod similar to the original IFS location.
- Ver 5 - VG33e on a D22. This cross member had to be 1.25 DOM to clear the Oil filter and bung style drag link.
- Ver 4 - D21 new removable cross member using discos on axle. Simpler version of 3.0. better location.
- Ver 3 - WD21 new removable cross member using discos on axle.
- Ver 2 - WD21 OEM waggy sway bar on a SUA setup.
- Ver 1 - D21 mounted behind axle on SOA due to clearance issues with Hi steer. works but sway bar has to be removed to wheel.
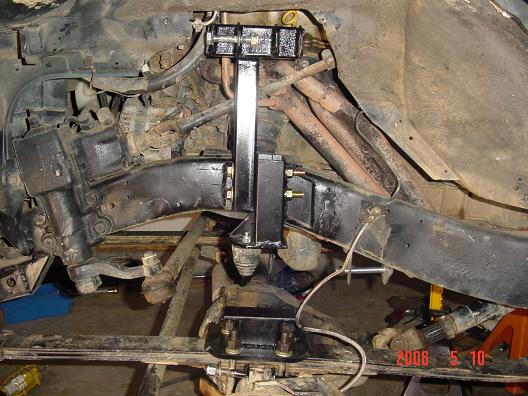
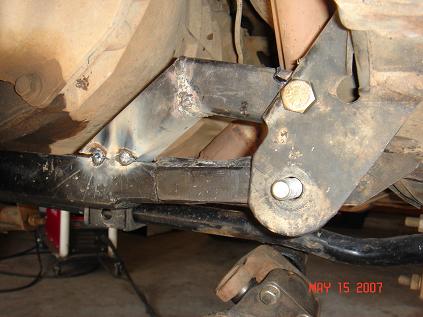
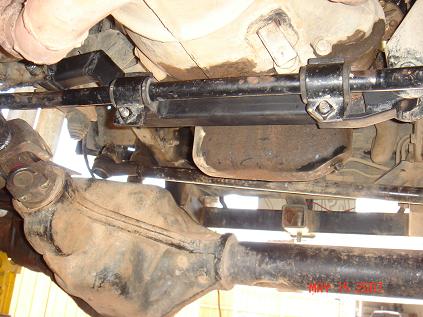
SWAY BAR ver 5.0 (D22 VG33e 3 link)


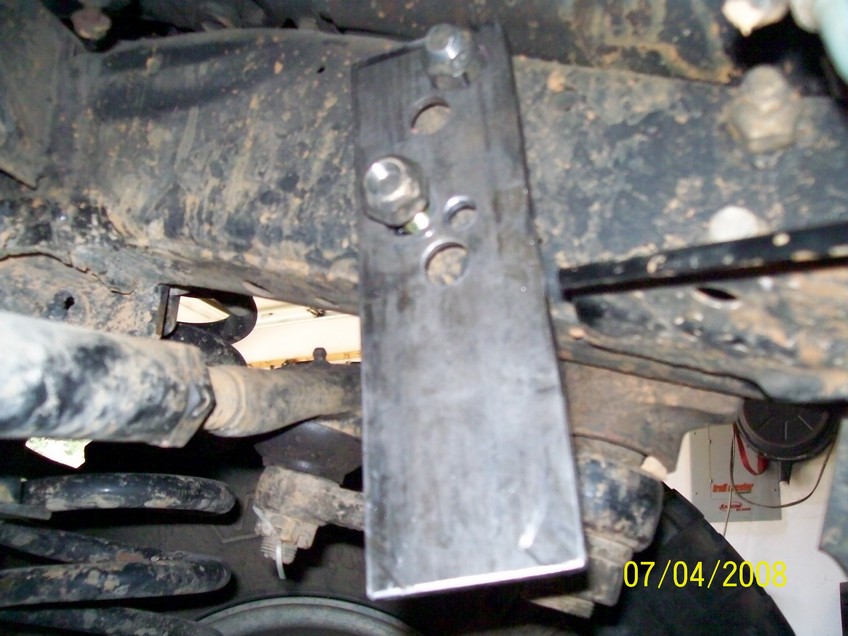
Then cut some 1.25 .219 DOM (Just the size I had anything close will work) 23.5" long. This is W/D22 frame size. Weld DOM below oil filter to brackets.


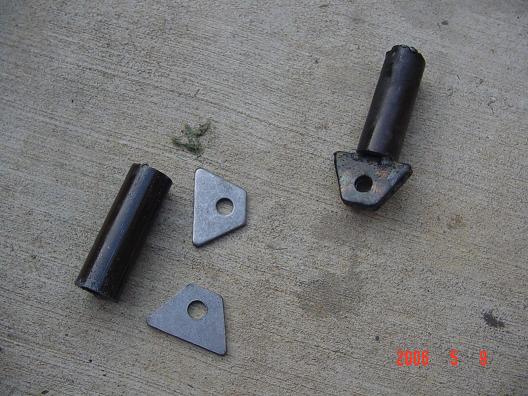
Then Drill a 1/2" hole in 1.5" wide 1/4" flat stock. Cut to to 2" long. Weld to axle.
Then modify the links to correct length and install sway bar to axle.
Make some mounts for the bushing hangers. Cut some 1.5 wide 1/4" flat stock for the OEM hangers. Drill 2 holes in each for the OEM 10mm bolts.
Mount the hangers on the sway bar that is already mounted to axle. Now tack hanger mounts to DOM cross member.
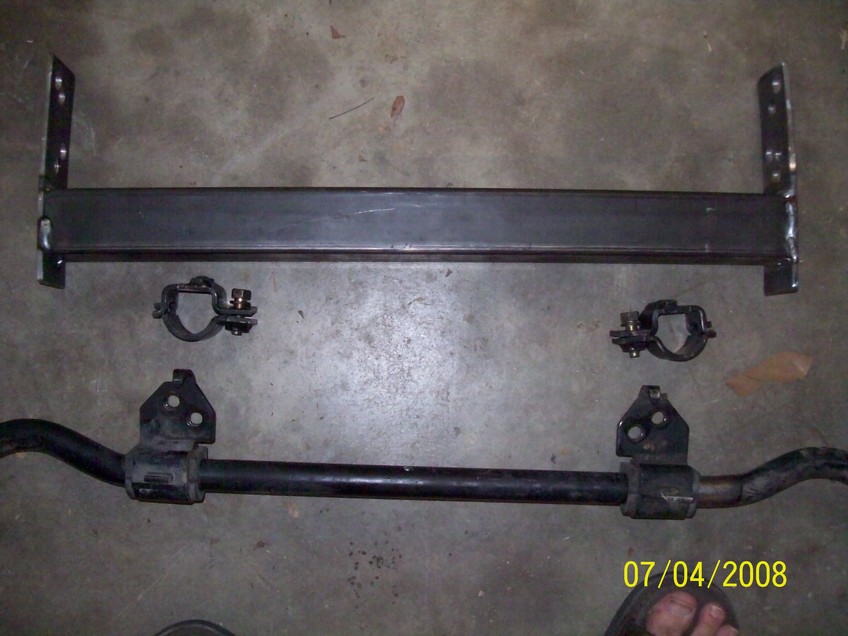
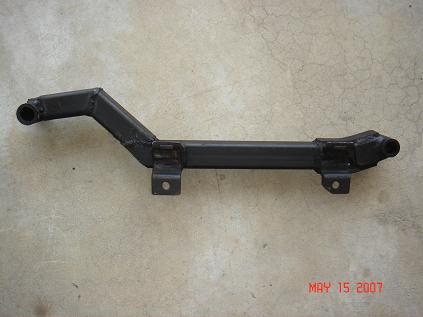
SWAY BAR ver 4.0 (Hardbody 3 link)
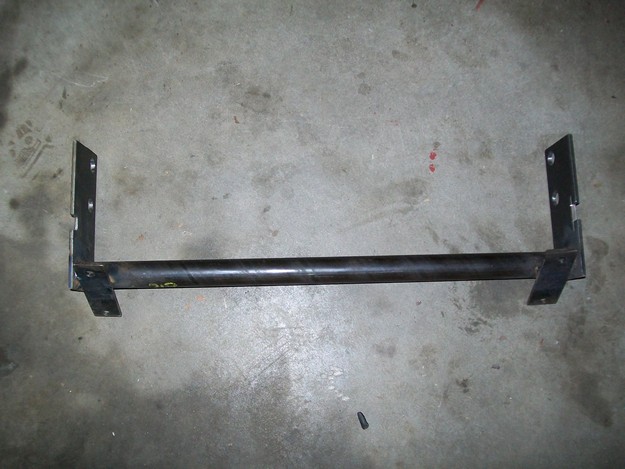
I drilled holes in some 2" 3/16 flat stock 7" long. Then cut the 2" tube to length 22 1/4".
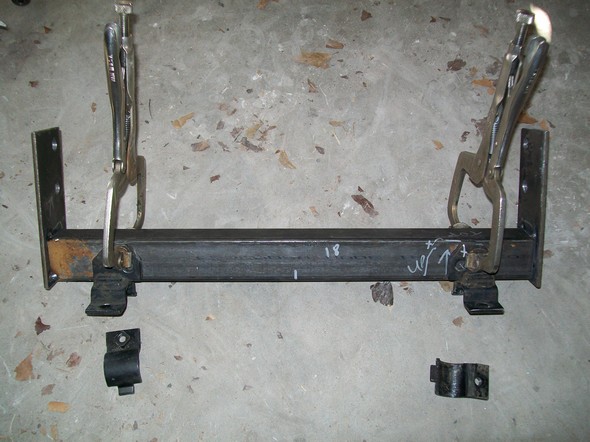

Added OEM brackets. Welded to tube.

The quick discos are bolted to tabs on axle with 12mm bolts.
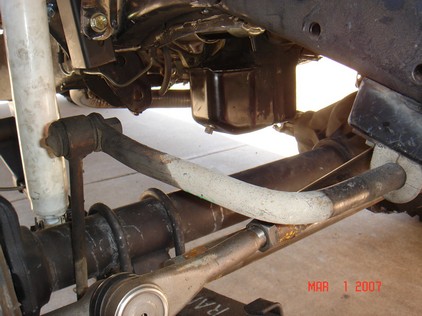
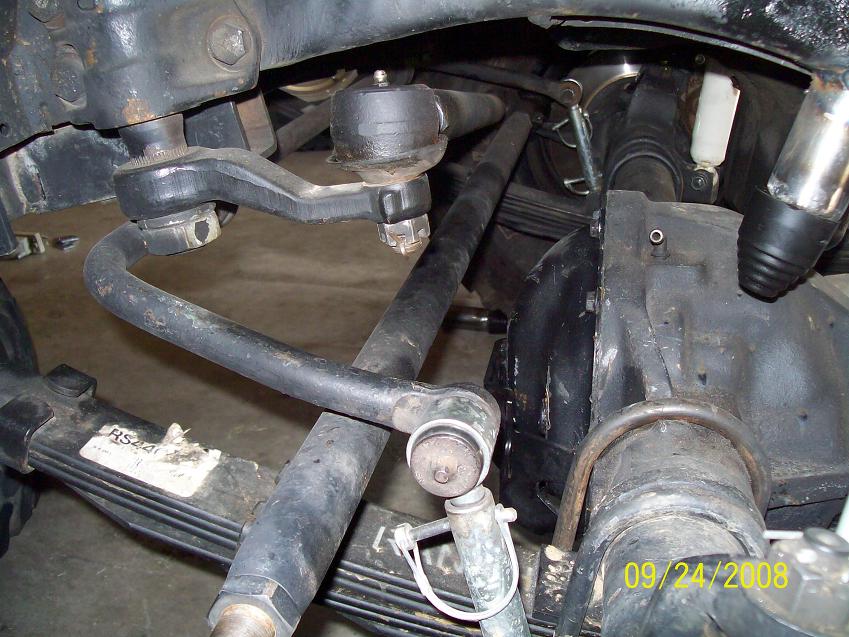
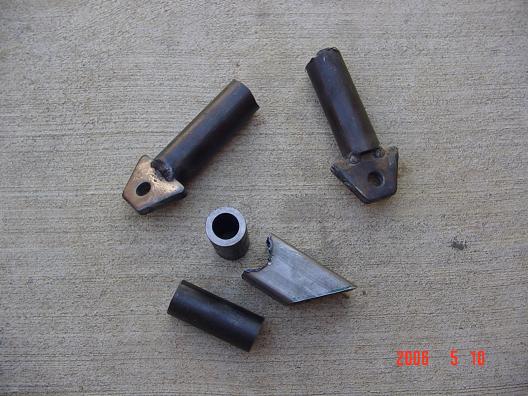
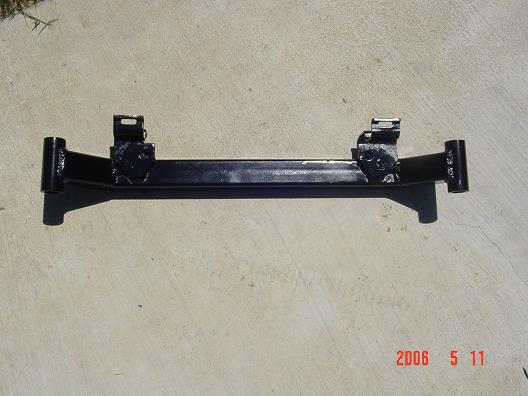
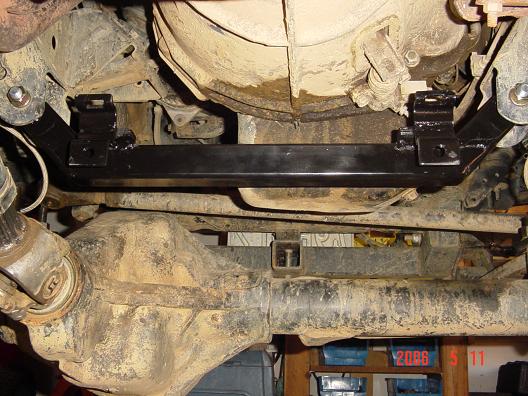
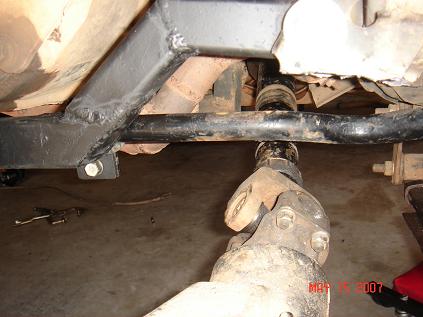
SWAY BAR ver 3.0 (Pathfinder 3 link)
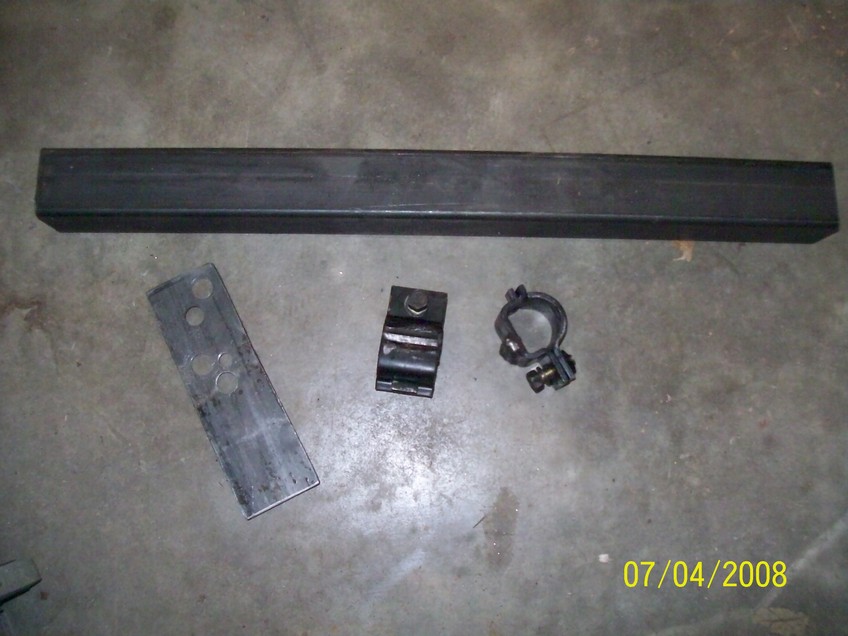
I drilled holes in some 2" 3/16 flat stock 7" long. Then cut the 2" tube to length 22 1/4".
Modified the OEM brackets. I removed the old crossmember bolt on style. Welded to some DOM.

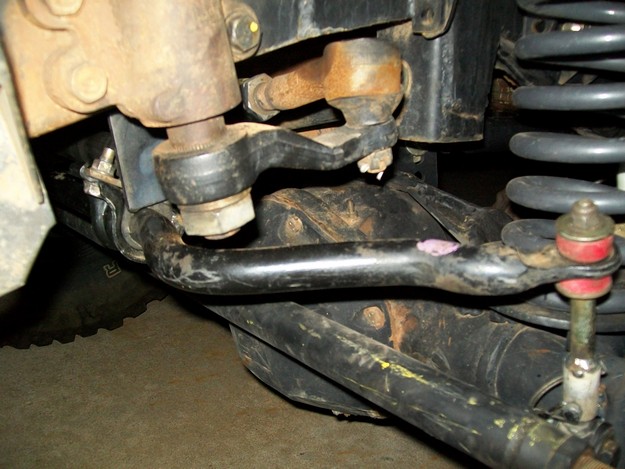
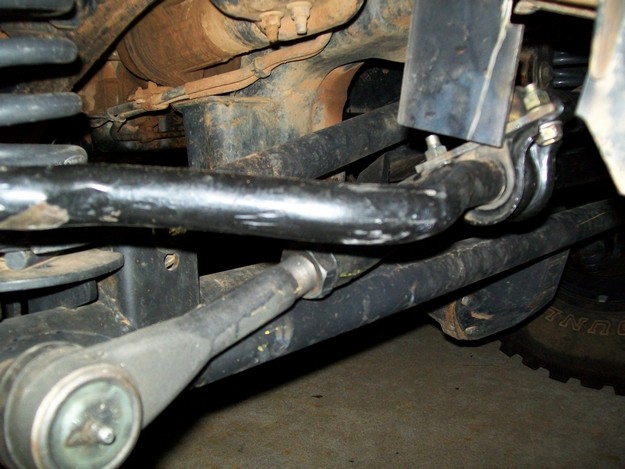
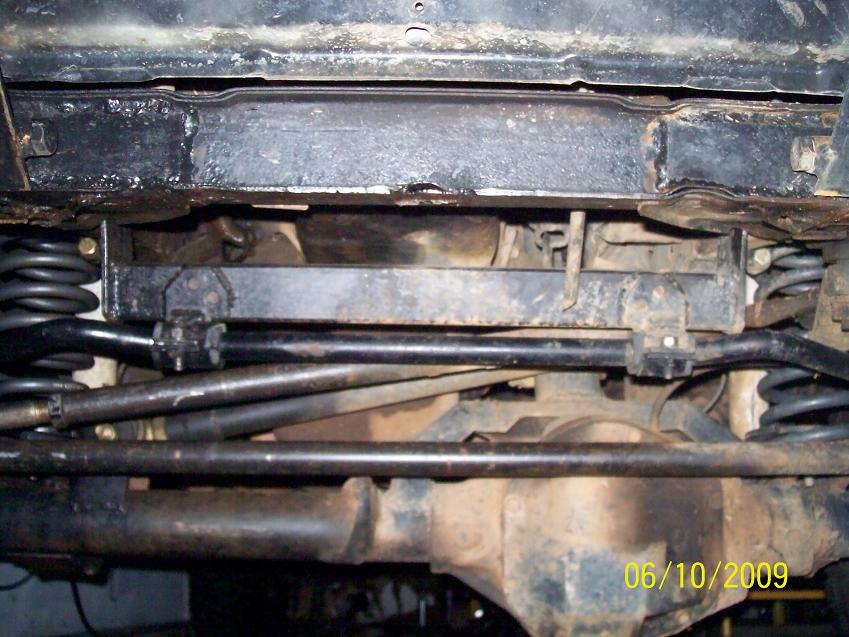
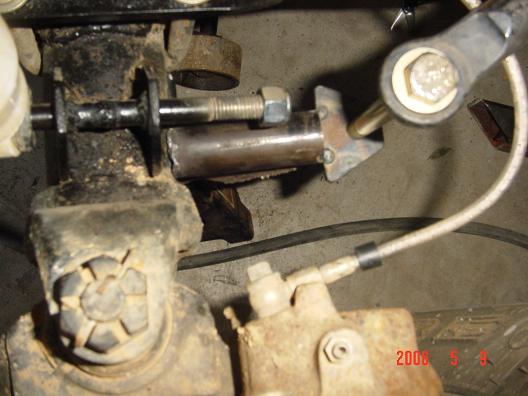
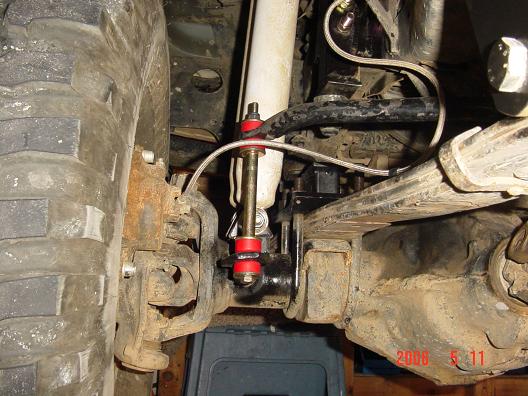
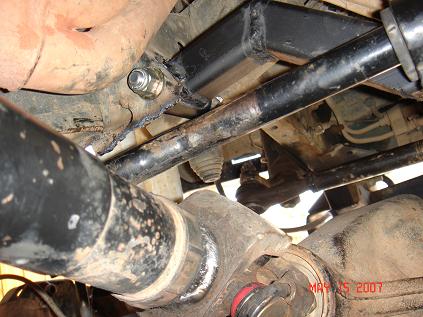
The sway bar is just above the tie rod similar to the original IFS location.

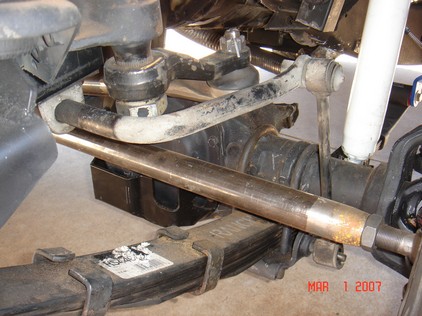
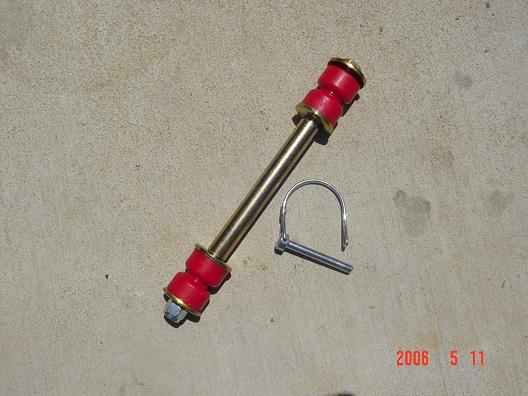
Updated 3/2009
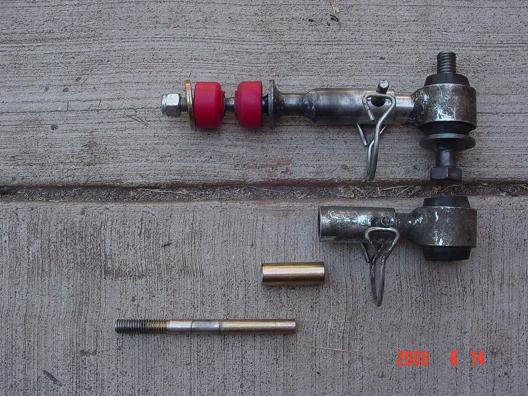
I used a tab on the axle with a 12mm hole. OEM D21 shackle cut in half. Then used a quick disco and OEM top half of sway bar link. Just like version 4 and 5 above.

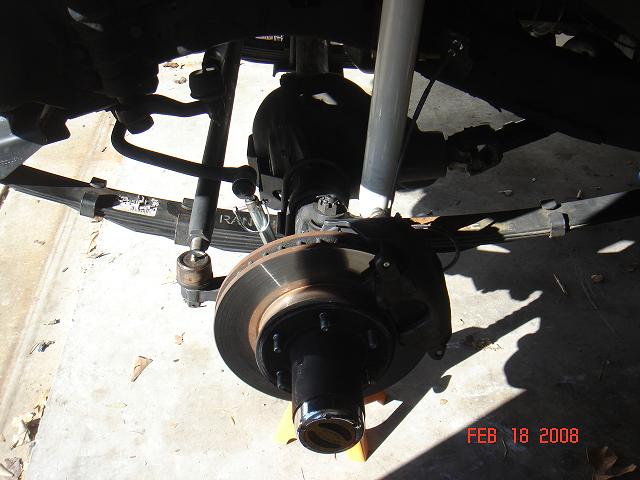
SWAY BAR ver 2.0 (Pathfinder SUA leaf)
This uses a stock waggy sway bar and hardware. Made some 2x2 blocks for mounting behind hanger. Welded some 10mm nuts inside. Used OEM Nissan sway bar bolts.


Had to shorten the links for clearance.

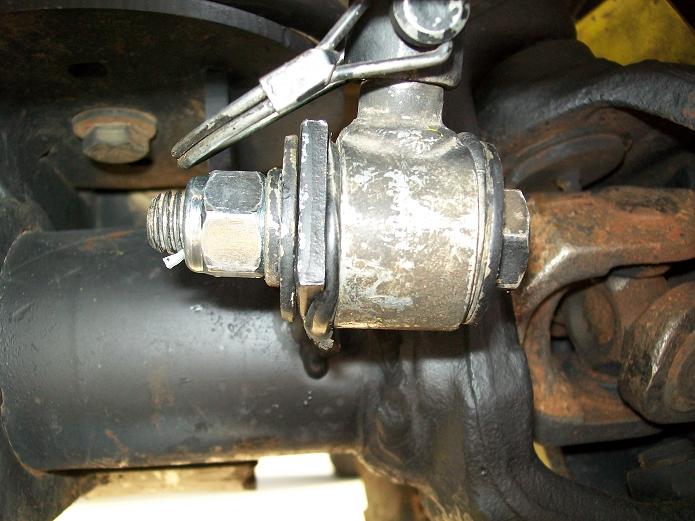
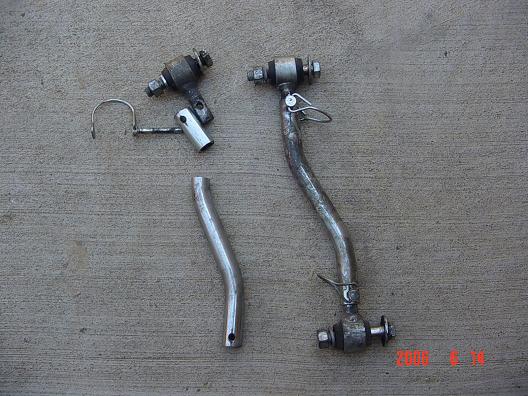
New longer quick disco links and moves tre to top of pitman.


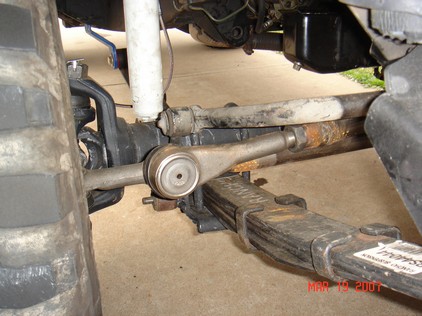
SWAY BAR ver 1.0 (D21 SOA)
Very important to establish ride height before mounting. In this pic all the weight is on the axle.


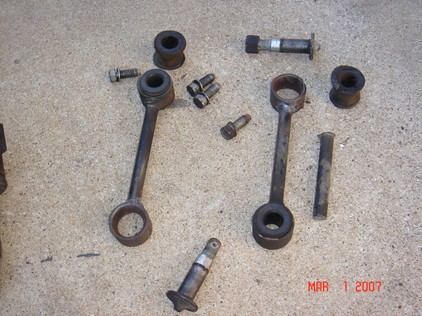
I converted the sway bar end links to quick disconnects.
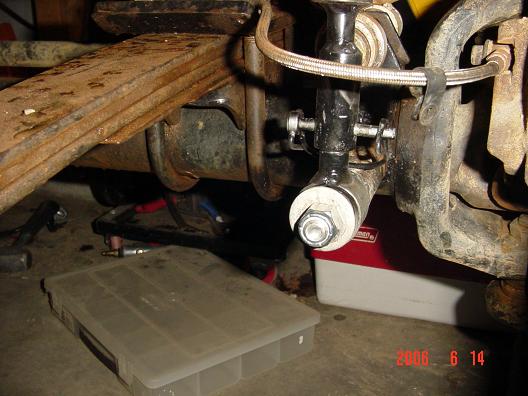
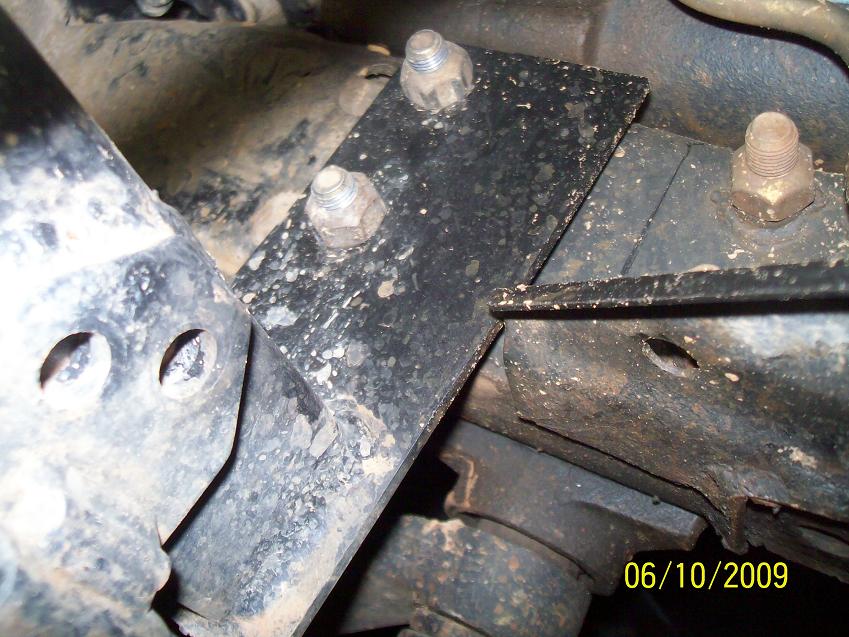
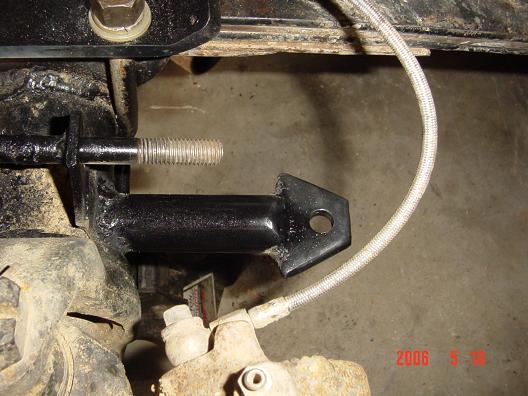
I had a problem after the cut and turn with the U bolts getting sheared off from the frame tab that holds my sway bar. I decide to raise the sway bar crossmember higher on the stock frame tab. This solved 2 issues. 1 I can now leave the sway bar crossmember on when wheeling. 2. Now more sheared U bolts.
I was able to get a 1/2 drill in there and drill a new 1/2 hole allot higher that original. The tack in a new mount. Then cut off old frame tab. Now my driveshaft hits the header. So I raised the bump stop a little. The driveshaft never hits sway bar while on the street.