![]()
Nissan King Cab (D21) Solid Axle Swap (SAS) with 3 link + Panhard with coil springs.
I wanted the best suspension for trail riding the Nissan D21. I decided to make my own Links with johnny joints.
My Goal is too build this truck into the best off road vehicle while still keeping it road worthy and street legal. I listed all the parts used and where I got them to help others. Material list has prices and part numbers used.
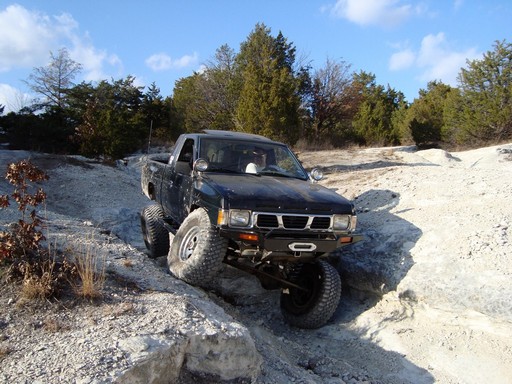
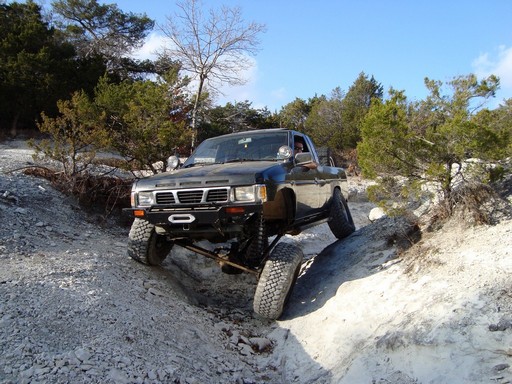
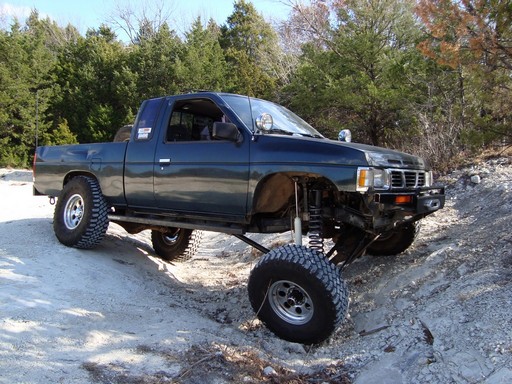
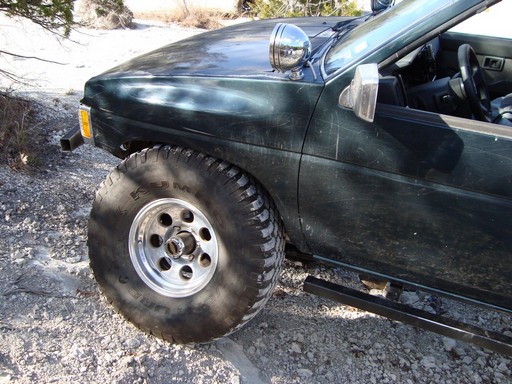
Plan 35" tires, 4.88 gears, 3 link with track bar. DOM Y steer. OEM sway bar.
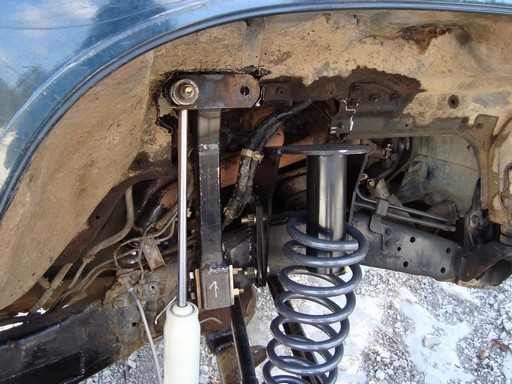
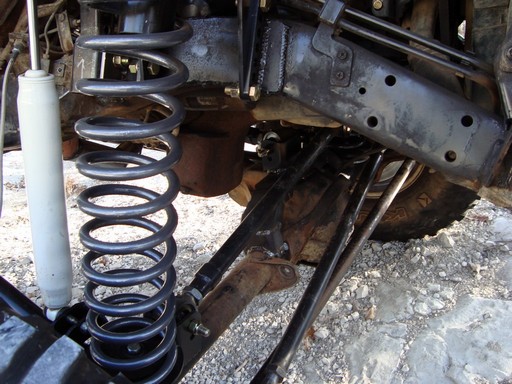
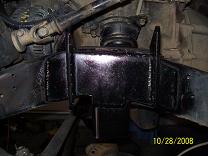
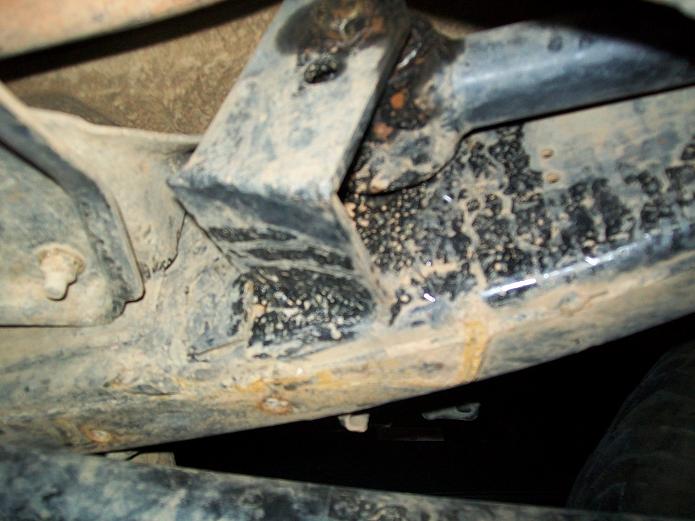
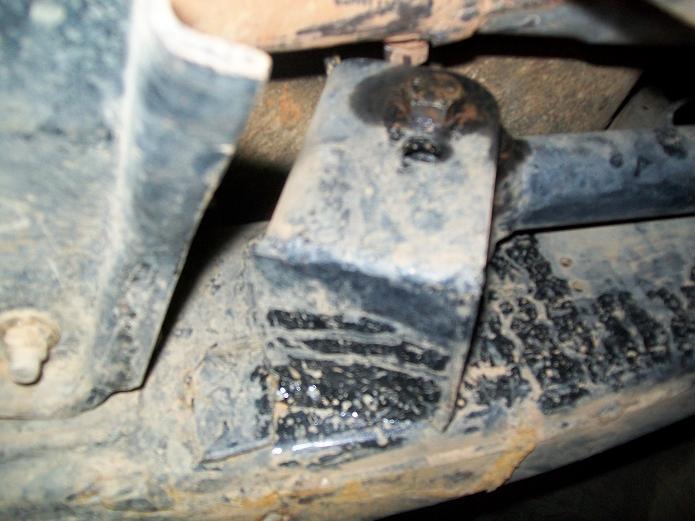
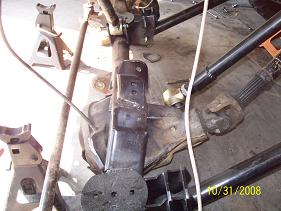
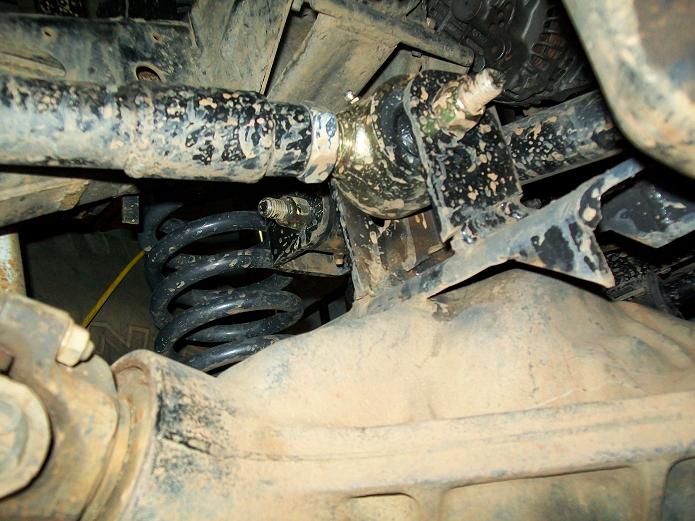
COIL BUCKETS
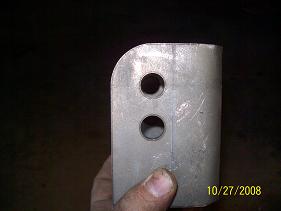
Ballistic coil buckets, track bar mounts. I added a 3/16 plate to reinforce the frame rail. Its 4x8" long. The center of the opening appears to be exactly the center of the motor mount. I used a laser level to create a Vertical line from fender down to concrete. I used the same basic 2 hole bracket for upper links mounts (both) and track bar mounts (both).
I welded it below coil bucket mount and tied both mounts together with a piece of 3/16.
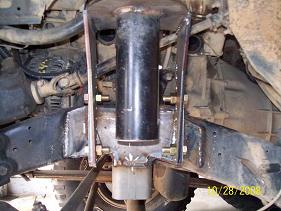
I added 7.5" of tube to prevent the coil from falling out at full droop. The tube is the stock D21 driveshaft, 16gauge. The rubber insulator is a stock Wd21 rear upper one.
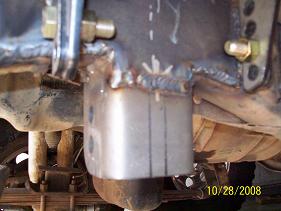
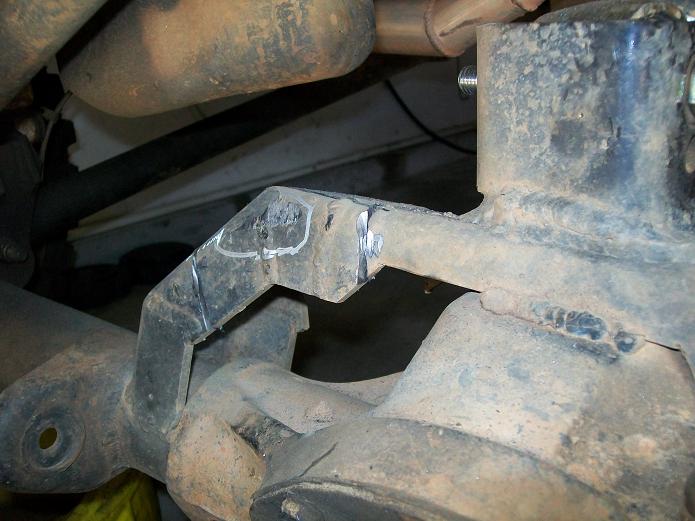
LINK MOUNTS

I mounted them 3.25" from tube end (the wd21 and d22 I did 3".). I had to notch for the pumpkin clearance.
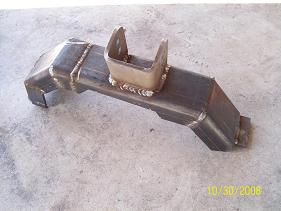
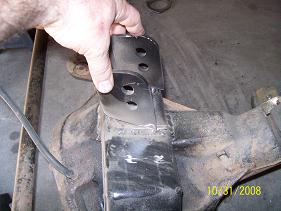
Upper Link Mounts
The upper link frame side goes through the frame. I make a frame spacer. I use 3 pieces of steel. I use a piece of 16 gauge tube (old front driveshafts) and weld a plate and piece of dom to one end. This is to avoid using a LONG bolt. I could actually use the same bolt as every other link end. But I use a 6" instead of a 4.5".
![]()
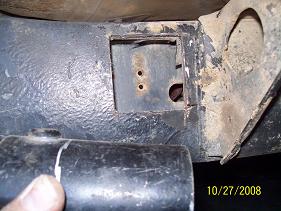
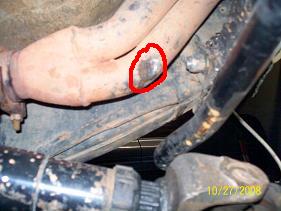
To install the "frame spacer" I cut a hole on outside frame rail in front of cab mount. Drill a 9/16 hole in inside frame rail. Note the inside frame rail is THICKER than outside. There is another layer of steel in there. This is cut and removed also.

Now you can install the spacer and gusset the hole. I plate the whole area since the outside frame rail is so thin.
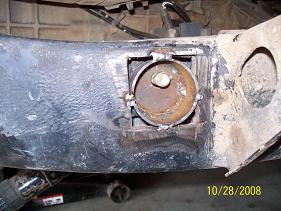
I plated the bottom of another bracket and mounted at angle on the inside frame rail.
![]()
This is the finished upper link.
The upper truss started as half of a huge 2 piece truss. From one truss I did 2 trucks.
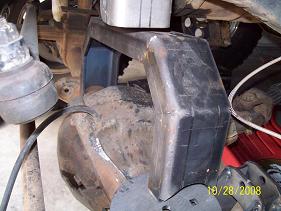
After a little trimming. I made it level. I had to section it also to avoid the oil pan.
Durng suspension cycling found the upper link mount needed to be turned to allow bind free flex.
Testing suspension with no shocks or coils.
After some cutting for oil pan clearance.
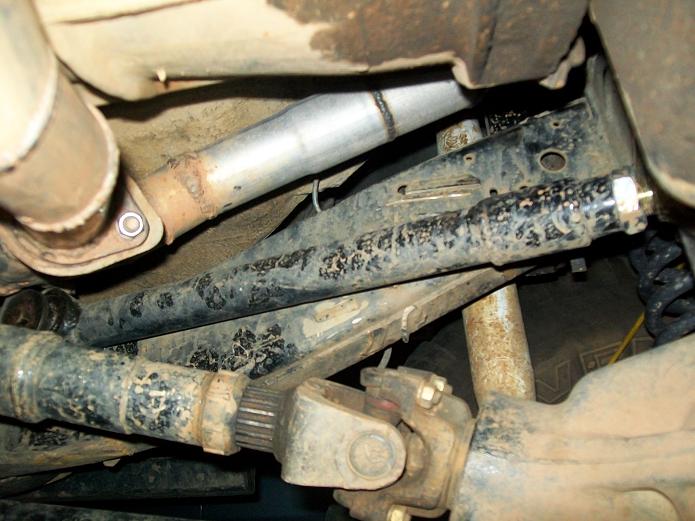
LINKS
Johnny joints are 7 piece assembly. Very easy to assemble. Using these in all ends of the links and one end of the track bar. I had to use a press to get the clips in.
Bolted on the lower link and still have pathy on seperate jack stands from axle. The coil is just for mock up. Actual coils are 7" longer.
Made the upper link the similar to lower except with 1.5 tube.
Track bar is a .250 wall DOM. About 26" long. I used a Johnny joint one end and poly bushing on the other.
SHOCK MOUNTS
front shocks I use Rancho rs5005. With removal towers and coil buckets.
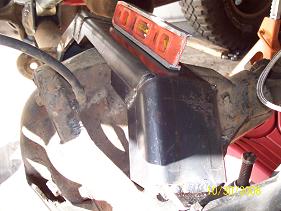
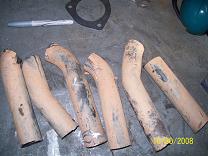
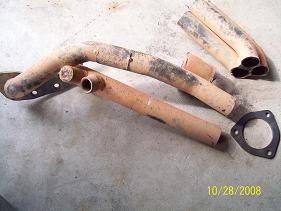
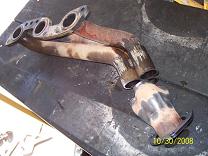
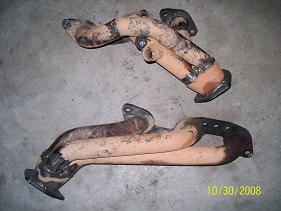
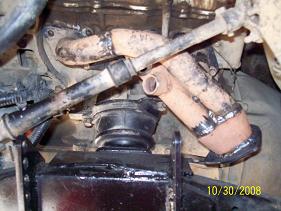
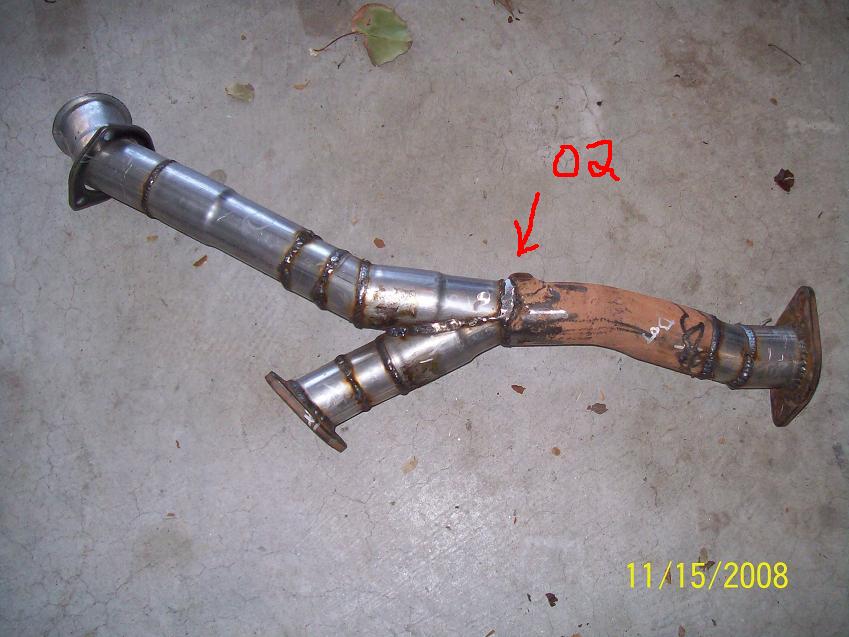
EXHAUST MOD. (Headers shown)
I had to convert the pace setter headers to shortys for upper link clearance. You can see why my driveshaft was hitting the Header in this pic.
I sectioned the long headers and made them the same lenght as the Thorleys I have on the pathfinder. This solved numerous issues. One the headers were so long they had lots of turns to get to the Y pipe. Another issue was blocking the starter bolts.
Part and service Suppliers.
Poly Performace - Link frame brackets, Trark bar brackets, poly link ends