![]()
"Rear Sway" Installing Polyurethane bushings in a Nisan Pathfinder 87-04 WD21 or R50 2wd and 4wd.
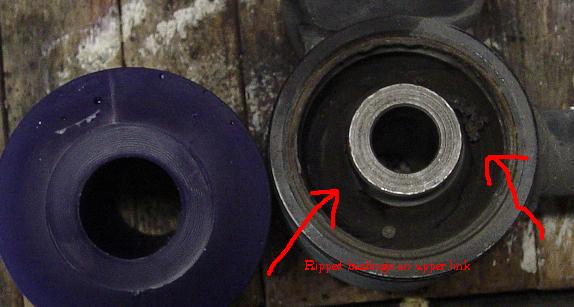
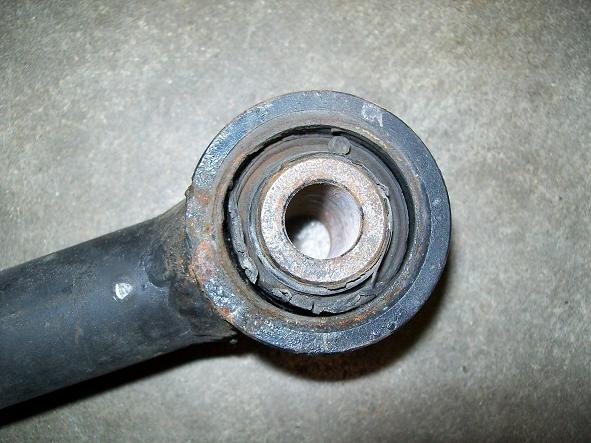
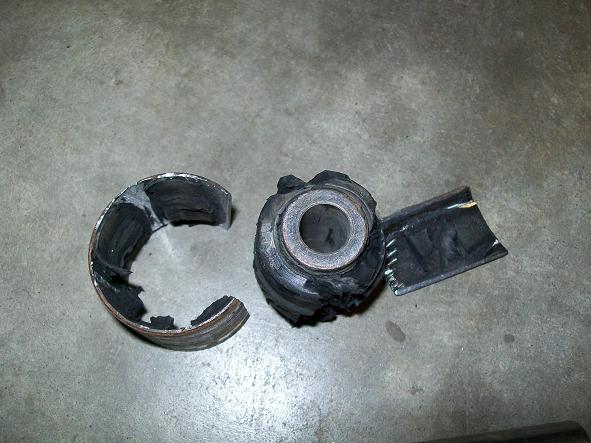
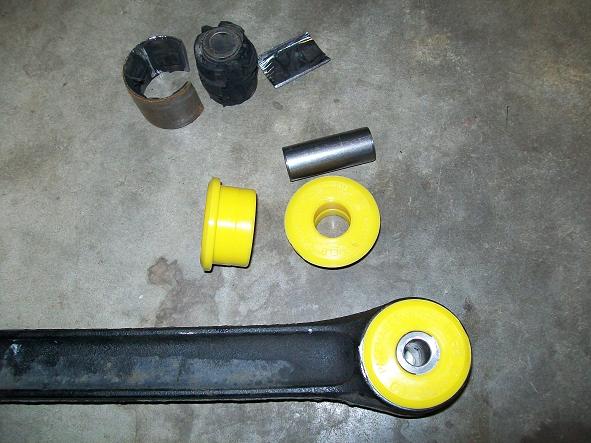
This is the problem with the stock bushing. The Rubber separates from the steel center. Not visible when in vehicle. The upper and lowers are ripped. I replaced the lowers in 2002 with redesigned stock pieces, then when they ripped again went to polys in 2003. I love these poly bushings. They are hard to change though because you have to get the old ones out first.. Polys are much easier too install than factory style. The trick to installing is cut the poly bushing in half if you get a one piece design.. I use a sawzall with a piece of 3/4" pvc to hold poly. The upper links are the first to fail in my exeprience. I have only seen one panhard bushing ripped. Lots of upper and lower link bushing failures. Never worn out a poly yet.
- To remove old bushings:
- Jack up rear of vehicle and support on jacks at the frame.
- remove rear tire.
- remove the 2 bolts at each end of ONE lower link. I use a 24" 1/2" ratchet with a 3' tube extension. Yes you need a 5' breaker bar. These bolts are tight. My air tools could not break them loose. Sometimes I used a wrench and a dead blow hammer. My latest Air gun can now bust these loose. Just did a 287k mile original owner 90 wd21.
- Remove muffler gives you allor more room to work.
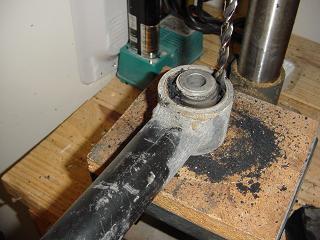
- Now drill out the rubber around center steel bushings. I used a drill press.
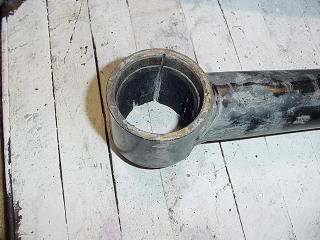
- Using a hacksaw or sawzall cut through the this steel outer ring of the bushing once or twice. Be careful not to cut the link itself. Cut towards the link shaft.
- The bushing should now slide out.
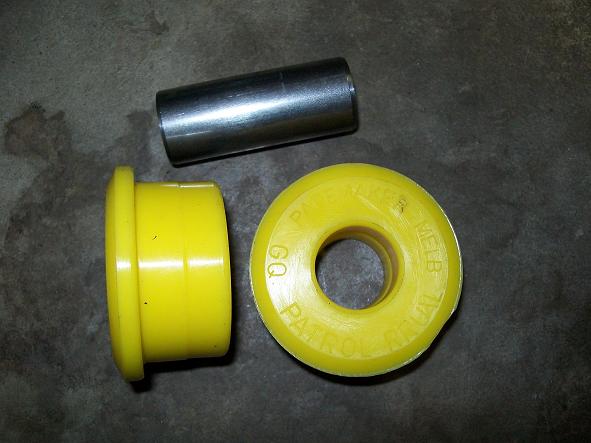
- Lube the polys real good on the outside and insert in the end of the link with white lithium grease.
- I cut the polys down the center so I could remove later and regrease. Allows for easier install and remove. I cut with a sawzall. Most polys are a 2 piece design now.
- lube steel collar and press in using a bench vise.
- reinstall link in vehicle. torque bolts down.
- remove next link and repeat steps 4 through 10.
- reinstall wheel.
- repeat on upper links.
- Re install muffler.
- Extra steps are too remove upper links are sway bar frame mounts to gain access to upper bolts.
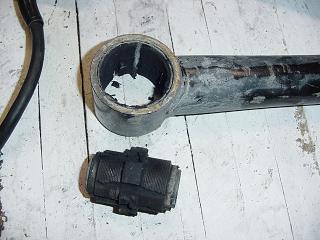
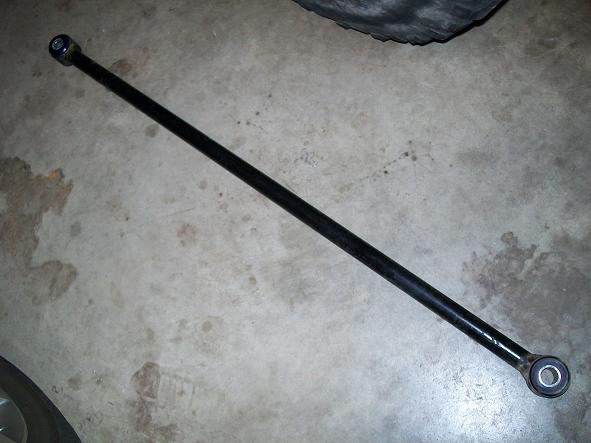
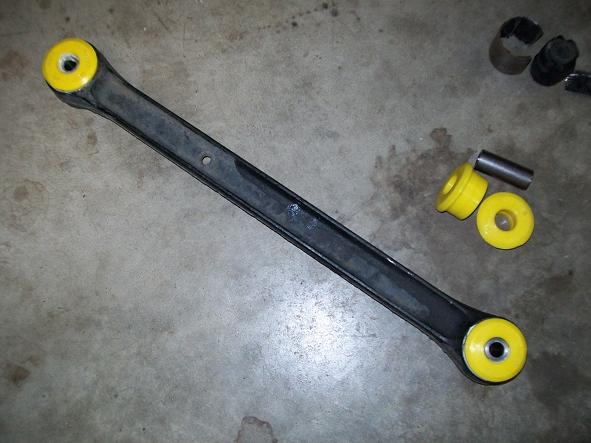
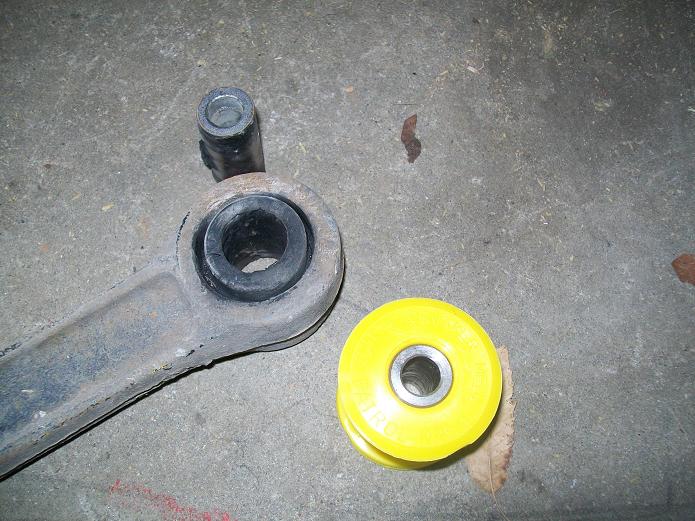
Removed link from rear.
Drill out the rubber, makes it easier to get center out.
Now rip out the center steel collar with a press, hammer or vise.
Now CAREFULLY hacksaw or sawzall the steel collar, I hit the link a little but these are very thick steel.
Now once the pressurized steel collar is cut it can be pushed out. Be careful because it will pinch the blade when it cut all the way. Sometimes I cut them twice.
Now lube up the inside of links and press in with a vise. I did cut mine in half to allow for future lube jobs. I used a sawzall to cut in half. You could just put grease fittings in. Even cut I had to press them in. Them are much bigger than the collar for a tight fit.
Not fun to remove but worth it in the end.
The Panhard rod is still fine in mine so I have not installed the new polys I bought for it. They do not appear to wear out like the 4 link ends do.
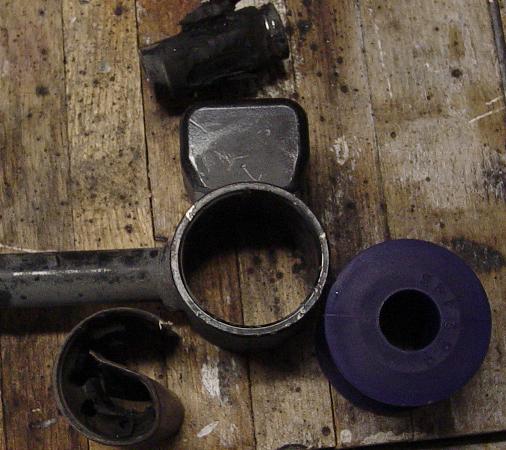
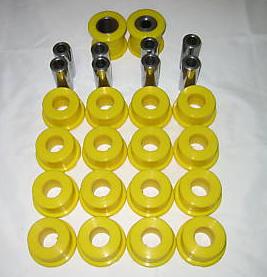
Here is some Polys I found on Ebay designed for a GU/GQ Patrol rear 5 link. They use the same bushing in the links. Just panhard is different.
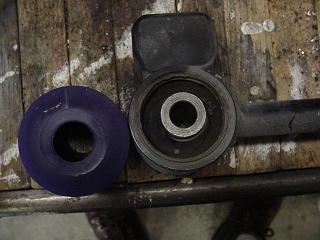
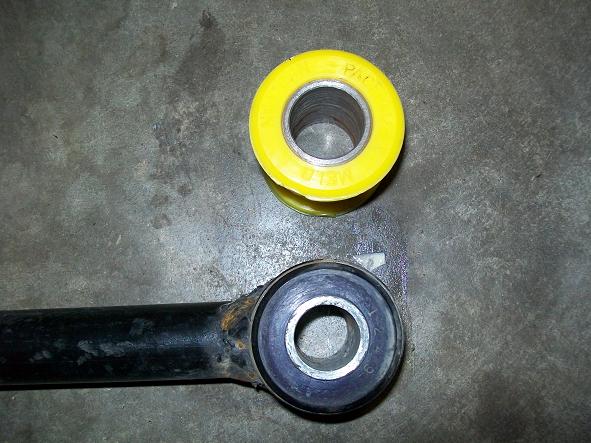
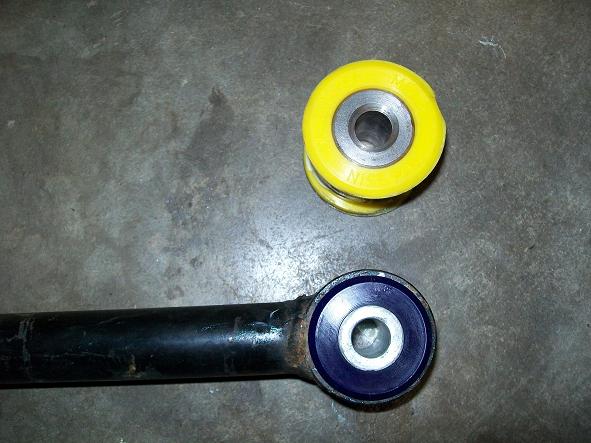
Here is the worn bushing removed compared to the new poly version.
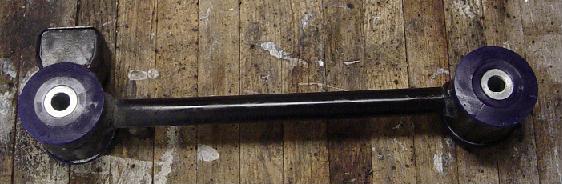
Installed.
Here is the Panhard bushings for a Patrol. Compared to a Pathfinder. They are different. But the Panhards never wear out it seems.
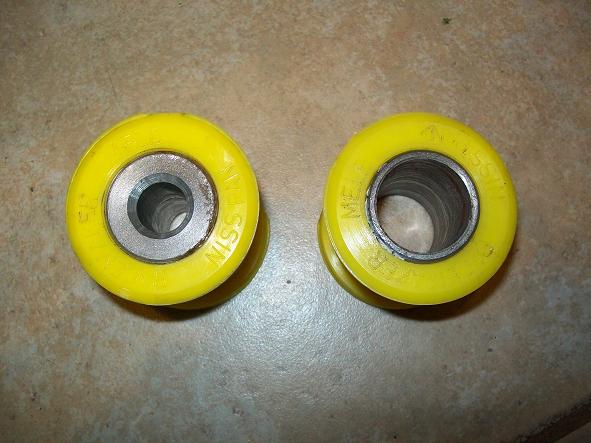
Just did a 287k 1990 Pathfinder. The original bushings were so bad they fell out. Put the Patrol version in all links except panhard.
Any questions join the forum or email me, email is on the menu bar.
Parts source:
www.4x4parts.com Pathfinder link and panhard bushings
just4x4parts.com.au - Patrol link bushings