![]()
Updated
4/15/2016
Tools
needed.
10,12,14,17,19mm sockets and wrenchs. Floor jack and jack
stand. Drain pans. Gear puller and crank holder or good air
wrench. No
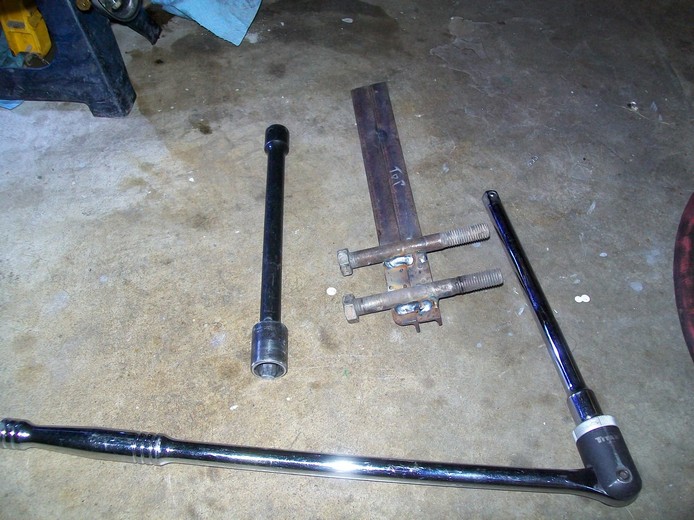
special tools needed. I did make a tool for holding the
crank pulley. There is special now to help remove these stuck
crank bolts.
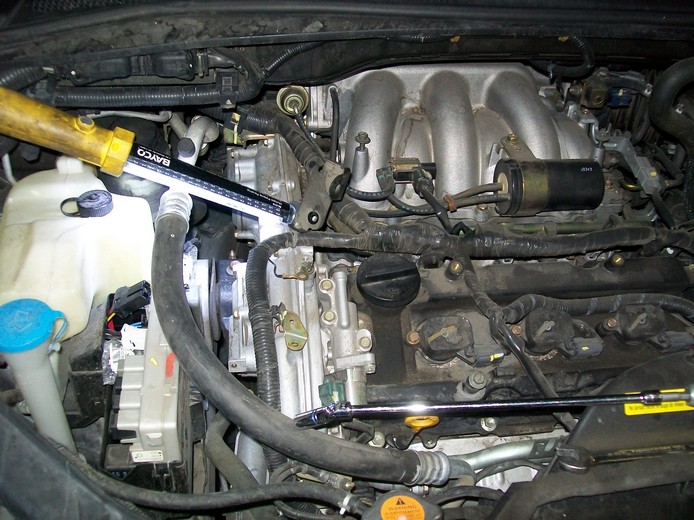
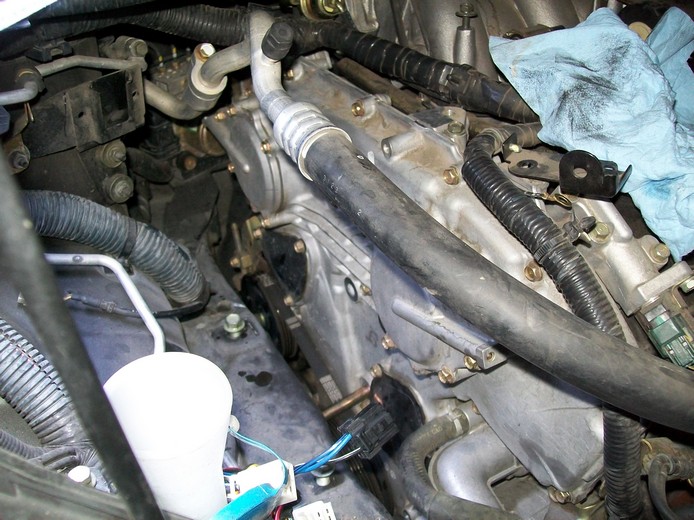
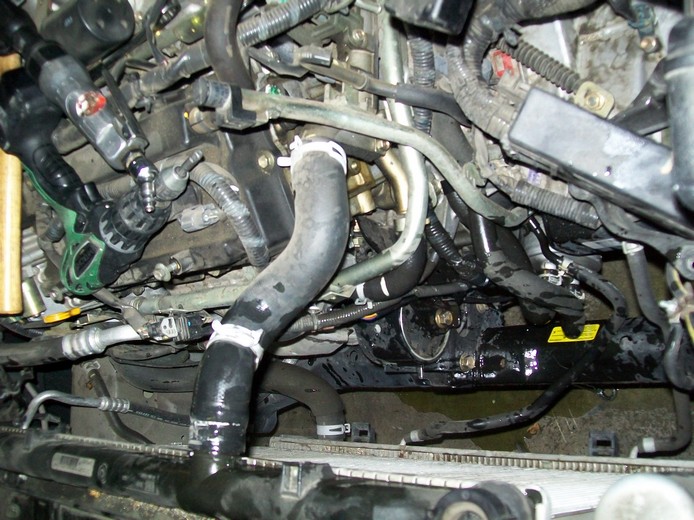
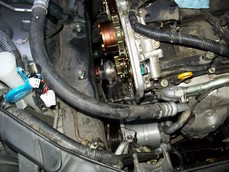
These are the items I removed to access the chain tensioner. I did not follow the Service manual since I did not want to discharge and charge AC.
- Raise front and support with jack stand under frame.
- remove under and inner fender covers.
- Drain radiator and oil.
- Remove air box snorkel 4 plastic clips - you will need new ones.
- Remove engine cover - 4 bolts 10mm
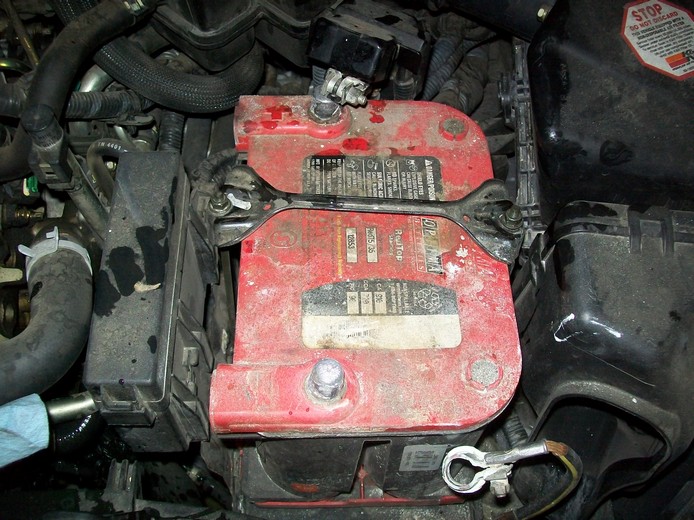
- Remove battery 2 bolts 10mm
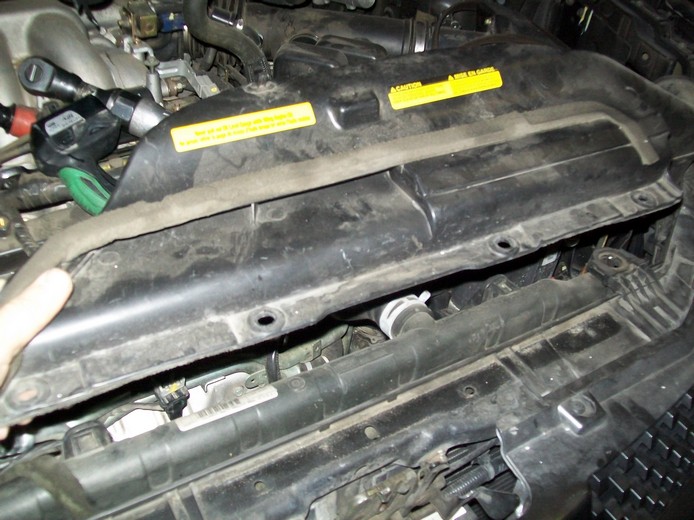
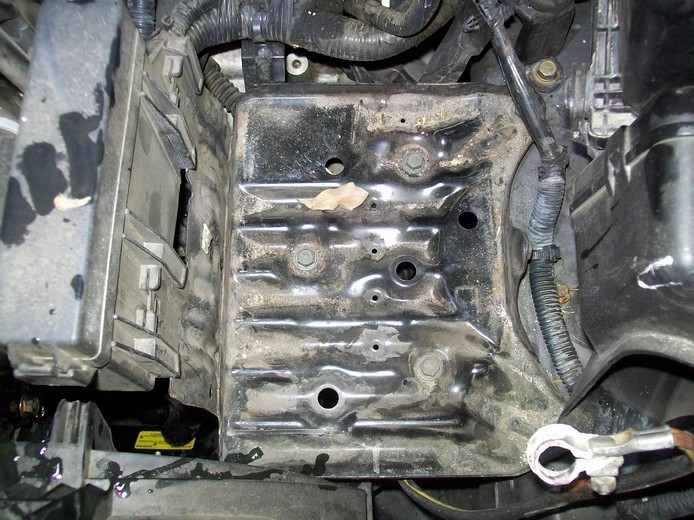
- Remove tray - 5 bolts 14mm . (Tray blocks fan assembly removal.)
- Remove fan assembly 2 screws.
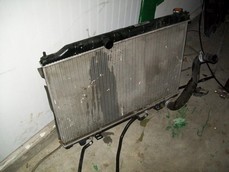
- remove radiator 2 clips .
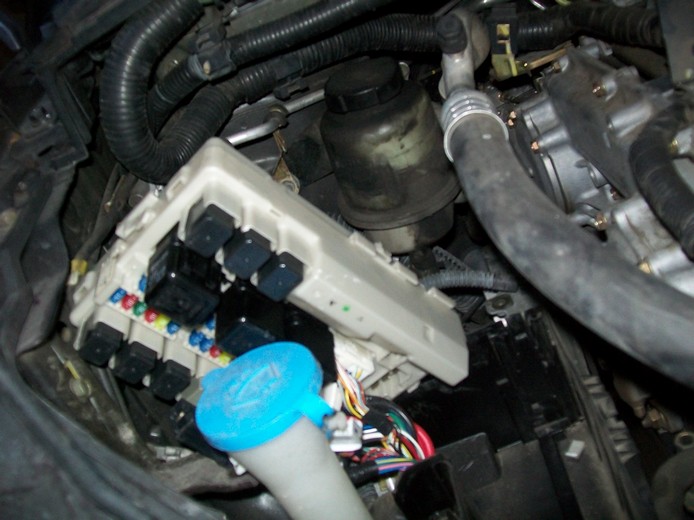
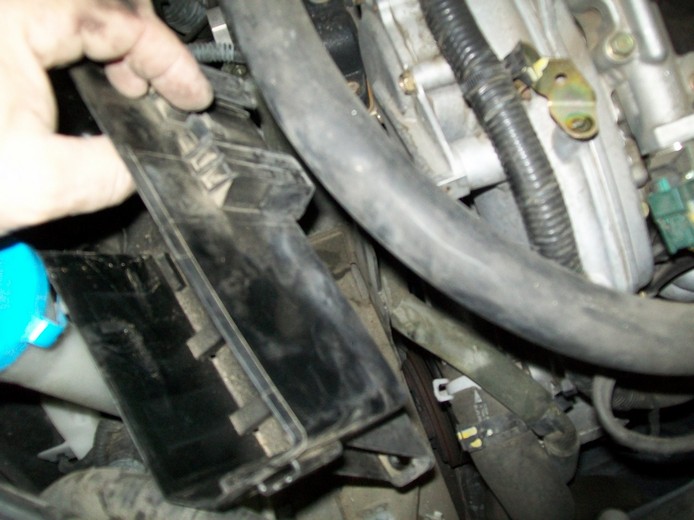
- Remove relay box and brackets 2 - bolts
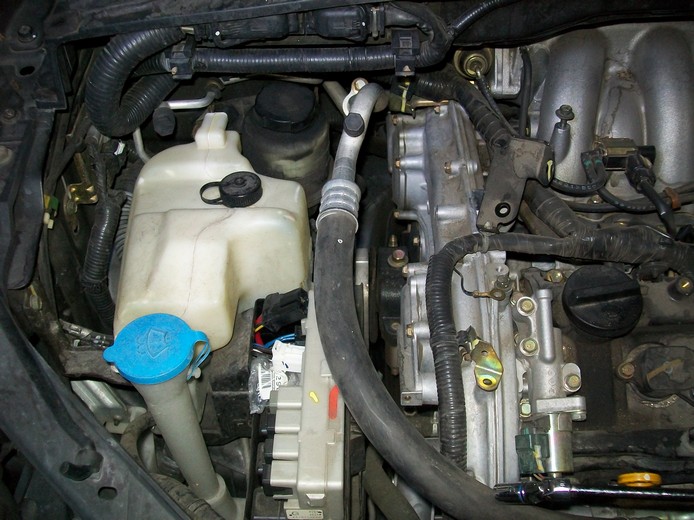
- remove coolant recovery tank 2 bolts .
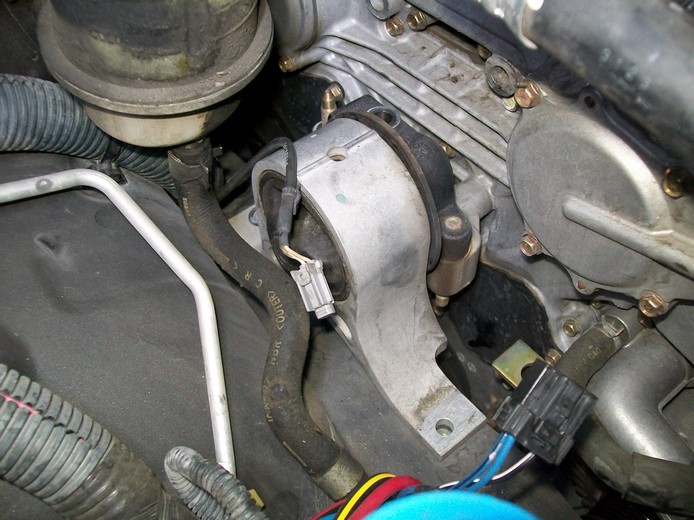
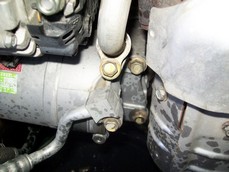
- remove front engine mount - 4 - bolts - 1 nut.
- remove engine block mount. 2 bolts - 1 nut - Do not remove stud on engine! (It will not come out, it hits frame. Also it is not in the way)
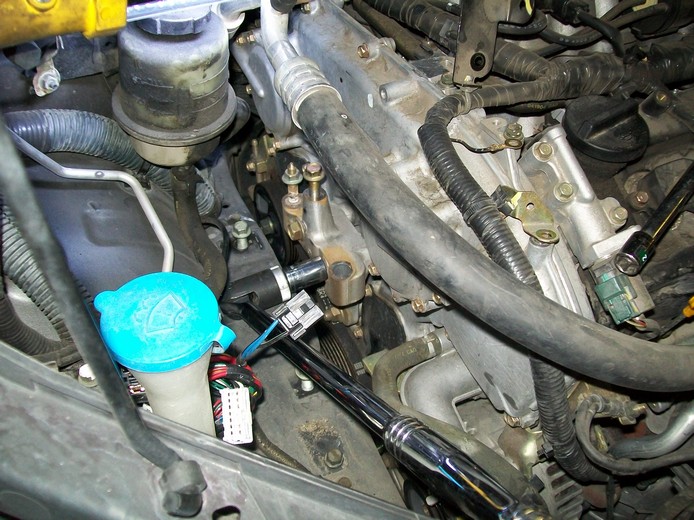
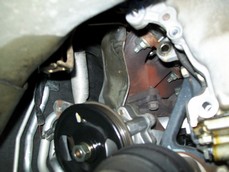
- remove power steering reservoir and hose to pump - 2 bolts.
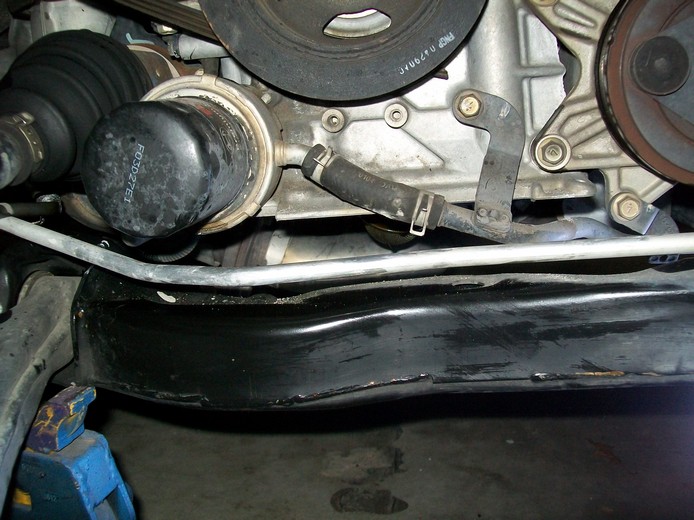
- remove lower oil pan and 2 bolts that connect upper oil pan to timing cover. Upper oil pan stays on.
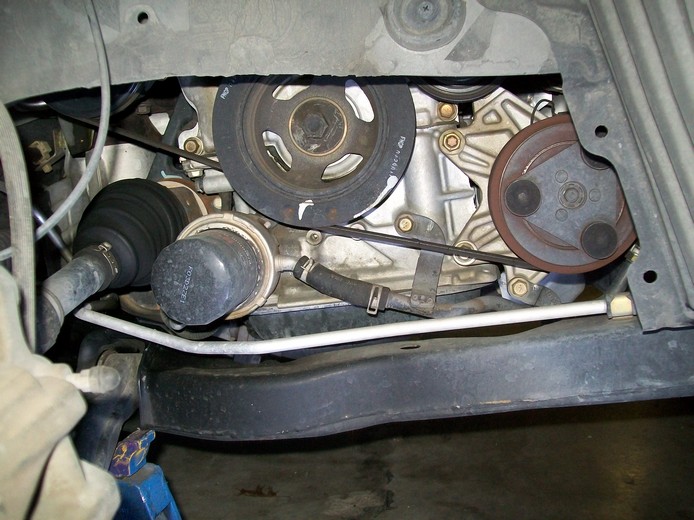
- remove AC belt tensioner and belt - 3 bolts .
- remove power steering belt and pump - 1 bolt.
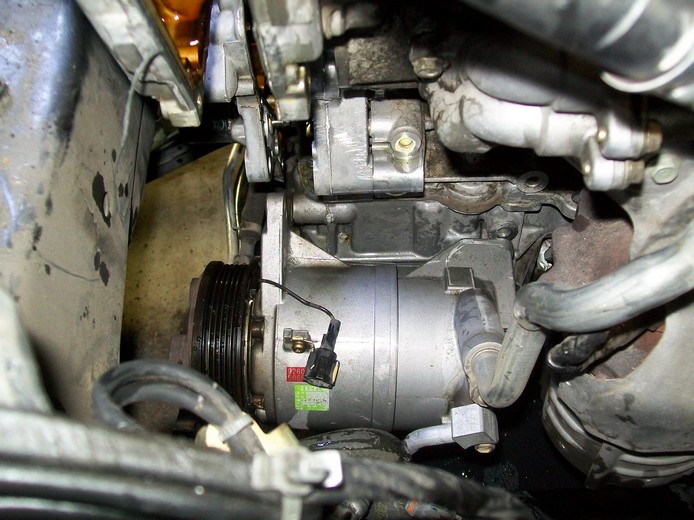
- remove compressor.- 4 bolts 1 stud and 1 nut - Do not disconnect hoses, only the wire for solenoid.
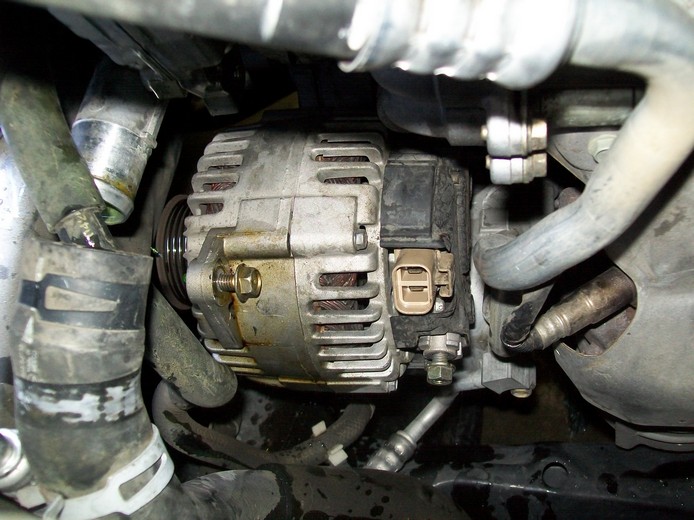
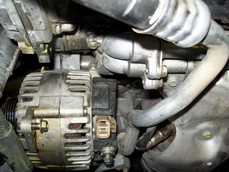
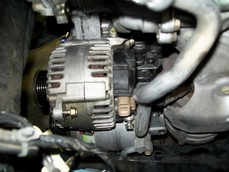
- remove alternator - 2 bolts - 14mm
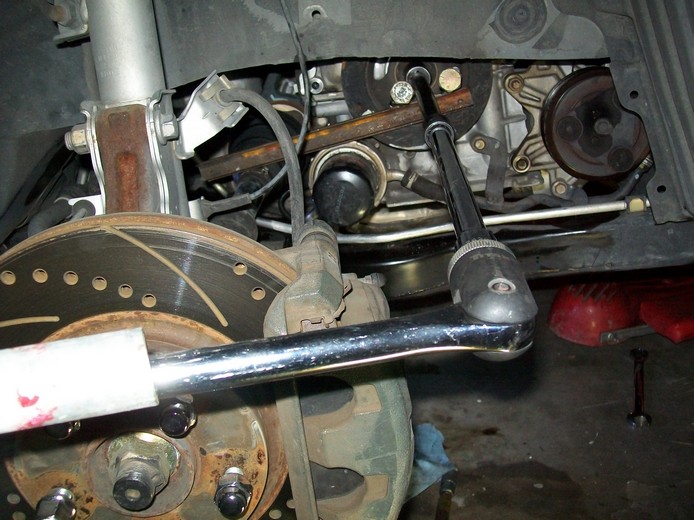
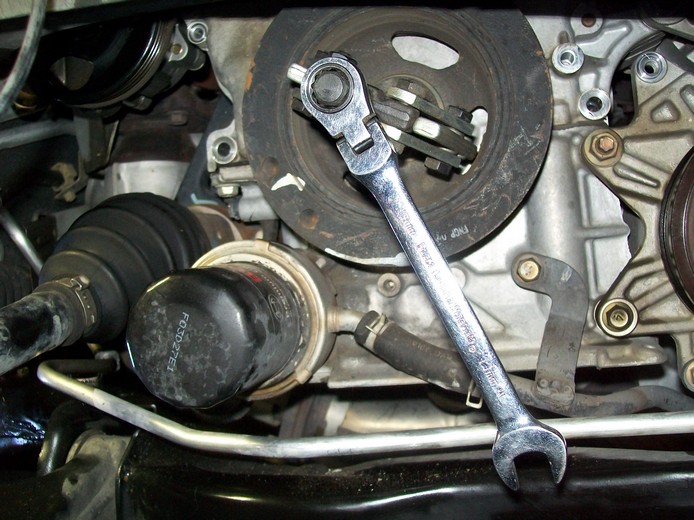
- remove crankshaft bolt and harmonic balancer - 1 bolt 19mm I used a special tool like shown in FSM
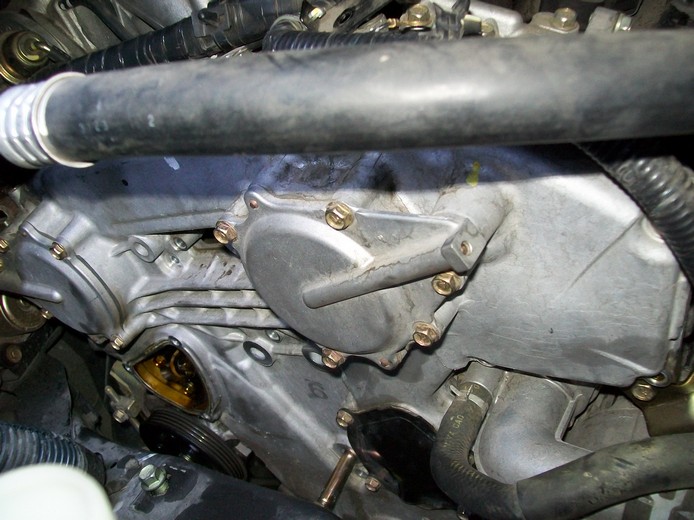
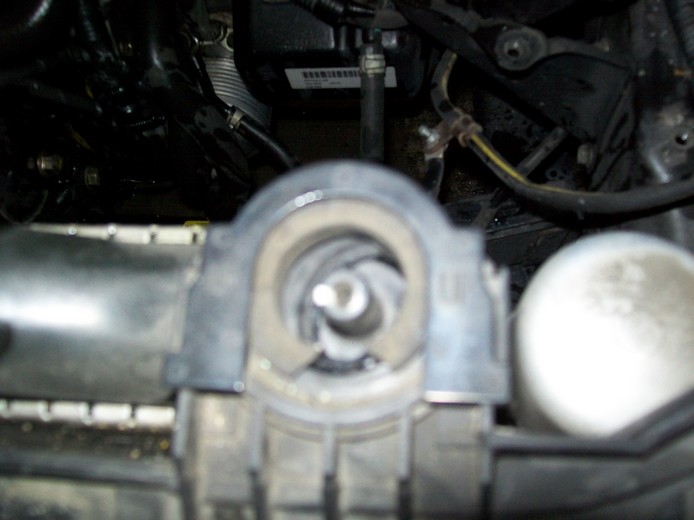
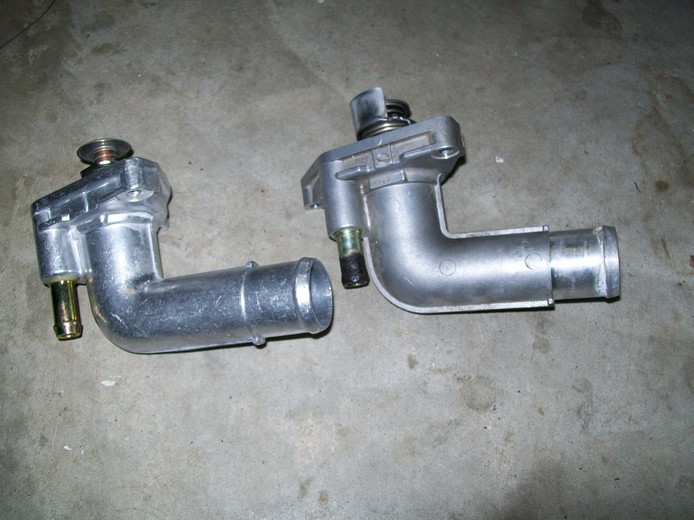
- remove thermostat - 3 bolts 10mm
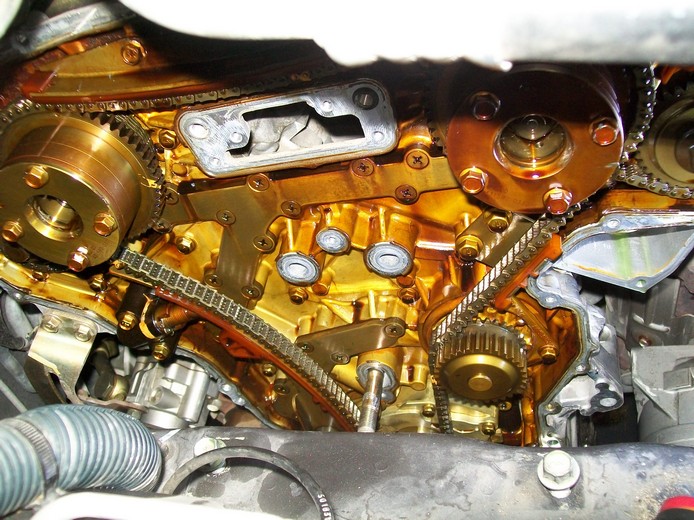
- remove all bolts on timing cover. 10mm.
- pry cover off and remove.
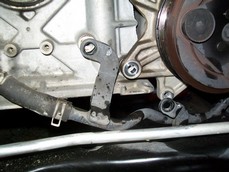
Remove right engine mount and mounting block.
Remove some wiring harness tabs.
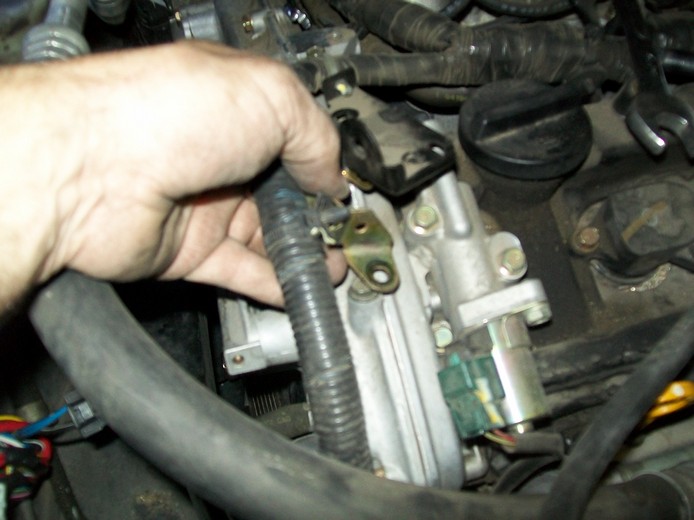
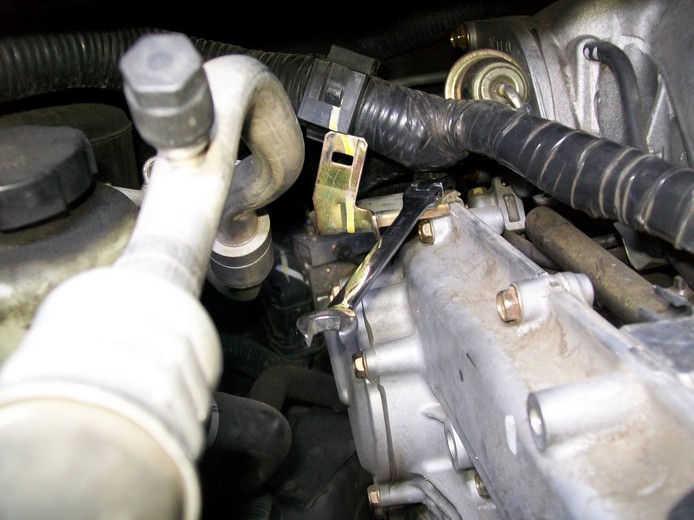
The stud can not come. I found out later it does not need to be removed. It is never in the way. So leave it in.
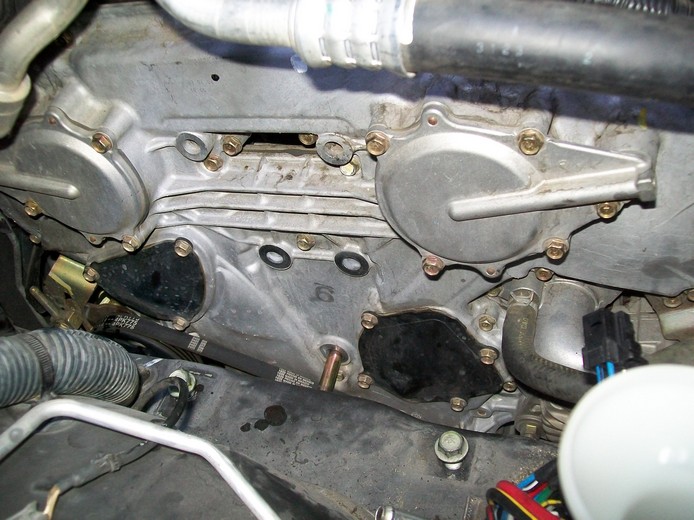
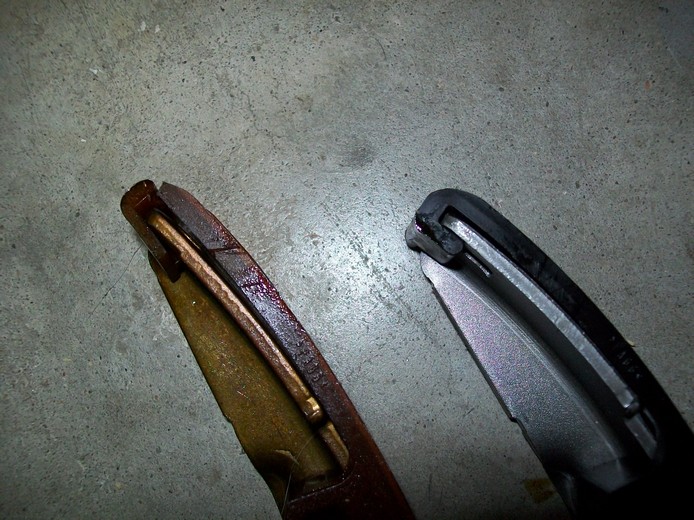
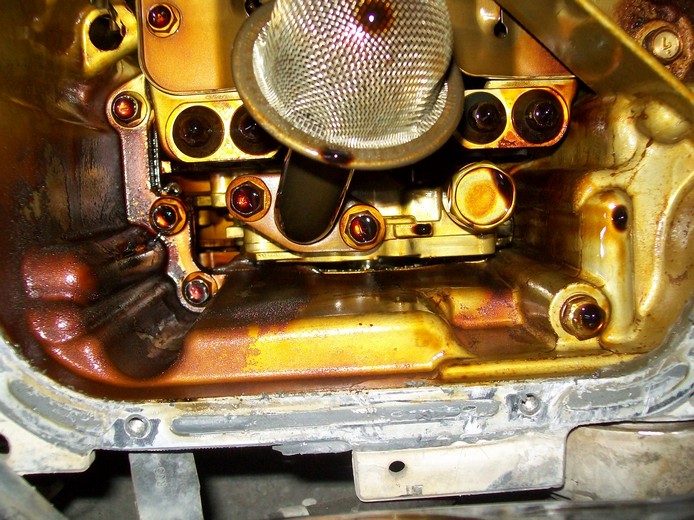
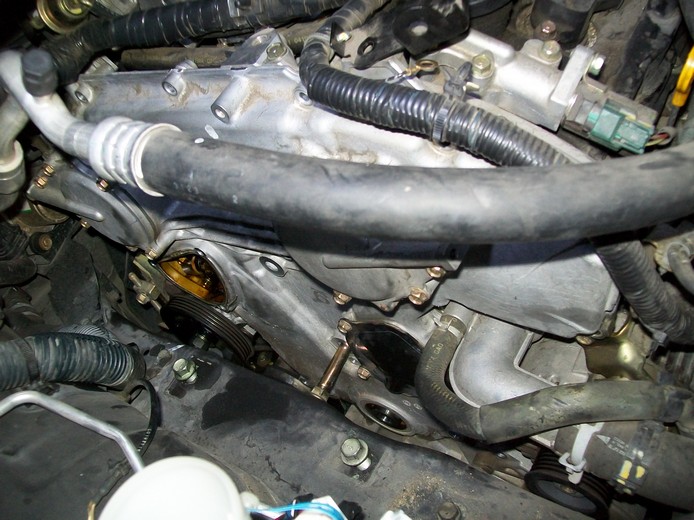
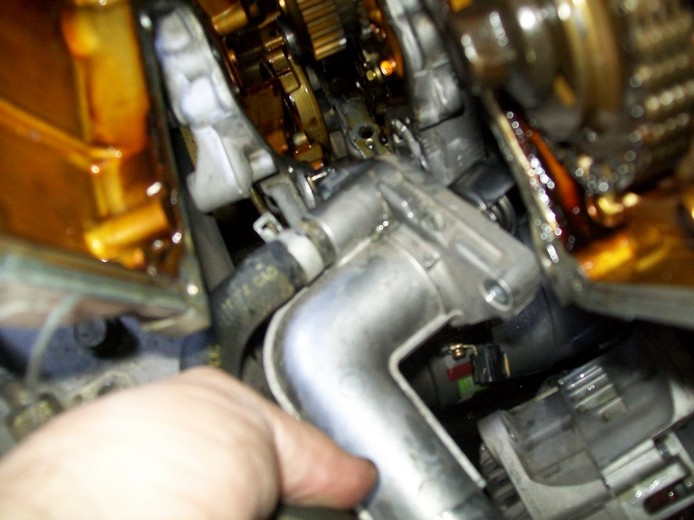
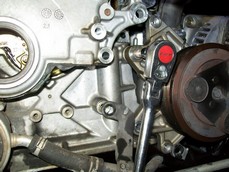
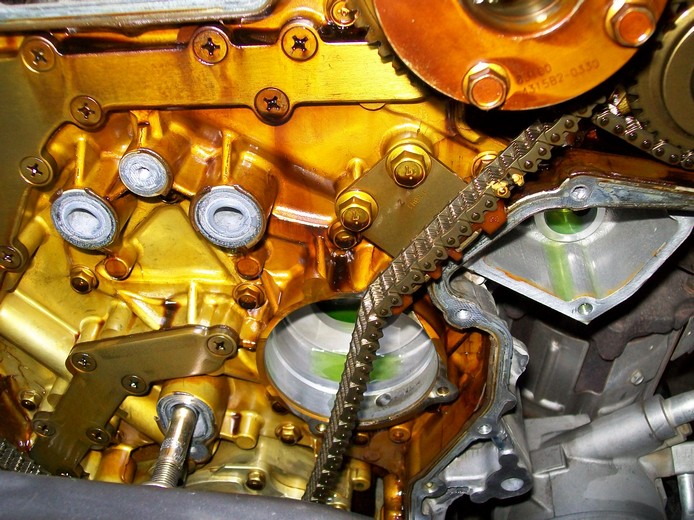
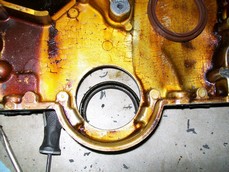
Here is the tensioner inspection hole. Now you can see the issue.

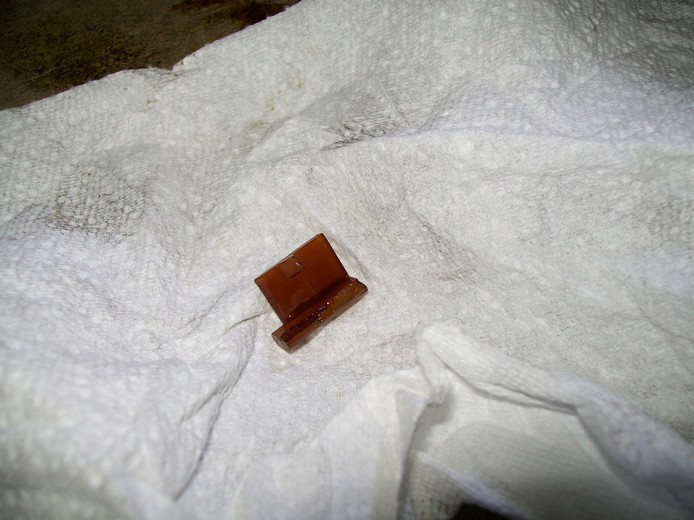
Remove oil pan. Look what I found inside. You must remove 2 bolts via the lower oil pan.

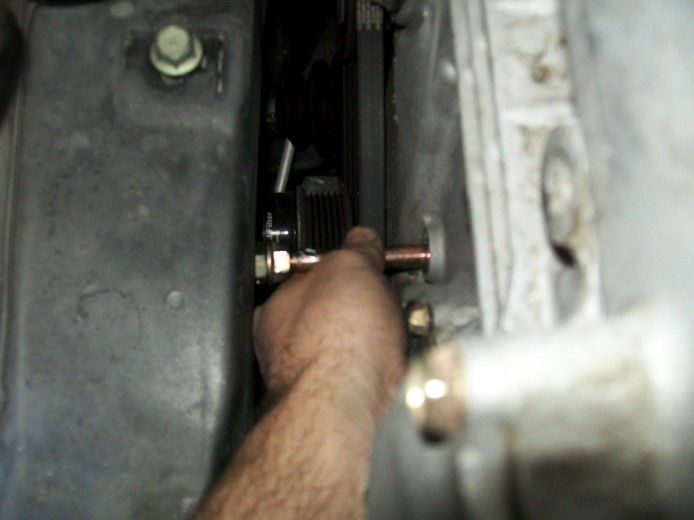
I made my own tool to remove crank bolt. I did not have access to the OEM tool.
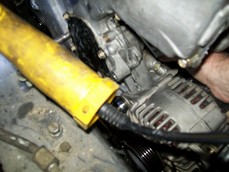
Air scoop, and radiator provide lots of access to Alternator removal.
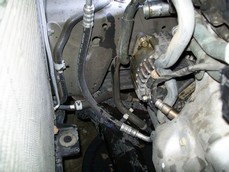
Removing battery and tray give easy access to tranny lines and hoses.
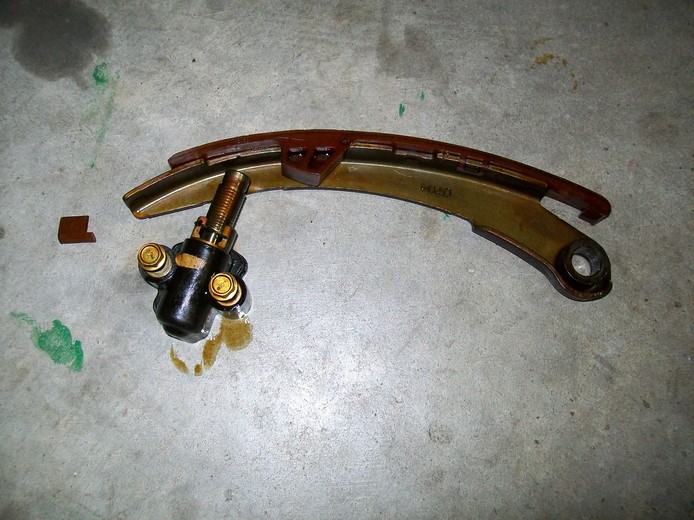
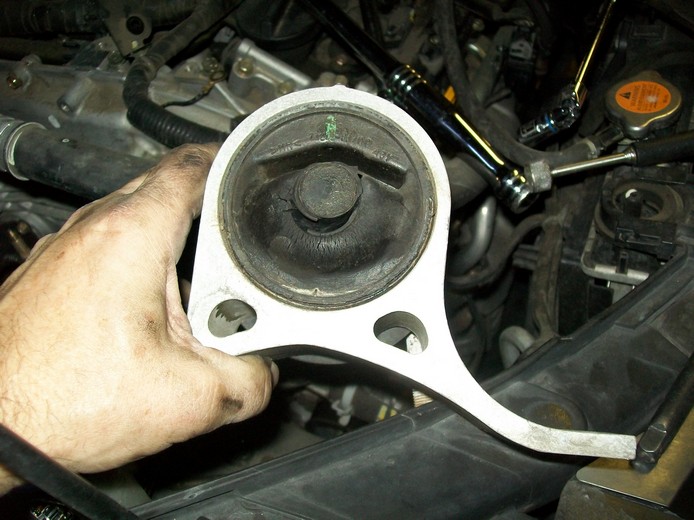
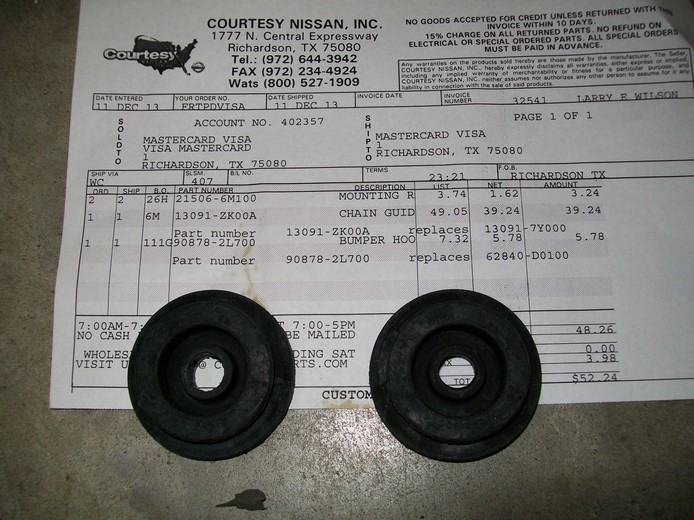
These rubber mounts are rotted. $1.60 each at dealer.
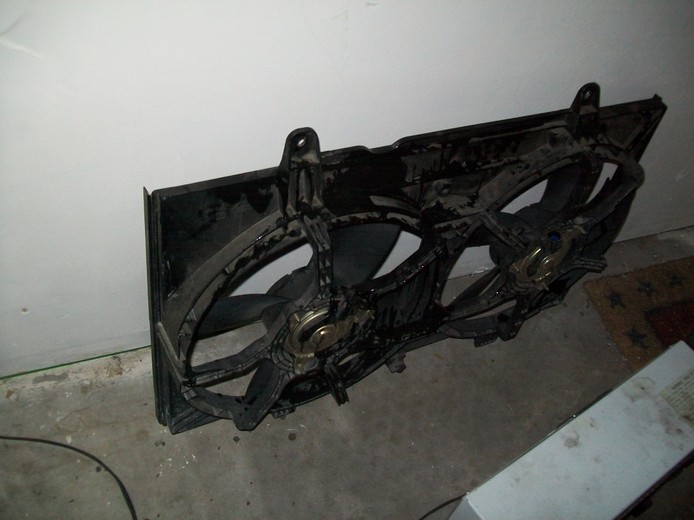
Radiator out. Super easy if battery tray is out.
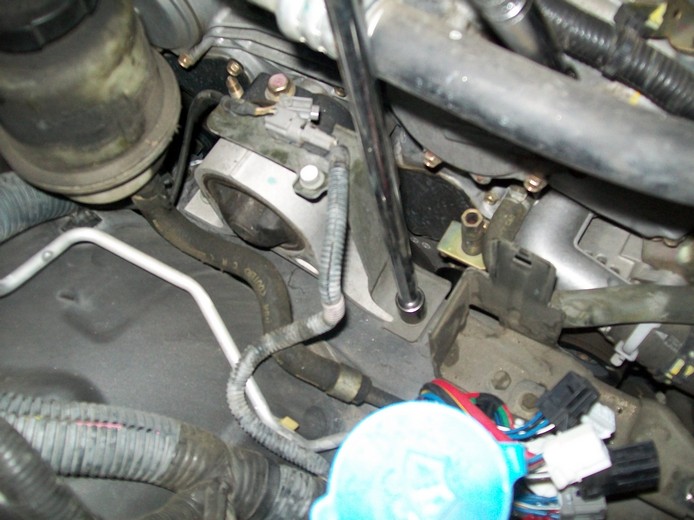
Remove the thermostat. I thought I could leave it in. Its in the way.
Remove the compressor stud. Its allows it to swing out of the way so Alternator install and timing cover is easier.
Compressor swings and allows for timing cover removal. Its not ideal you still need to coach it out.

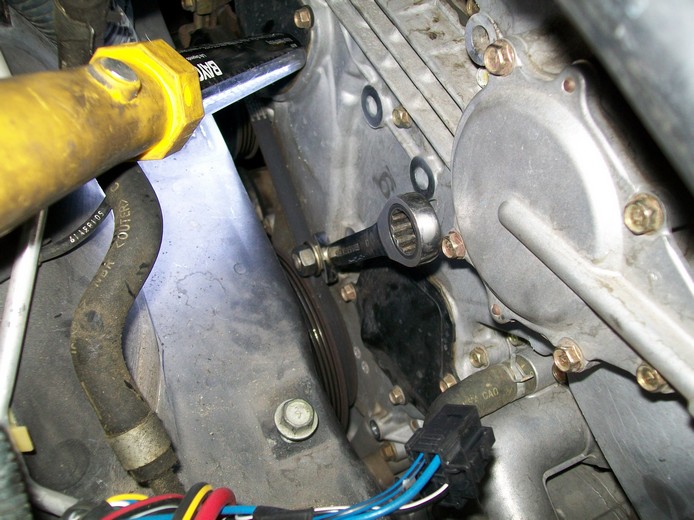
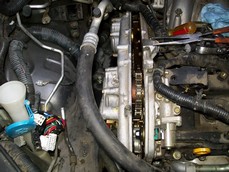
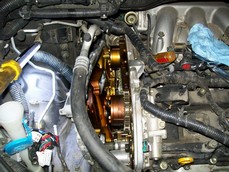
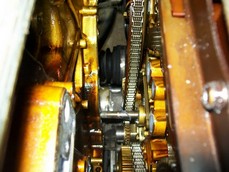
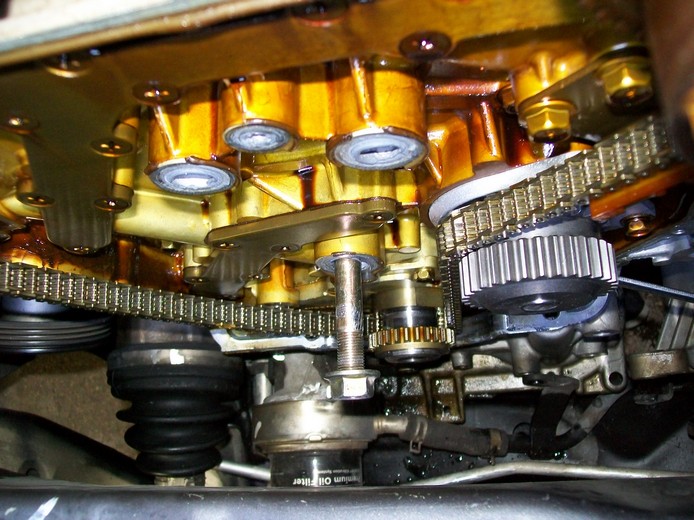
Now I can see 80% of the engine now. The rest is seen from below. 1 bolt to remove the damaged slack guide.
- remove the cam covers from timing cover.
- remove dowel pins from timing cover
- disconnect ECU connectors. I should have just removed the ECU since its in the way.
Parts replaced since I had 95.7K miles I did a minor some maintenance items.I bought the Quest new in 04, I also do all the maintenance.
- Replace one front motor mount. it was broken. $21 on rock auto
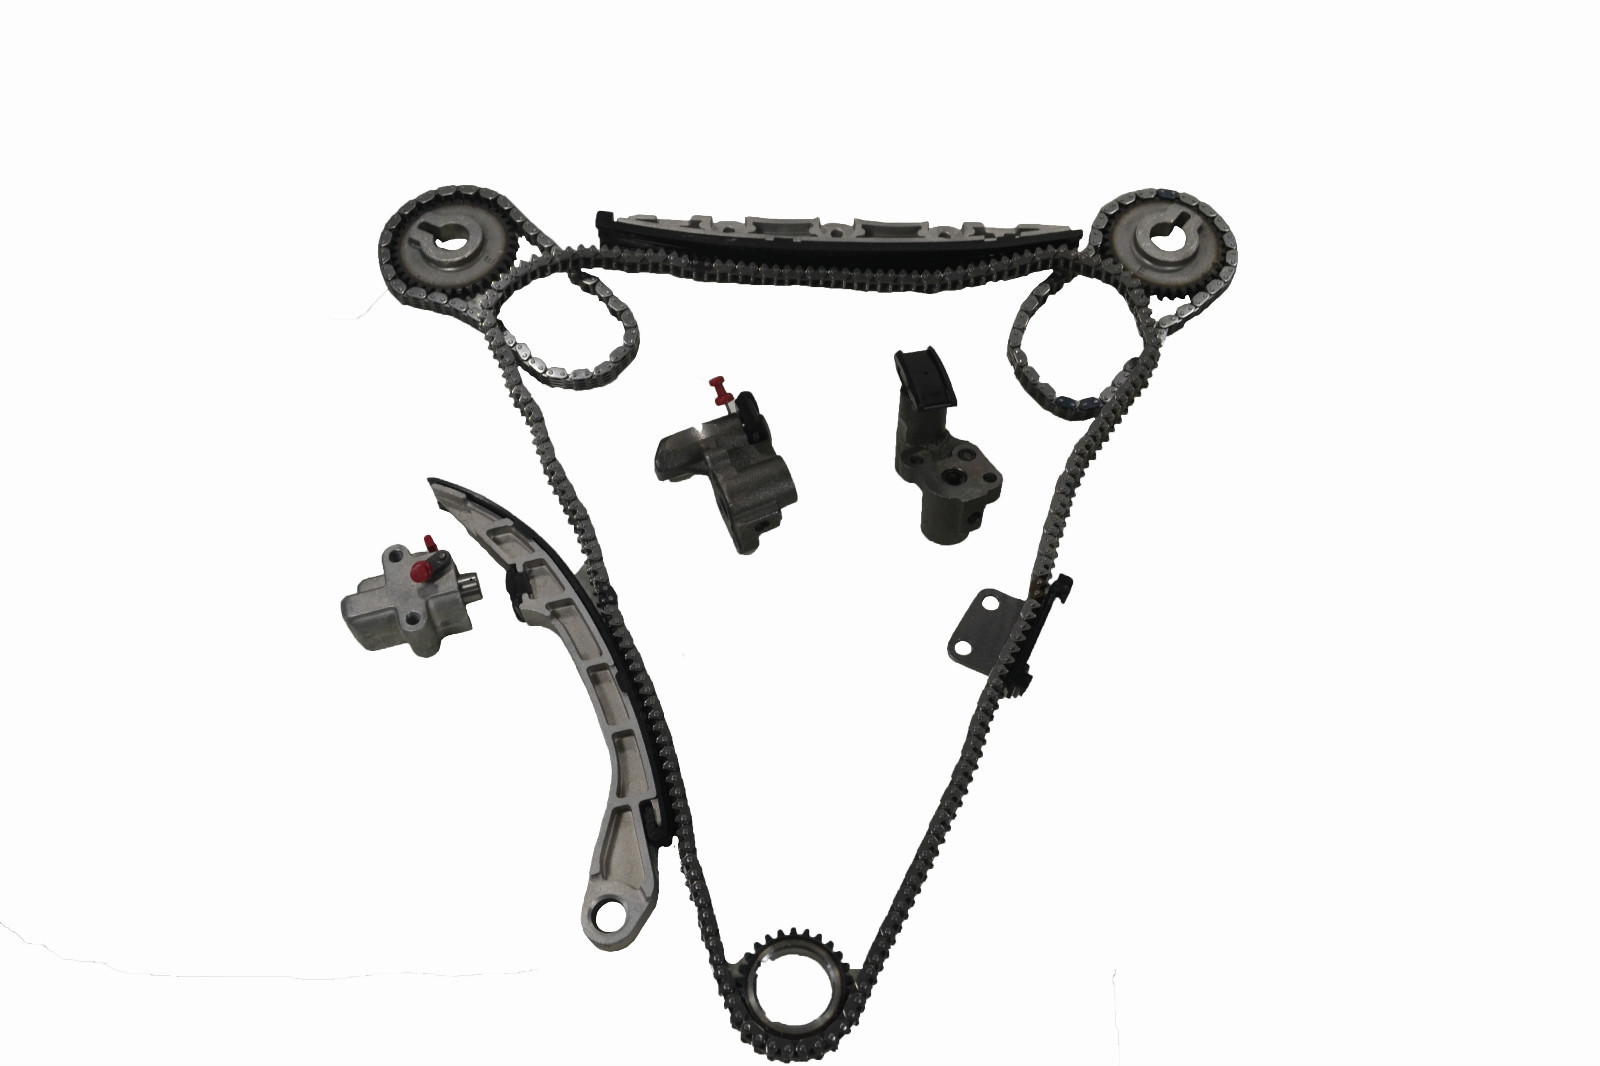
- Nissan redesigned chain slack guide $47 - courtesy parts (there local), I returned the kit I bought on ebay since it did not have the 350z style guide.
- felpro timing cover - autozone $14.
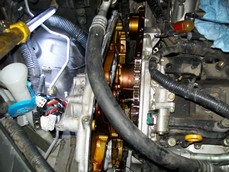
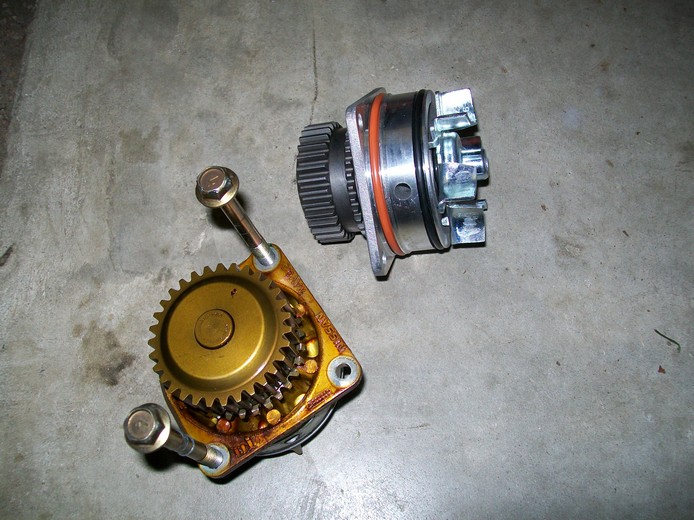
- waterpump - autozone - $40
- motorad themorstat - autozone $38
- permatex silicone black (oil pan) and grey silicone - autozone - $6
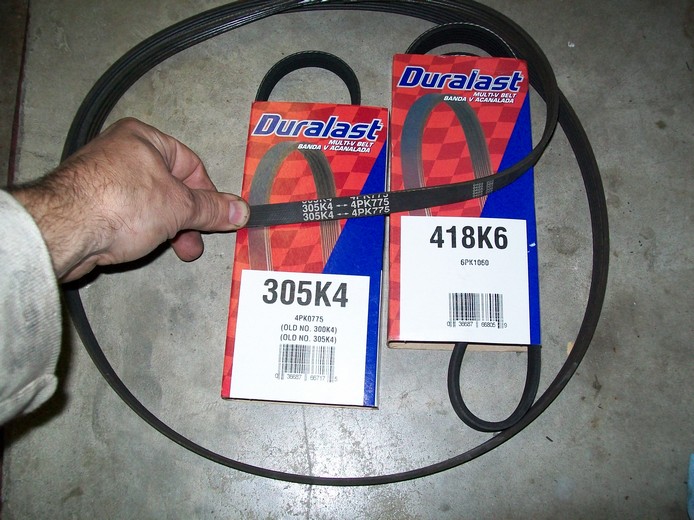
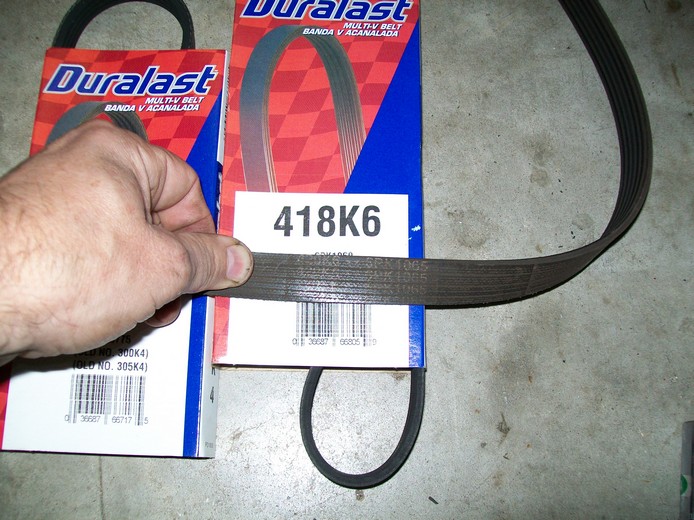
- 2 belts - autozone $30
- Nissan power steering return hose - courtesy - $4
- Nissan radiator rubber mounts- 2 - courtesy - 1.60 each
- engine oil and filter - always castrol and bosch
- coolant
- power steering fluid
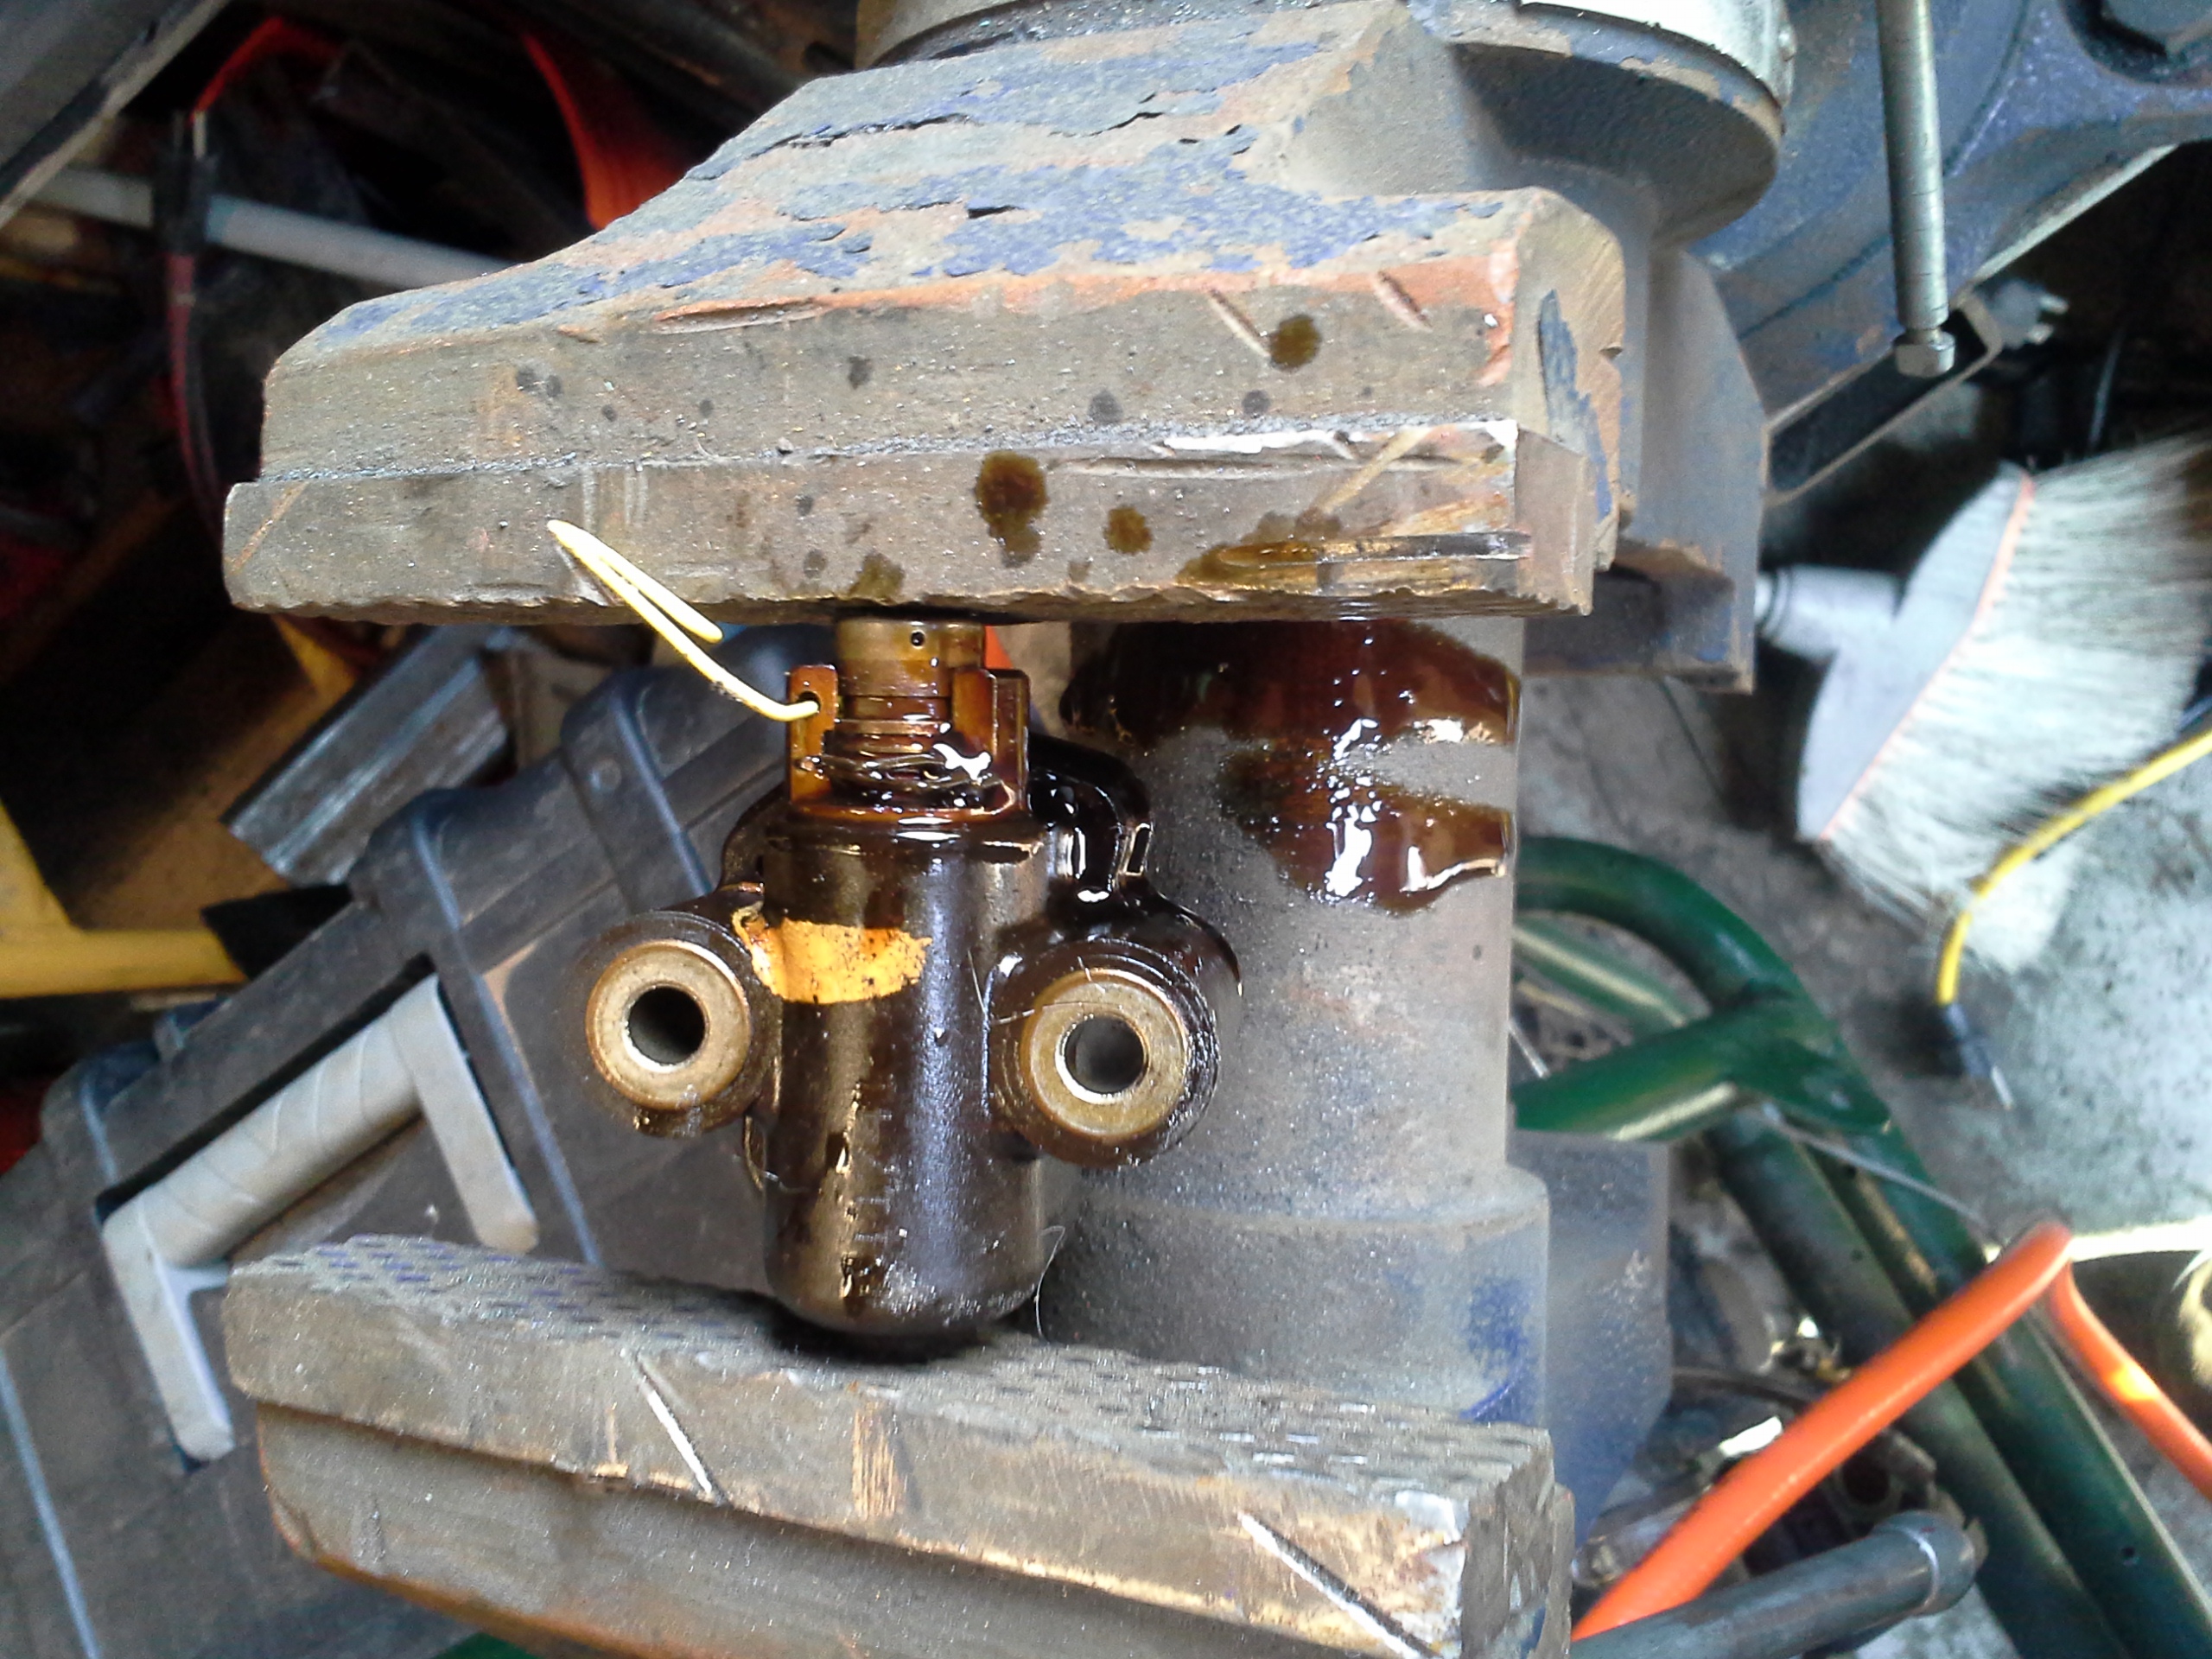
compress old tensioner in vice
Re install pictures and water pump replacement.
Here is the timing kit I bought and returned. The 350zx uses the same engine and has a different slack guide. The aftermarket kit was not as advertised so I returned it and bought a redesigned Nissan part.
Hope this helps. Email if you need more details. Click on the small pix for a larger one.