![]()
CALMINI Crawler Gears in a TX10 Nissan Hardbody
Updated 8/22/2009
Tools needed: Trans jack, magnetic wand, die grinder, press, snap ring pliers, metric sockets 10,12,14,17mm and wrenchs.
- Raise vehicle and place on jack stands. I did not does this on the trucks with SAS.
- Remove tbars- If still equipped.
- Un plug air breather on tcase.
- Remove breather tube from tbar cross member2 10mm head bolts.
- Remove tbar cross member 4 17mm head bolts.
- If you have a Manual drain the gear oil. Autos dont need to.
- Drain tcase oil.
- remove both drive shafts.
- remove factory skid plate of tcase, if equipped.
- remove exhaust rubber mount from tcase and exhaust pipe. 2 12mm head bolts.
- unscrew speedometer cable or unplug electrical connector on 94+.
- disconnect all electrical connectors. Neutral and 4wd indicator.
- remove tcase shifter knob - it unscrews counter clockwise.
- Remove the 2 bolts that hold shifter to case. 2 12mm head bolts.
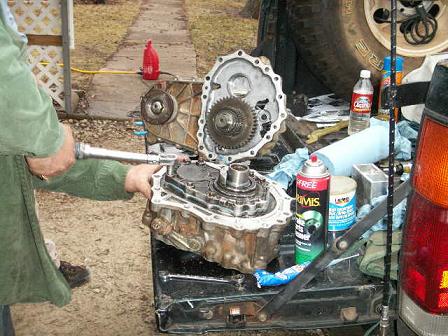
- remove all 14mm head bolts holding tcase to trans. I used a wrench on all but top center one. That one required a socket and long extensions. Xterras require removal from inside via access panel if no body lift.
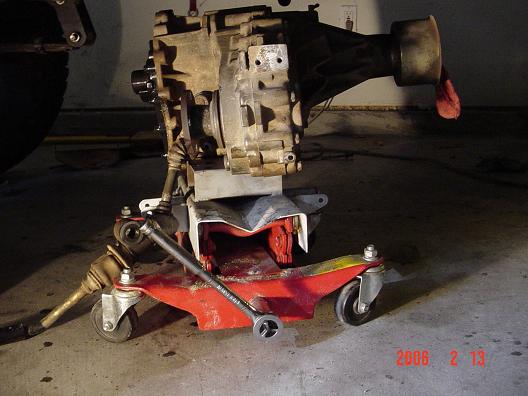
- Put a trans jack under tcase
- Split the tcase and trans and lower to ground.
This is why I had to remove the Tbar cross member.
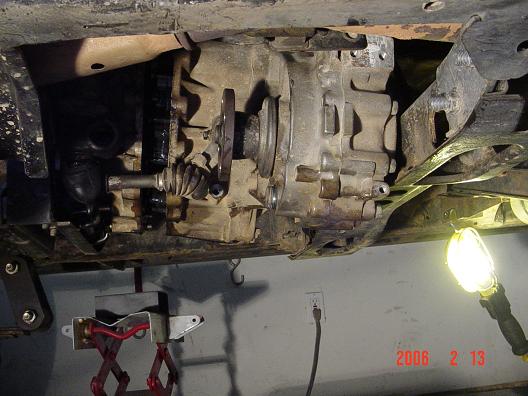
This thing is HEAVY!
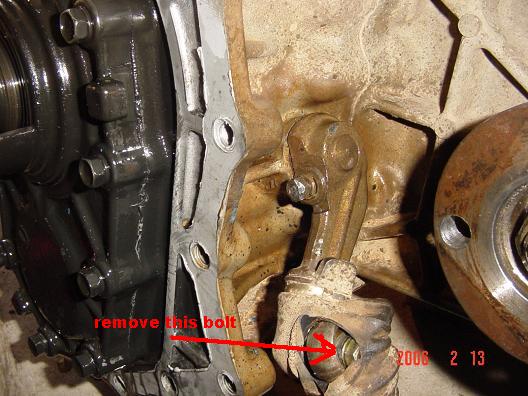
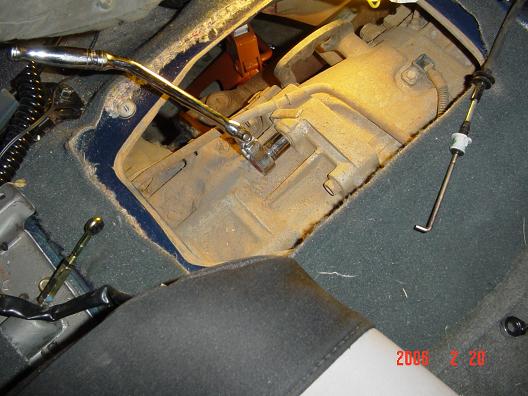
The shifter is connected on the older tx10s by a hidden 12mm head bolt in a rubber boot. Its a heim joint. Newer tx10s use a Tre style.
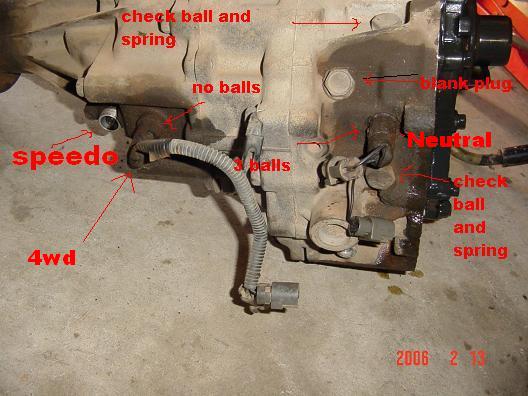
Just remove this 12mm bolt. Its hidden in rubber boot. Mine was already ripped. The 10mm nut holding the locking pin in is HARD to remove. Just leave it alone.
The speedo gear is easy to remove. just one 10mm head bolt. But there is 2 check balls and 2 springs under the 17mm plugs. One blank plug is only on the older cases. The 4wd switch had no balls. The Neutral has 3 balls behind it. I could not get mine out so I removed the balls later.
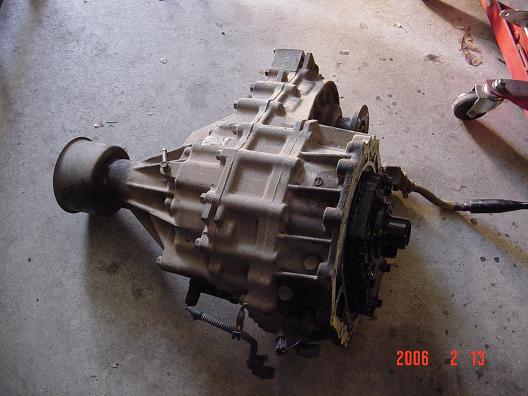
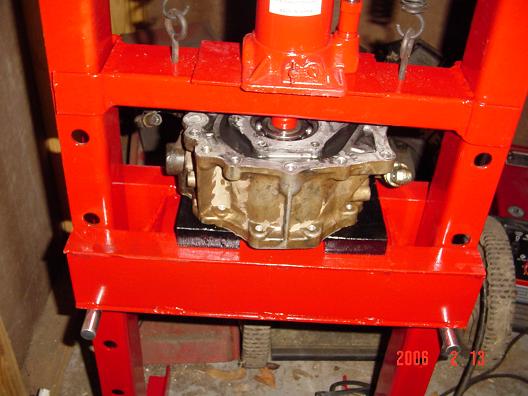
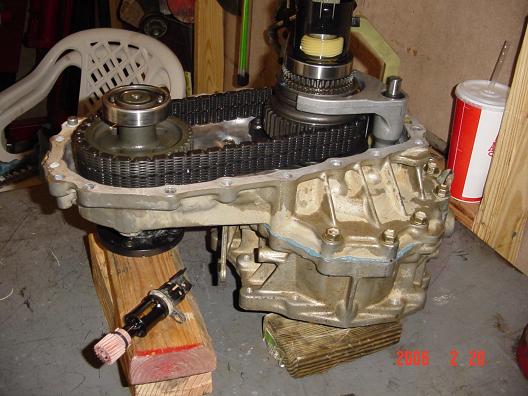
Pull rear case. Use lugs to pry apart. The bearing ride in these cases so they are a TIGHT fit. Remove the plastic oilers.
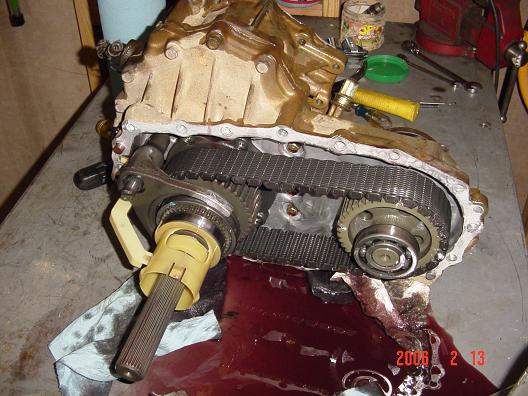

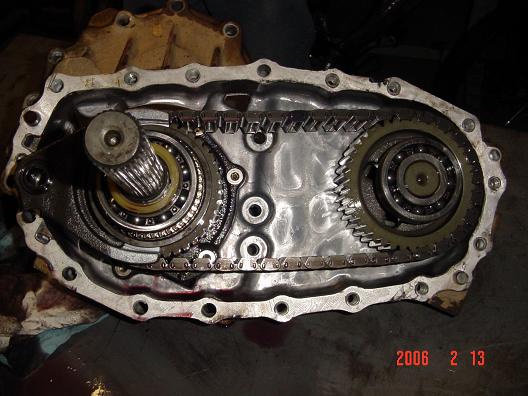
Split the range box and center case using the tabs.
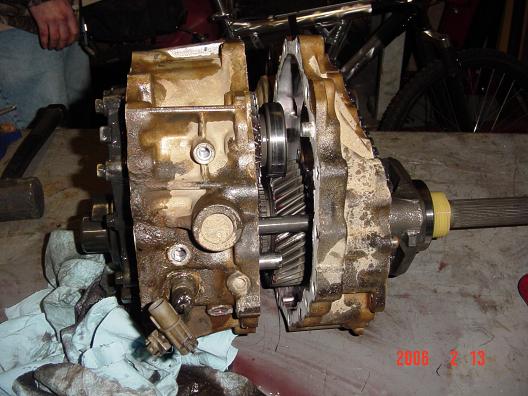

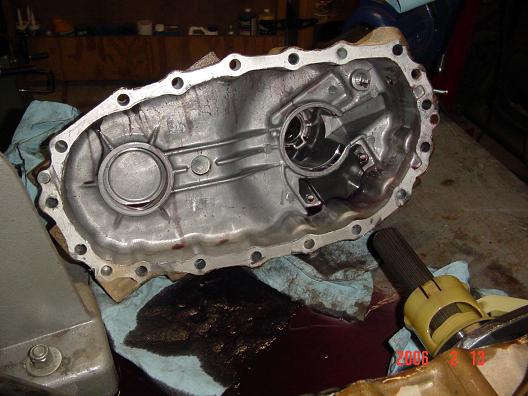
Remove front cover.
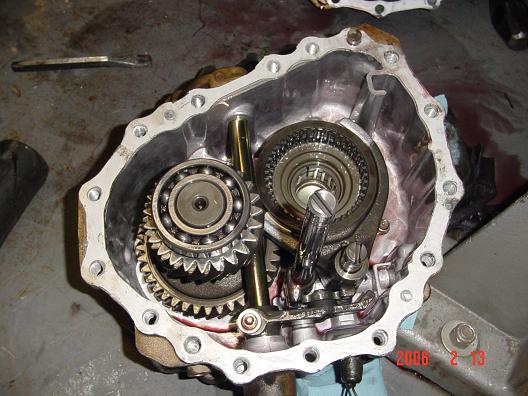
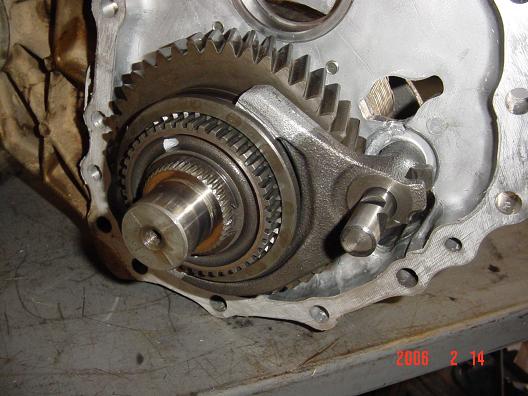
Mockup of the new stuff.
New parts not go in range box, not installed yet.


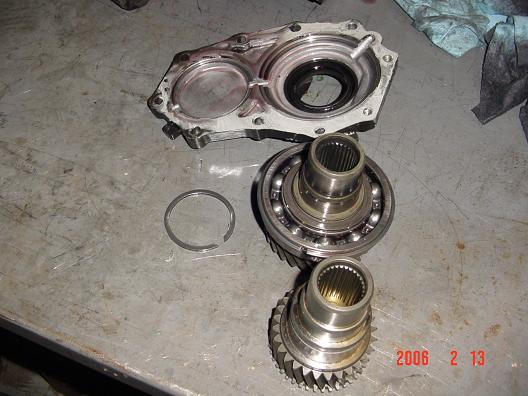
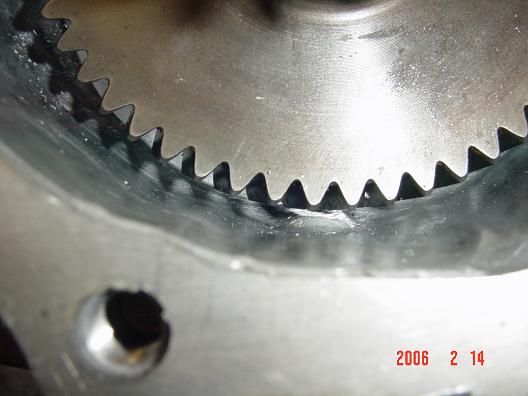
Output gears new and stock.
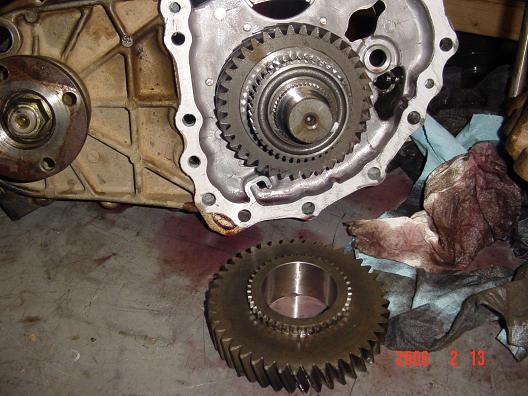

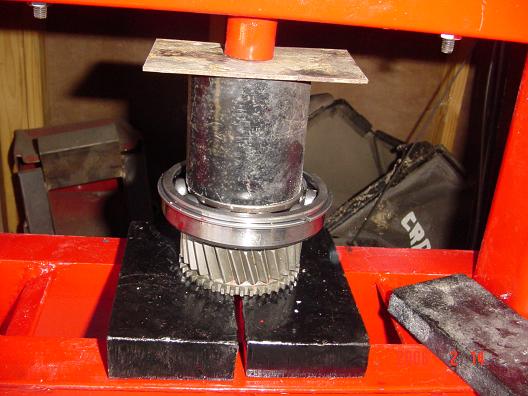
I pressed off some stuff. Some pressing shots not in instructions.
Inputs new and stock with no bearing installed.

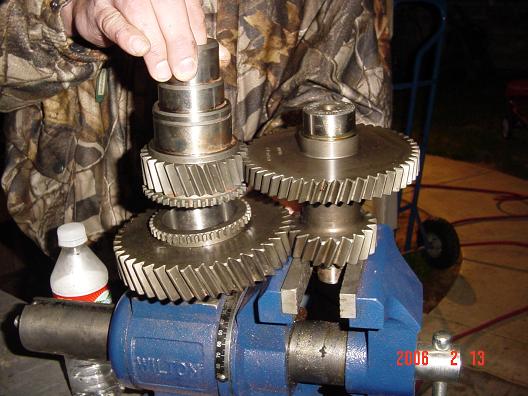
Press the old large bearing off and reuse for counter gear.

Installed reducer for new smaller bearing.
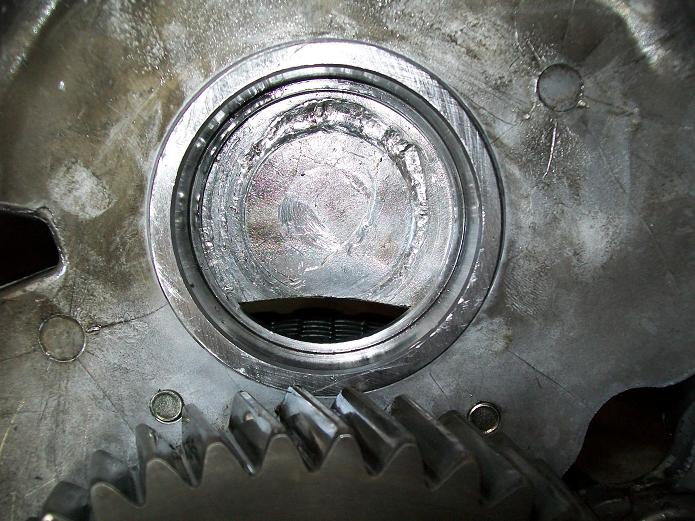

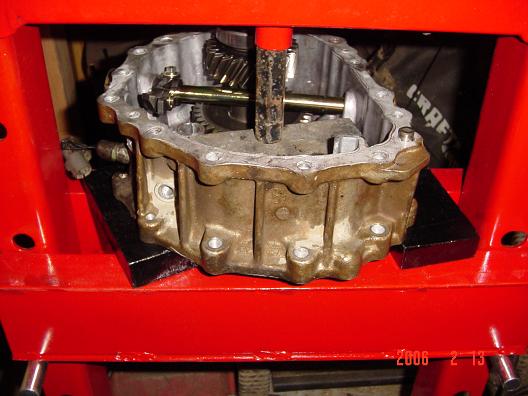
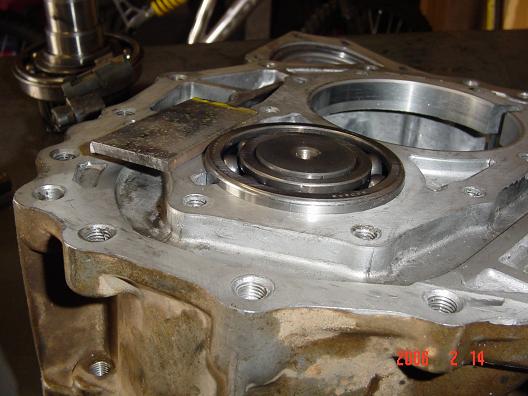
Testing for clearance after grinding the two cases.
![]()
![]()
Assemble fork as shown and grind away until it clears.
Before grinding.
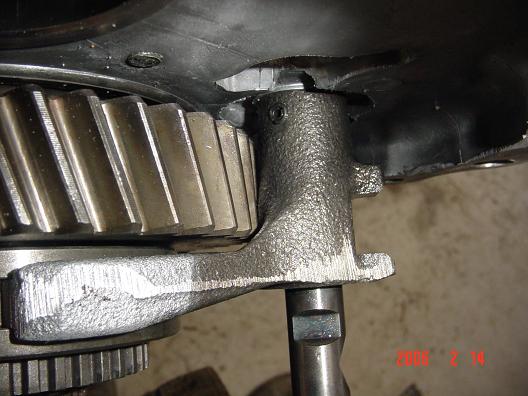
You have to remove ALLOT of this bump.
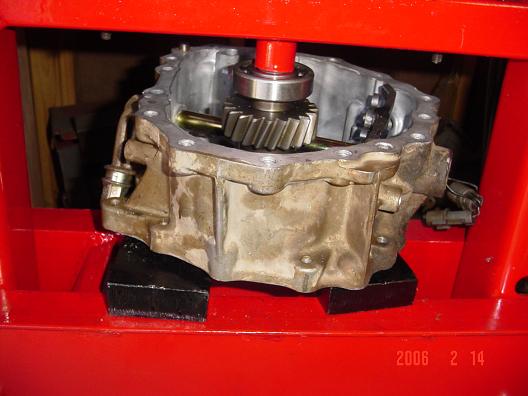
Press in 3/16 to allow top cover to bolt on. I used a piece of 3/16 flat as a guide.
When pressing bearing on input shaft. DO NOT reuse old spacers or washers. They do not fit.
All done but have some spacers and washers left over.

====================================================================================================
Just did a 2003 TX10a install. The newer TX10s do not have all these washers. Also the blank plug above is gone on the case.
For Xterras you have to remove center consoles to access top bolts unless you have a Body Lift.
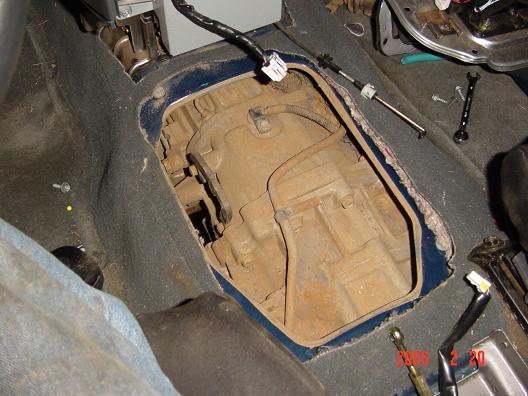
Electronic speedo on a 2003 Xterra.
Heres some of a 94 d21. We just pulled trans and tcase to do clutch and crawler gears. Its actually easier to pull both.
![]()
Did a 94 Pathy after the 94 SAS Truck. Its the same but the T bars had to be removed. 94 is the first year of electronic speedo.